
Google Pixel 8a Earpiece Speaker Replacement

はじめに
手順 1 に進むThis repair guide was authored by the iFixit staff and hasn’t been endorsed by Google. Learn more about our repair guides here.
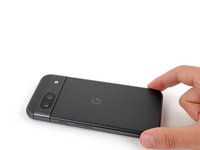
Follow this guide to replace the earpiece speaker in your Google Pixel 8a.
If the sound coming from your phone is crackly, distorted, or silent, your speaker may be damaged. The gasket between the earpiece speaker and frame offers dust and water resistance, which may be compromised depending on the age and condition of your phone.
You'll need replacement back cover and flash unit adhesives to complete this repair.
Note: Any repair can compromise the water resistance of your phone. Retaining water resistance after the repair will depend on how well you reapply the back cover adhesive.
必要な工具と部品
パーツ


ツール


もっと見る
-
-
Unplug all cables from your phone.
-
Completely power off your phone.
-
-
-
Unless stated otherwise, don't insert your tool more than 3 mm (the width of your opening tool's flat section) around the edges.
-
Don't insert your tool under the edges of the camera bump.
-
-
-
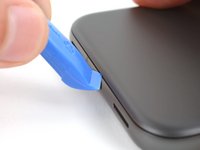
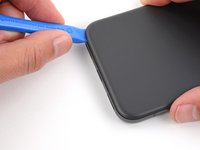
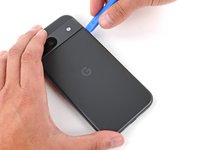
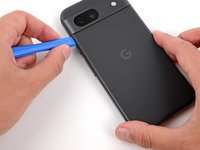
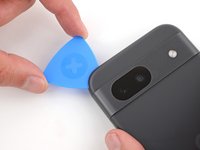
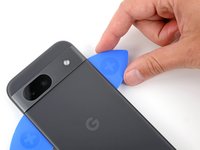
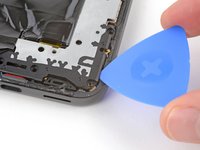
Insert the edge of an opening tool between the back cover and the frame, starting with a sharp corner of the tool to help separate the adhesive.
-
-
-
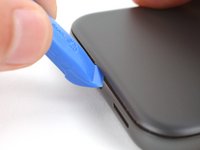
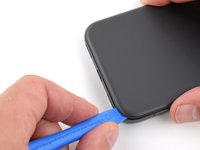
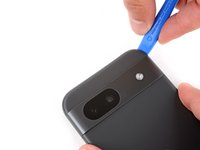
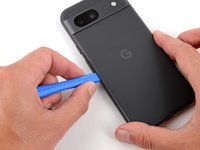
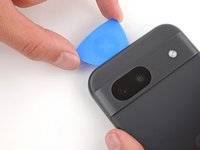
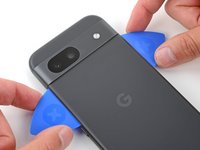
Slide your opening tool along the bottom edge to separate the adhesive securing the back cover.
-
-
-
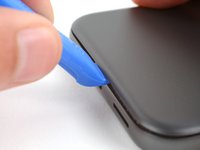
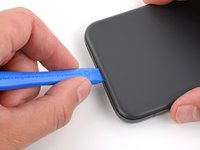
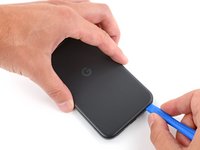
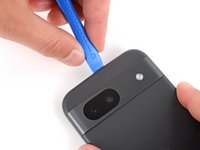
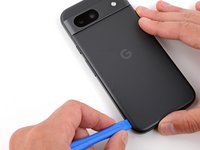
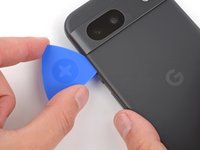
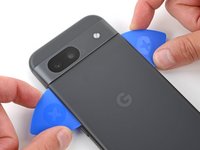
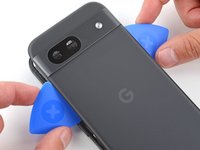
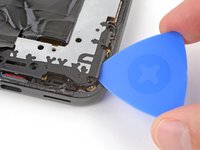
Insert an opening pick under the top left corner of the back cover until the tip is close to the top edge of the camera bump.
-
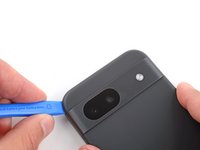
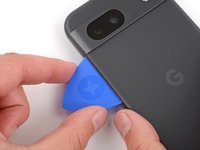
Slide the pick to the right, stopping when you reach the right edge of the cameras.
-
-
-
-
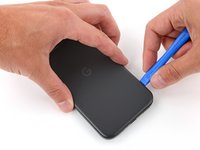
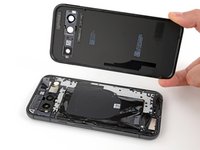
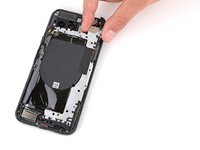
Remove the back cover.
-
Now is a good time to test your phone before sealing it up. Power it on and check that it works. Power it back down before you continue reassembly.
-
Follow this guide to apply new adhesive and install your back cover.
-
-
-
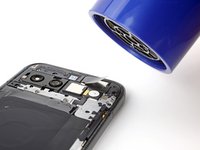
Use a hair dryer to heat the flash unit to soften the adhesive securing it to the logic board cover.
-
-
この手順で使用する道具:FixMat$36.95
-
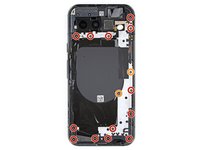
Use a Torx Plus 3IP screwdriver to remove the 15 screws securing the logic board cover:
-
Thirteen 4.3 mm‑long screws
-
Two 1.9 mm‑long screws
-
-
-
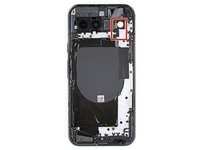
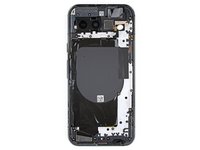
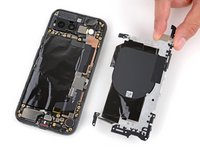
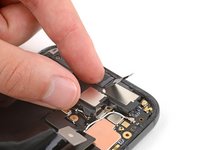
Remove the logic board cover (which has the wireless charging coil connected to it).
-
-
-
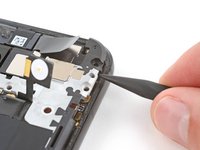
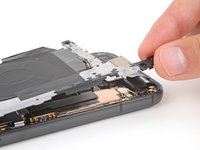
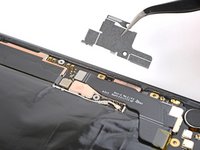
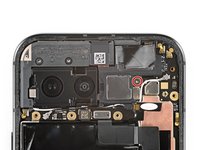
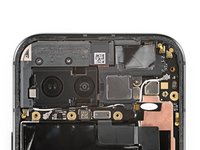
Use a pair of tweezers or your fingers to remove the metal cover on the right edge of your phone.
-
-
-
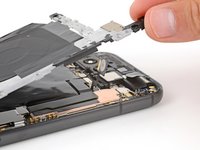
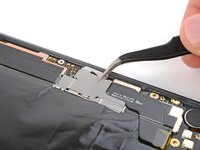
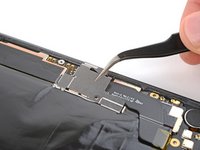
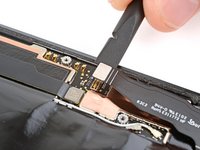
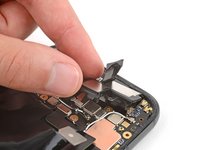
Insert the flat end of a spudger under the right edge of the battery press connector and pry straight up to disconnect it.
-
-
-
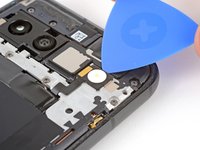
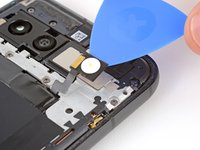
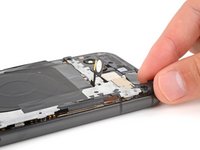
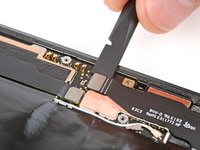
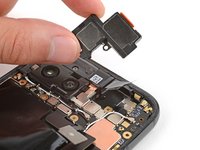
Use a Torx Plus 3IP screwdriver to remove the 4.3 mm‑long screw securing the earpiece speaker to the frame.
-


To reassemble your device, follow these instructions in reverse order.
To run a diagnostics test with the built-in Pixel Diagnostic tool, click here.
Take your e-waste to an R2 or e-Stewards certified recycler.
Repair didn’t go as planned? Try some basic troubleshooting, or ask our Answers community for help.

