はじめに
iPhone 13のリアカメラを取り出して、交換するための修理ガイドです。全てのカメラモジュールはシングルユニットとして交換します。
注: iOS 18以降では、Appleのリペアアシスタントを使用して、新しい純正リアガラス部品をペアリングすることができます。
必要な工具と部品
-
-
油性ペンでオープニングピックの先端から3mmの位置にマークを入れます。
Got to step 2 and realized the fix kit doesn't include an opening pick! Looks like a guitar pick, and I have those lying around. Is that expected? Looks like the pick is used in many steps below. There's a little blue crowbar that isn't mentioned in the instructions. Perhaps that replaces the opening pick?
Hi! I can't see which guide you were using when writing this comment. Can you reply here with which guide and fix kit you used?
I see you posted this in Meta. I hope it's resolved soon! In the meantime, a guitar pick may work well enough for your repair.
what fix kit?
My fix kit didn't include an opening pick either
My AliExpress refurbished screen came with a pick that has a coin-like circle that pops out, so no modification was necessary
It's not an Ifixit KIT if it doesn't include everything. You'll need to order the opening pic separately. Or head to Walmart like myself and look for guitar pics. Hopefully, this will work just as well.
No pick in mine as well. It’s really not clear that you have to order this separately when ordering an IPhone SE 202/2022 screen repair kit. Is this the case?
Frustrated, I ordered a compact package where everything was encapsulated. Useless suction tools could not separate the screen. If it is unable to decouple the screen, then why sucking suction tools you have provided.
For my kit the triangle pick was stuck inside the box with the screen not with the other tools maybe it's also there for you
Y’all are getting far, FAR too detailed with some of this stuff…. Measuring and marking the pick that you won’t actually use to open the device?!? lol that’s kinda funny. Just heat it up, grab a spudger, and the back just pops right off! The iFixit tech need to stick to the KISS method more often, you know KEEP IT SIMPLE STUPID!!! Like l, for reals, I’ve been doing this stuff for YEARS and using iFixit guides regularly and this is just ridiculous at this point!
Will the phone still work if the sensor assembly on the back of the screen is damaged?
-
-
-
iPhoneの画面全体に、透明な梱包用テープを重ね合わせます。
-
次の手順でうまく吸盤が装着しない場合は、強力なテープ(ガムテープなど)を持ち手に折って、代わりにスクリーンを持ち上げてみてください。
-
-
この手順で使用する道具:Clampy - Anti-Clamp$24.95
-
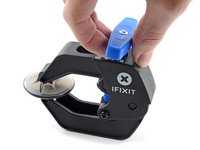
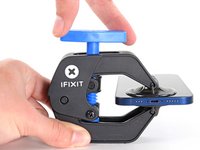
次の3つの手順では、デバイスの開口作業を簡単にするために開発されたツール、リバースクランプの使い方を紹介します。リバースクランプを使用しない場合は、この3つの手順をスキップして別の方法をご覧ください。
-
青いハンドルをヒンジ側に引くと、リバースクランプのアームを解除します。
-
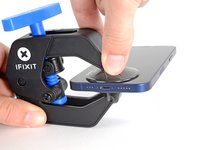
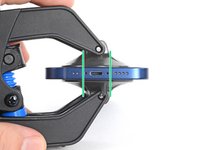
iPhoneの左/右側の端に向けてアームをスライドします。
-
吸盤カップをiPhoneの下端付近に装着します。上部に一つ、下部に1つずつ取り付けます。
-
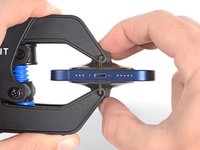
吸盤カップ両側をしっかりと締め合わせると、標的の場所にしっかりと装着させることができます。
-
-
-
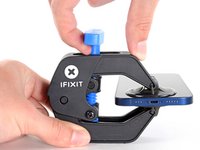
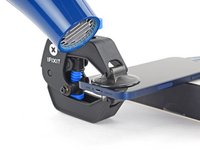
青いハンドルを手前に引くと、アームがロックされます。
-
ハンドルを時計回りに360度回転させ、カップが両側をストレッチするまで回し続けます。
-
吸盤の位置が合っていることを確認してください。装着位置がずれ始めたら、吸盤を少し緩めてアームを装着し直してください。
-
-
-
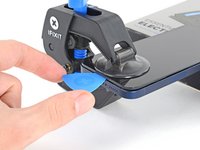
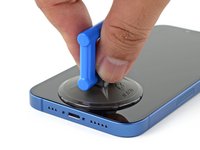
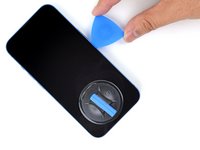
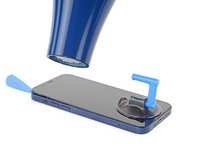
吸盤カップをしっかりと引き上げます。スクリーンとフレームの間に僅かな隙間が生じるまで一定の力で引っ張ります。
-
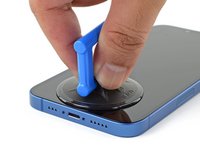
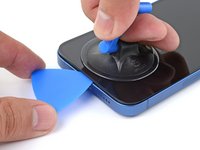
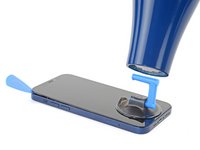
スクリーンのプラスチックベゼルの下の隙間に開口ピックを差し込みます。
The adhesive on the 13 model is certainly, "very strong." Keep this in mind when performing the repair. I had never opened up an iPhone as recent as the iPhone 13 and this adhesive that Apple uses for the water tight seal is strong. I had not been patient enough when opening my iPhone 13 that I had actually broken the screen. I was swapping the battery, but now I have to actually buy a new display assembly.
-
-
-
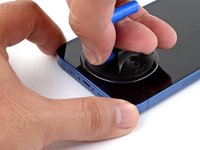
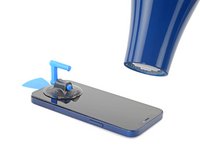
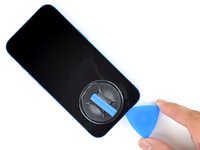
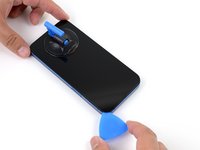
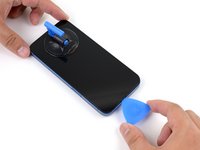
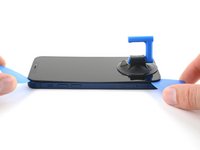
オープニングピックをiPhoneの右下あたりでスライドさせ、粘着部分を切り離します。
-
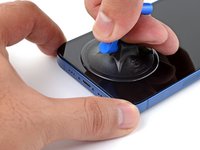
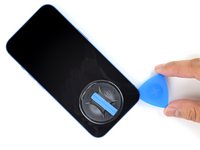
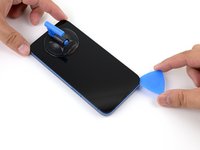
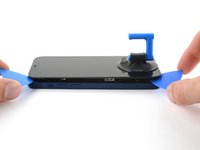
iPhone右端から右上のコーナーに達するまでスライドしながら移動を続けます。
-
右上コーナーにピックを残しておきます。次の作業に移ってください。
-
-
-
-
吸盤ハンドルを外していない場合は、ここで取り外します。
-
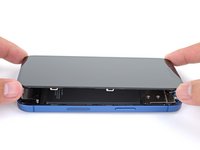
iPhoneの右側端が手前に来るように配置します。
-
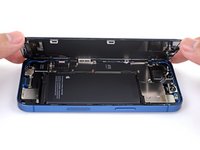
iPhoneのディスプレイを右側から(本のページをめくるように)開きます。
-
作業中、ディスプレイが邪魔にならないよう、ディスプレイを立てかけるための衝立てを準備してください。
-
-
この手順で使用する道具:Magnetic Project Mat$19.95
-
プラスドライバーを使って、バッテリーとディスプレイコネクタカバーを固定している1.3mmネジを3本外します。
-
-
-
清潔な指先もしくはスパッジャーを使って、ロジックボード上のソケットからバッテリーコネクタをこじ開けて外します。
-
コネクタをロジックボードから少し離して曲げてください。修理中に誤ってソケットに接触してしまい、デバイスに電源が供給されるのを防ぎます。
-
-
-
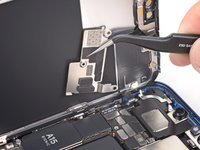
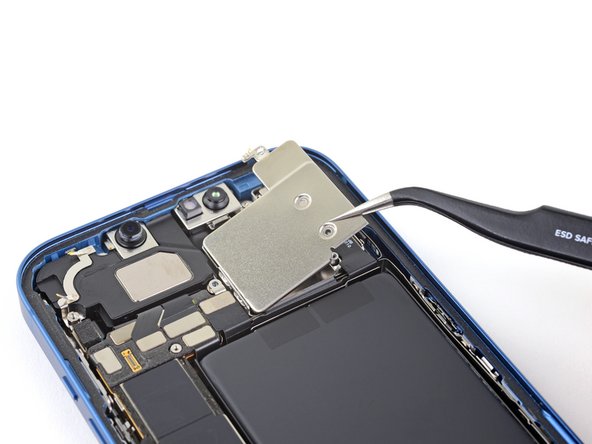
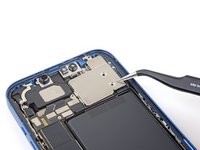
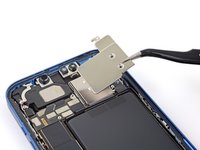
フロントセンサーのコネクターカバーを固定している3本のネジを外します。
-
1.7 mmプラスネジー1本
-
1.3 mmプラスネジー1本
-
1.8 mm Y000ネジー1本
-
-
-
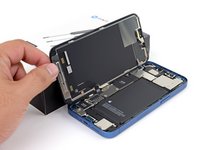
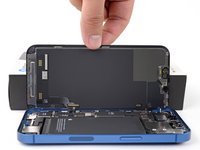
スクリーンを取り外します。
what do I do if i cant get the screw out?
-
-
-
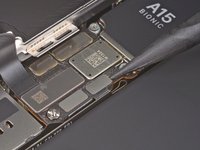
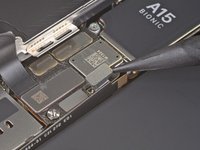
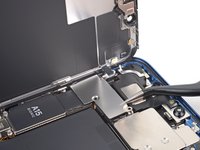
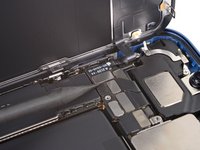
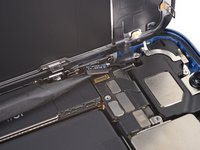
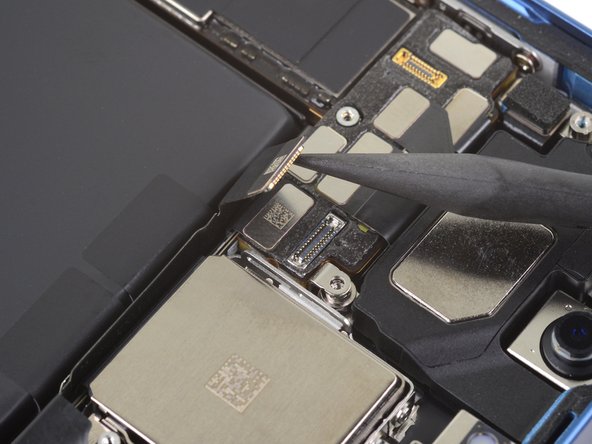
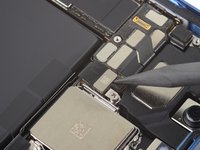
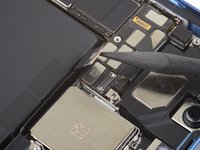
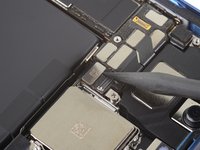
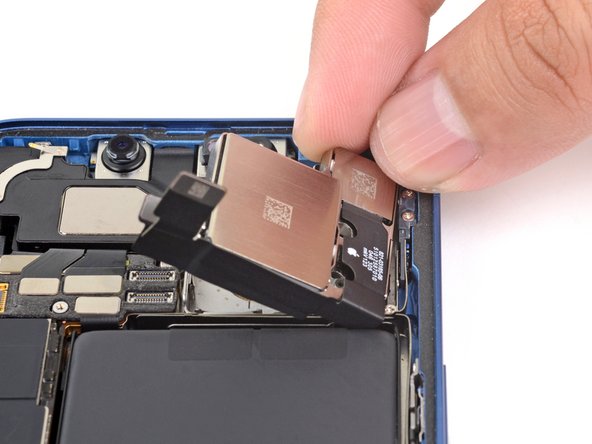
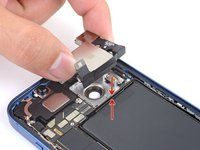
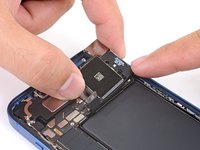
スパッジャーの先端をカメラアセンブリに繋がっている左下ケーブルの下に差し込みます。それからわずかに持ち上げながら、リアカメラアセンブリの位置をずらします。
-
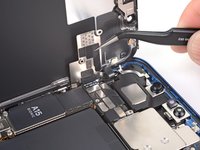
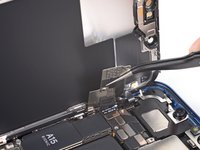
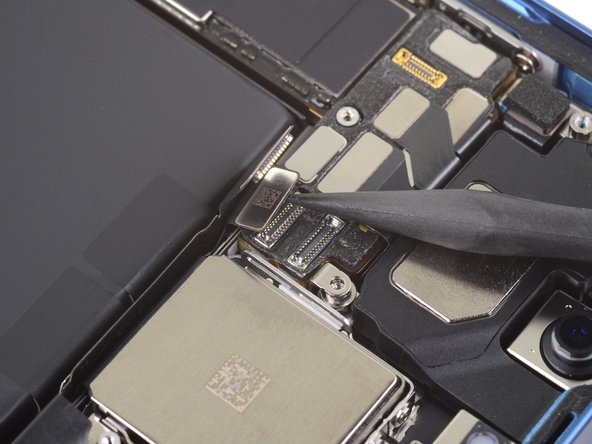
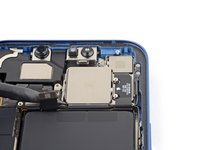
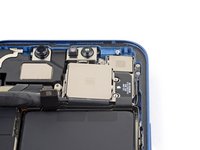
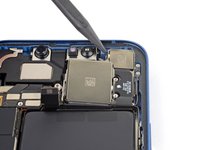
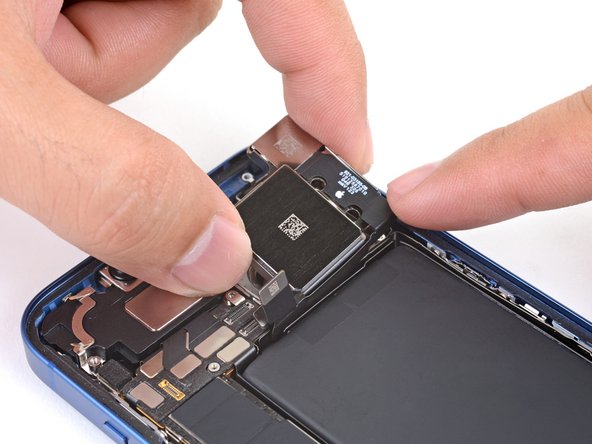
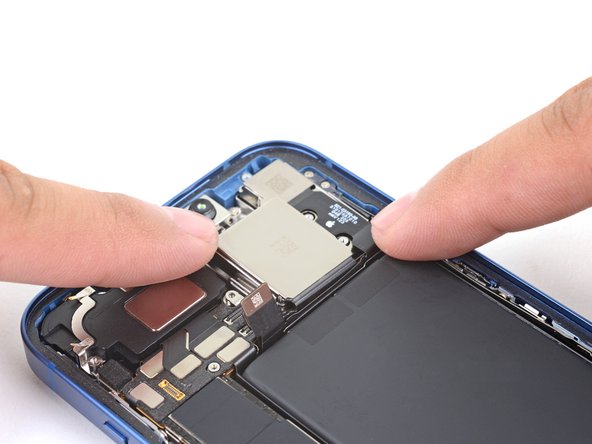
スパッジャーの先端を使って、指でつまめる程度の高さまで、カメラアセンブリの上部端を持ち上げます。
-


交換用のパーツとオリジナルのパーツを見比べてください。残りのコンポーネントを移植する必要があるか、パーツを装着する前に接着剤の裏張りを取る必要があります。
デバイスを再組み立てする際は、これらのインストラクションを逆の順番に従って作業を進めてください。
修理後、交換部品によっては Appleのリペアアシスタント を使ってキャリブレーション(調整)できる場合があります。デバイスをアップデートし、「設定」→「一般」→「バージョン情報」→「部品とサービス履歴」、「再起動と修理完了」をタップし、画面の指示に従います。
不要になった電子廃棄物は 認証済みリサイクルセンターで処分してください。
修理が上手く進みませんか?基本的なトラブルシュートのヘルプは トラブルシューティングを参照してください。もしくはiPhone 13のアンサーコミュニティを検索ください。
8 の人々がこのガイドを完成させました。
以下の翻訳者の皆さんにお礼を申し上げます:
100%

Midori Doiさんは世界中で修理する私たちを助けてくれています! あなたも貢献してみませんか?
翻訳を始める ›

2 件のコメント
Habrá alguna guía para reemplazar el flash del iPhone 13 Pro? Gracias
thanks! helped a lot!