はじめに
デバイス内部を開口するためのリバースクランプの使い方を紹介します。
必要な工具と部品
-
-
この手順で使用する道具:Clampy - Anti-Clamp$24.95
-
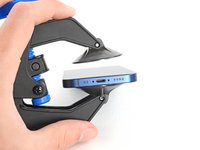
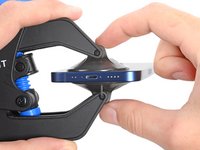
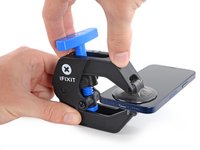
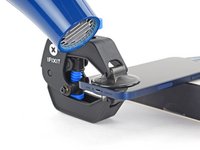
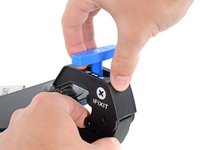
青いハンドルを後ろ側のヒンジに向けて引くと、リバースクランプのアームのロックが外れます。
-
-
-
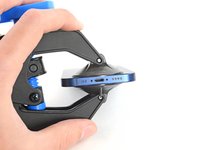
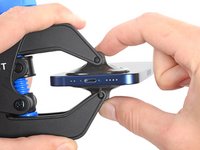
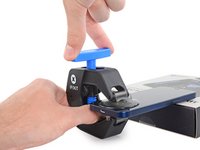
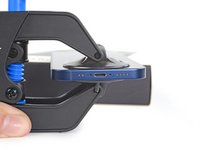
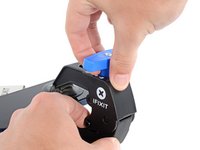
クランプを横向きに配置させます。カップ先端のエッジがよく確認できるようになります。デバイス上のどの位置に装着するかについては、お持ちのデバイス専用の修理ガイドを参照してください。
-
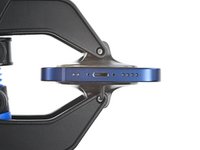
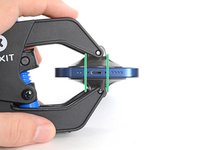
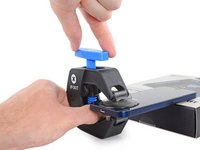
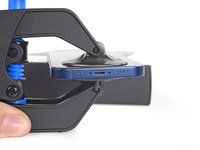
吸盤カップの中心を、デバイス内部に侵入するためのスタート付近の滑らかな部分に合わせます。
-
-
-
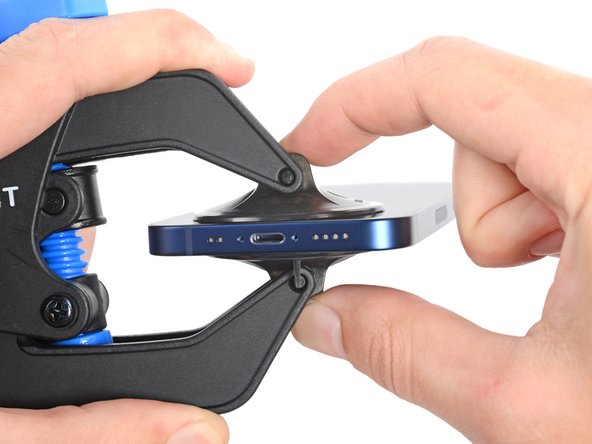
クランプが正しく働くためには、両側の吸盤カップの取り付け位置が上下揃っていることが重要です。
-
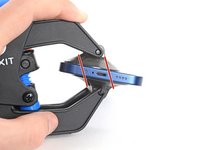
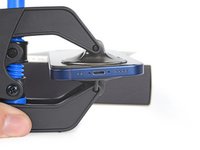
カップの配列が正しく並んでいない場合、吸盤が早く外れてしまうことがあります。カップをデバイスからプルタブを使って引っ張り、再度正しい位置に装着し直してください。
-
-
-
-
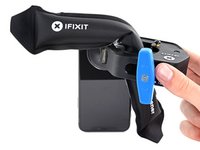
小型のデバイスに対して使用する際は、温めたiOpenerをクランプのアームに通してデバイスに当てます。
-
iPhone12やそれ以降の最新モデルのような大型の携帯電話では、ヘアドライヤーやヒートガンを使って、エッジに沿って使用されている接着剤を柔らかくすることができます。
-


111 の人々がこのガイドを完成させました。
以下の翻訳者の皆さんにお礼を申し上げます:
100%

これらの翻訳者の方々は世界を修理する私たちのサポートをしてくれています。 あなたも貢献してみませんか?
翻訳を始める ›


10件のガイドコメント
Very clear step-by-step guide. The next time I do a battery replacement I intend to use one of these.
4surferboy - 返信
Engaging the Opening Mode the first time takes a bit of a push, don't be afraid, keep pushing until you hear a click. Seems to be easier to engage after the first time.
Hi Ed,
Thanks for the helpful feedback! I've implemented your note into the guide step.
I used mine to open a Samsung Galaxy Tab A7 tablet. Very frustrating, seemed like you needed three hands to put it in place (though later I found a better procedure). The OEM case glue was quite powerful (used a heating pad to get the tablet Very hot). The Anti-Clamp had difficulty holding to the back of the case and kept losing its grip. I didn't try the packing tape trick, just now noticed it. I mainly used the top suction cup just by itself.
The replacement battery had a very long battery cable and didn't lay flat, which caused a bright spot on the display where the cable "kink" was. So time to remove the case again. This time I stuck each suction cup individually, screen side first, the case - firmly pressing each cup flat after placement. No need to "fight" the Anti-Clamp to get it in place, plus I think I got a better hold with the cups. The B-7000 glue I used was much easier to break loose than the OEM case glue.
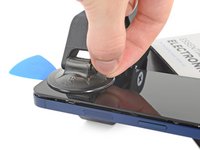
To loosen the suction cups I slid an opening pick under the edge of the cup.