メインコンテンツにスキップ

iPhone 13 リアカメラの交換

英語
日本語

手順 8を翻訳中

手順8
iPhone 13 Rear-Facing Camera Replacement, Reassembly information: 手順 0、 3の画像 1 iPhone 13 Rear-Facing Camera Replacement, Reassembly information: 手順 0、 3の画像 2 iPhone 13 Rear-Facing Camera Replacement, Reassembly information: 手順 0、 3の画像 3
Reassembly information
  • During reassembly, insert the two camera assembly cables into the gap between the upper battery wall and lower camera wall.

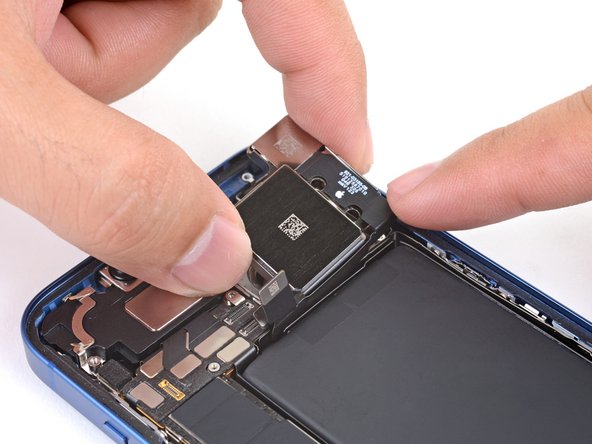
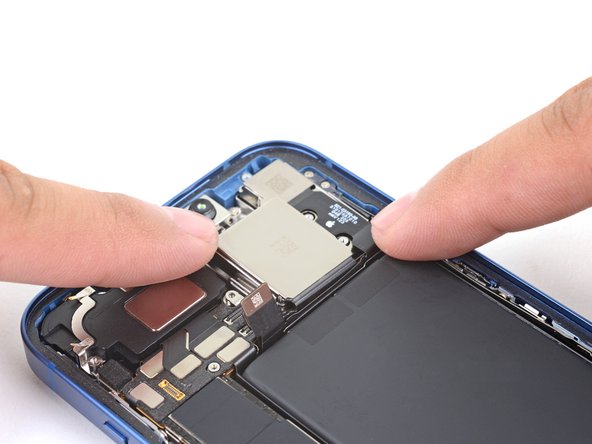
  • First, insert the two camera assembly cables into the gap.

  • Then, press the rest of the camera assembly down into its recess.

再組み立ての際、2本のカメラアセンブリケーブルを上部バッテリーと下部カメラの隙間に挿入してください。

まず、2本のカメラアセンブリ用ケーブルを隙間に差し込みます。

それからカメラアセンブリの残りをしっかりと押し込んで装着します。

クリエイティブコモンズのオープンソース著作権のもと、あなたの投稿は著作権の対象となります