メインコンテンツにスキップ
リペアコミュニティに参加 - アカウントの作成
Samsung Galaxy A15 Earpiece Speaker Replacement

Samsung Galaxy A15 Earpiece Speaker Replacement

Nick Schultz

Nick Schultz

最終更新日: 2025年8月12日

40 - 50 分
中レベル

Follow this guide to replace the battery on your Samsung Galaxy A15.

To reassemble your device, you will need replacement adhesive for the back cover and new earpiece speaker.

必要な工具と部品

パーツ

ツール

もっと見る

  1. Samsung Galaxy A15 Earpiece Speaker Replacement, Prepare the phone for disassembly: 手順 1、 3の画像 1 Samsung Galaxy A15 Earpiece Speaker Replacement, Prepare the phone for disassembly: 手順 1、 3の画像 2 Samsung Galaxy A15 Earpiece Speaker Replacement, Prepare the phone for disassembly: 手順 1、 3の画像 3
    • Let the phone's battery drain below 25% before starting this repair. A charged lithium-ion battery may catch fire if damaged.

    • Unplug all cables and completely power off the phone.

    • Press and hold the power and volume down buttons at the same time to bring up the shutdown menu.

  2. Samsung Galaxy A15 Earpiece Speaker Replacement, Heat the right edge: 手順 2、 1の画像 1
    • Heat an iOpener and apply it to the right edge of the back cover for two minutes.

    • A hair dryer may also be used, but be careful not to overheat the phone—the display, internal battery, and plastic back are susceptible to heat damage. The phone should be just too hot to touch comfortably.

  3. Samsung Galaxy A15 Earpiece Speaker Replacement: 手順 3、 1の画像 1
    • While you're waiting for the adhesive to soften, here is some useful information:

    • There's adhesive securing the back cover around the perimeter of the frame.

    • There is an additional layer of adhesive towards the bottom of the phone. Apart from this area, you should not be deeper than 4 mm from the edge.

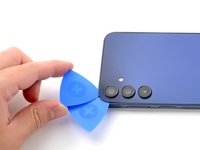
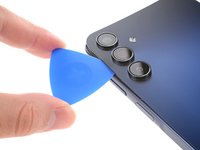
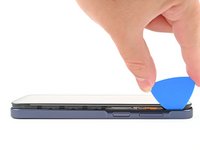
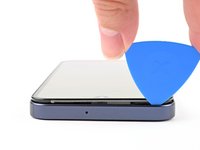
  4. Samsung Galaxy A15 Earpiece Speaker Replacement, Insert an opening pick: 手順 4、 3の画像 1 Samsung Galaxy A15 Earpiece Speaker Replacement, Insert an opening pick: 手順 4、 3の画像 2 Samsung Galaxy A15 Earpiece Speaker Replacement, Insert an opening pick: 手順 4、 3の画像 3
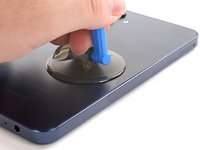
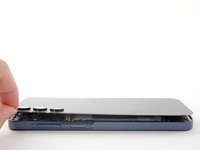
    • Apply a suction handle to the back cover, as close to the center of the right edge as possible.

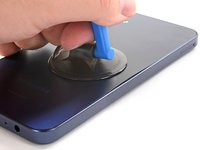
    • Pull up on the suction handle with strong, steady force to create a gap between the cover and the frame.

    • If you have trouble, apply more heat to further soften the adhesive.

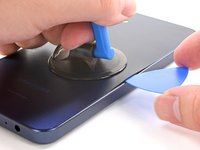
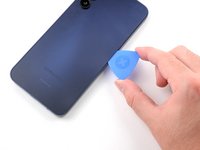
    • Insert an opening pick into the gap.

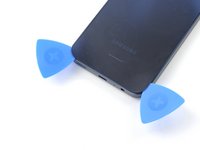
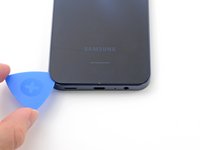
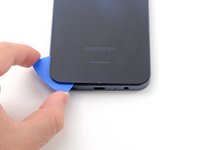
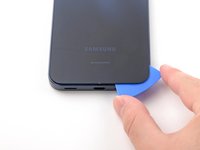
  5. Samsung Galaxy A15 Earpiece Speaker Replacement, Slice the adhesive: 手順 5、 3の画像 1 Samsung Galaxy A15 Earpiece Speaker Replacement, Slice the adhesive: 手順 5、 3の画像 2 Samsung Galaxy A15 Earpiece Speaker Replacement, Slice the adhesive: 手順 5、 3の画像 3
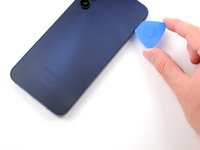
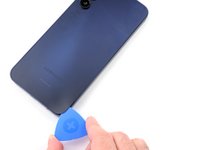
    • Slide the opening pick along the right edge between the back cover and the frame to slice through the adhesive.

    • Leave the opening pick in the bottom right corner to keep the adhesive from resealing.

  6. Samsung Galaxy A15 Earpiece Speaker Replacement: 手順 6、 1の画像 1
    • Reheat your iOpener and apply it to the bottom of the back cover for two minutes.

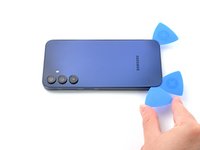
  7. Samsung Galaxy A15 Earpiece Speaker Replacement: 手順 7、 3の画像 1 Samsung Galaxy A15 Earpiece Speaker Replacement: 手順 7、 3の画像 2 Samsung Galaxy A15 Earpiece Speaker Replacement: 手順 7、 3の画像 3
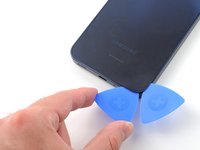
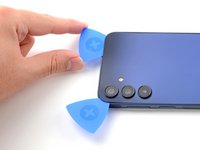
    • Insert another opening pick in the bottom right corner and slide it along the bottom edge to slice through the adhesive.

    • Leave this opening pick in the bottom left edge to prevent the adhesive from resealing.

  8. Samsung Galaxy A15 Earpiece Speaker Replacement: 手順 8、 1の画像 1
    • Reheat your iOpener and apply it to the left side of the back cover for two minutes.

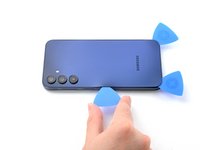
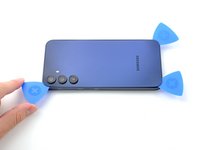
  9. Samsung Galaxy A15 Earpiece Speaker Replacement: 手順 9、 3の画像 1 Samsung Galaxy A15 Earpiece Speaker Replacement: 手順 9、 3の画像 2 Samsung Galaxy A15 Earpiece Speaker Replacement: 手順 9、 3の画像 3
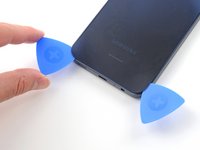
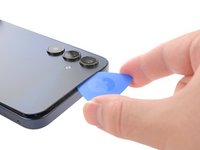
    • Insert another opening pick in the bottom left corner and slide it along the left edge to slice through the adhesive.

    • Leave this opening pick in the top left corner to prevent the adhesive from resealing.

    • Only insert the pick up to 4 mm deep to avoid damaging the rear cameras or flash.

  10. Samsung Galaxy A15 Earpiece Speaker Replacement: 手順 10、 1の画像 1
    • Reheat your iOpener and apply it to the top of the back cover for two minutes.

  11. Samsung Galaxy A15 Earpiece Speaker Replacement: 手順 11、 2の画像 1 Samsung Galaxy A15 Earpiece Speaker Replacement: 手順 11、 2の画像 2
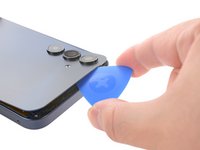
    • Insert another opening pick in the top left corner at the same depth and slide it along the top edge to slice through the adhesive.

    • Leave this opening pick in the top right corner to prevent the adhesive from resealing.

  12. Samsung Galaxy A15 Earpiece Speaker Replacement, Unfasten the camera clips: 手順 12、 3の画像 1 Samsung Galaxy A15 Earpiece Speaker Replacement, Unfasten the camera clips: 手順 12、 3の画像 2 Samsung Galaxy A15 Earpiece Speaker Replacement, Unfasten the camera clips: 手順 12、 3の画像 3
    • Insert an opening pick along the top edge of the phone and twist it gently to unfasten the camera clips.

    • Slide the opening pick around the edge of the camera modules to unfasten the remaining camera clips.

    • Only insert the pick up to 4 mm to avoid damaging the rear cameras or flash.

  13. Samsung Galaxy A15 Earpiece Speaker Replacement, Slice remaining adhesive: 手順 13、 3の画像 1 Samsung Galaxy A15 Earpiece Speaker Replacement, Slice remaining adhesive: 手順 13、 3の画像 2 Samsung Galaxy A15 Earpiece Speaker Replacement, Slice remaining adhesive: 手順 13、 3の画像 3
    • Once the adhesive around the edges is loose, insert an opening pick deeper into the bottom edge from the bottom left corner.

    • Slide the pick deeper into the phone across the bottom edge, slicing the remaining adhesive.

  14. Samsung Galaxy A15 Earpiece Speaker Replacement, Remove the back cover: 手順 14、 3の画像 1 Samsung Galaxy A15 Earpiece Speaker Replacement, Remove the back cover: 手順 14、 3の画像 2 Samsung Galaxy A15 Earpiece Speaker Replacement, Remove the back cover: 手順 14、 3の画像 3
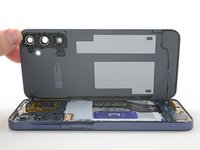
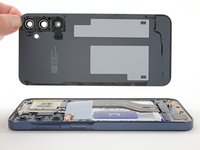
    • Lift and remove the back cover.

    • During reassembly:

    • This is a good point to power on the phone and test all functions before sealing it up. Be sure to power the phone back down completely before you continue working.

    • Remove any adhesive chunks with a pair of tweezers or your fingers. Apply heat and isopropyl alcohol (90% or greater) if you're having trouble removing the adhesive.

    • If you're using custom-cut adhesives, follow this guide.

    • If you're using double-sided tape, follow this guide.

  15. Samsung Galaxy A15 Earpiece Speaker Replacement, Remove the SIM tray: 手順 15、 3の画像 1 Samsung Galaxy A15 Earpiece Speaker Replacement, Remove the SIM tray: 手順 15、 3の画像 2 Samsung Galaxy A15 Earpiece Speaker Replacement, Remove the SIM tray: 手順 15、 3の画像 3
    この手順で使用する道具:
    iFixit Precision 4 mm Screwdriver Bit
    $2.99
    • Insert a SIM card eject tool, bit, or a straightened paperclip into the hole on the SIM tray, located towards the top of the phone on the left edge.

    • Press in firmly to eject the tray and remove it.

  16. Samsung Galaxy A15 Earpiece Speaker Replacement, Remove the frame screws: 手順 16、 1の画像 1
    • Remove the fifteen 4 mm-long screws connecting the frame to the chassis.

  17. Samsung Galaxy A15 Earpiece Speaker Replacement, Disconnect the fingerprint button: 手順 17、 2の画像 1 Samsung Galaxy A15 Earpiece Speaker Replacement, Disconnect the fingerprint button: 手順 17、 2の画像 2
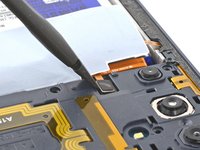
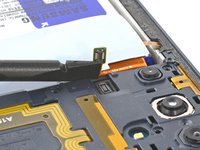
    • Use the flat end of a spudger to pry up and disconnect the fingerprint button press connector from the motherboard.

  18. Samsung Galaxy A15 Earpiece Speaker Replacement, Unfasten the frame clips: 手順 18、 3の画像 1 Samsung Galaxy A15 Earpiece Speaker Replacement, Unfasten the frame clips: 手順 18、 3の画像 2 Samsung Galaxy A15 Earpiece Speaker Replacement, Unfasten the frame clips: 手順 18、 3の画像 3
    • Flip the phone over so the screen is facing up.

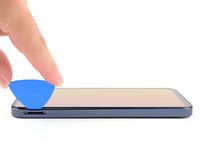
    • Insert an opening pick between the screen and the SIM card tray cutout to form a gap between the frame and the phone.

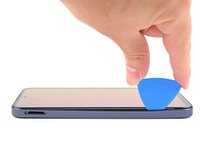
    • Slide the opening pick down the left edge of the device to unfasten the frame clips.

  19. Samsung Galaxy A15 Earpiece Speaker Replacement: 手順 19、 3の画像 1 Samsung Galaxy A15 Earpiece Speaker Replacement: 手順 19、 3の画像 2 Samsung Galaxy A15 Earpiece Speaker Replacement: 手順 19、 3の画像 3
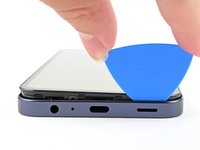
    • Continue sliding the opening pick around the perimeter of the phone until all of the clips are unfastened.

    • If the opening pick comes out of the phone, re-insert it at the last unfastened corner.

  20. Samsung Galaxy A15 Earpiece Speaker Replacement, Remove the frame: 手順 20、 2の画像 1 Samsung Galaxy A15 Earpiece Speaker Replacement, Remove the frame: 手順 20、 2の画像 2
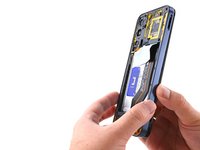
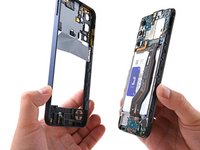
    • Pull the frame straight off of the phone.

  21. Samsung Galaxy A15 Earpiece Speaker Replacement, Disconnect the battery: 手順 21、 2の画像 1 Samsung Galaxy A15 Earpiece Speaker Replacement, Disconnect the battery: 手順 21、 2の画像 2
    • Use the flat end of a spudger to lift up and disconnect the battery press connector from the motherboard.

  22. Samsung Galaxy A15 Earpiece Speaker Replacement, Disconnect the interconnect cable: 手順 22、 2の画像 1 Samsung Galaxy A15 Earpiece Speaker Replacement, Disconnect the interconnect cable: 手順 22、 2の画像 2
    • The connector labeled "OCTA" is not connected to the board but rather the display cable connector. Make sure you disconnect the connectors from each other.

    • Insert the flat end of a spudger under the overhang of the top "OCTA" cable connector.

    • Pry up the top connector away from the bottom one until they're disconnected.

  23. Samsung Galaxy A15 Earpiece Speaker Replacement: 手順 23、 2の画像 1 Samsung Galaxy A15 Earpiece Speaker Replacement: 手順 23、 2の画像 2
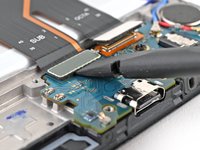
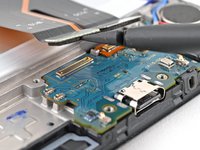
    • Use the flat end of a spudger to pry up the "SUB" connector from the daughterboard and disconnect it.

  24. Samsung Galaxy A15 Earpiece Speaker Replacement: 手順 24、 2の画像 1 Samsung Galaxy A15 Earpiece Speaker Replacement: 手順 24、 2の画像 2
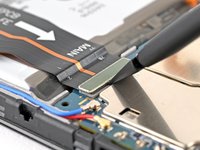
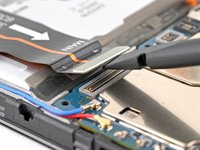
    • Use the flat end of a spudger to pry up the "MAIN" connector from the motherboard and disconnect it.

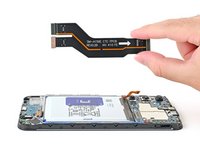
  25. Samsung Galaxy A15 Earpiece Speaker Replacement, Remove the interconnect cable: 手順 25、 2の画像 1 Samsung Galaxy A15 Earpiece Speaker Replacement, Remove the interconnect cable: 手順 25、 2の画像 2
    • Pick up the interconnect cable and remove it from the phone.

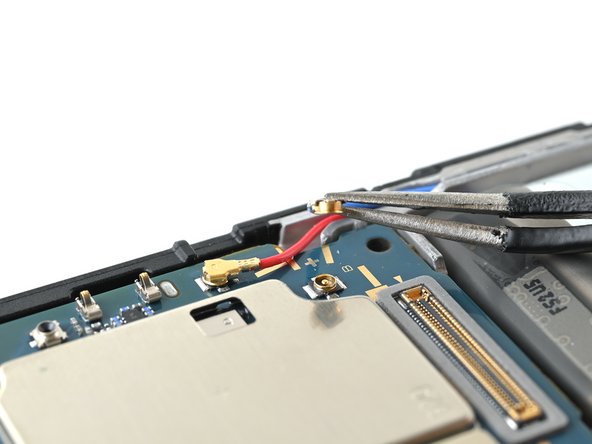
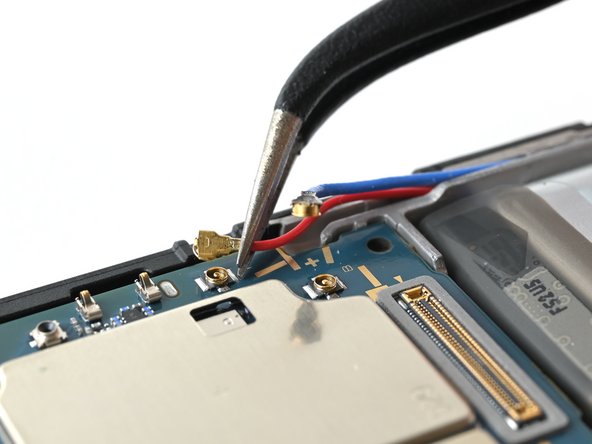
  26. Samsung Galaxy A15 Earpiece Speaker Replacement, Disconnect the antennas: 手順 26、 3の画像 1 Samsung Galaxy A15 Earpiece Speaker Replacement, Disconnect the antennas: 手順 26、 3の画像 2 Samsung Galaxy A15 Earpiece Speaker Replacement, Disconnect the antennas: 手順 26、 3の画像 3
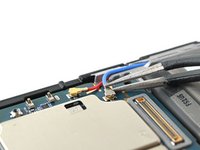
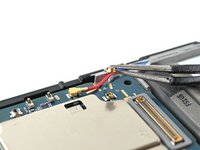
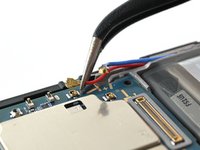
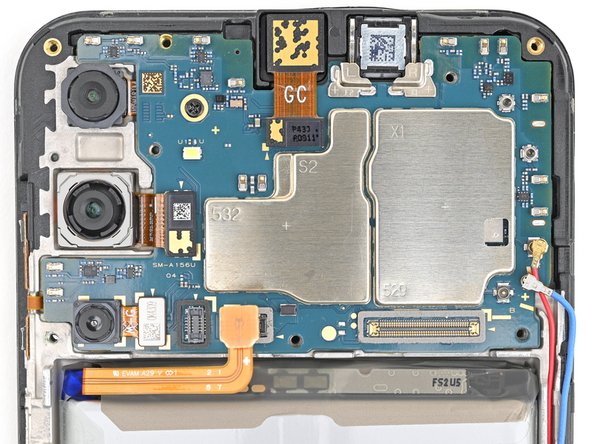
    • Insert one arm of angled tweezers under the metal neck of each antenna coaxial connector on the motherboard and lift straight up to disconnect them.

    • During reassembly, use tweezers to hold the connector in place over its socket and gently press down with your finger or a spudger—the connector should "snap" into place. If you're having trouble, reposition the head and try again.

  27. Samsung Galaxy A15 Earpiece Speaker Replacement, Remove the motherboard screw: 手順 27、 2の画像 1 Samsung Galaxy A15 Earpiece Speaker Replacement, Remove the motherboard screw: 手順 27、 2の画像 2
    • Use a Phillips screwdriver to remove the 3 mm‑long screw securing the motherboard to the phone.

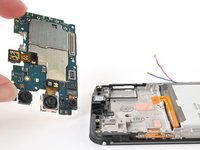
  28. Samsung Galaxy A15 Earpiece Speaker Replacement, Remove the motherboard: 手順 28、 2の画像 1 Samsung Galaxy A15 Earpiece Speaker Replacement, Remove the motherboard: 手順 28、 2の画像 2
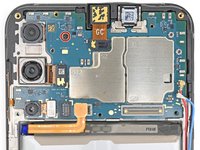
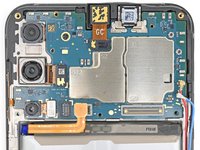
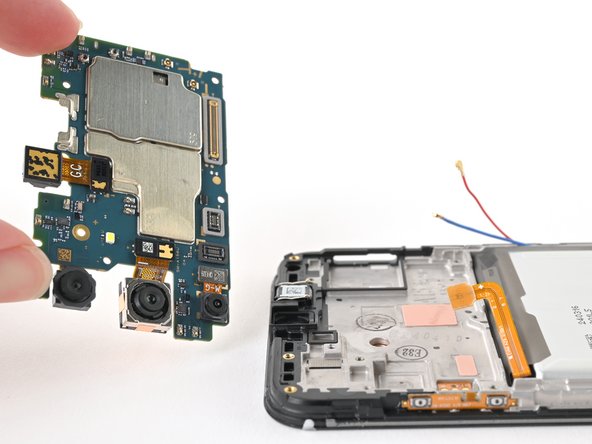
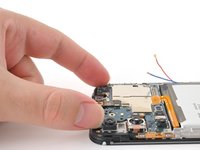
    • Use your fingers to grab the motherboard by its corners and pull it up and out of your phone.

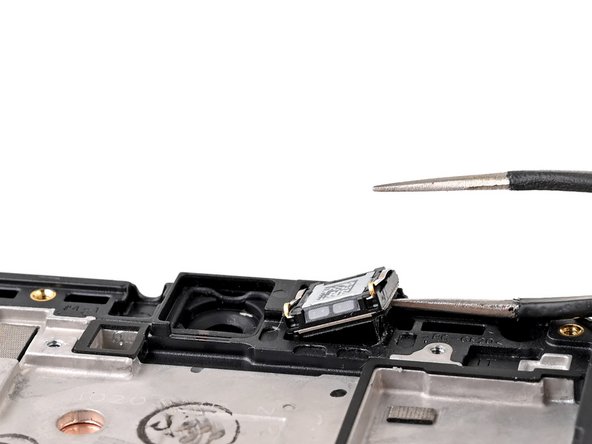
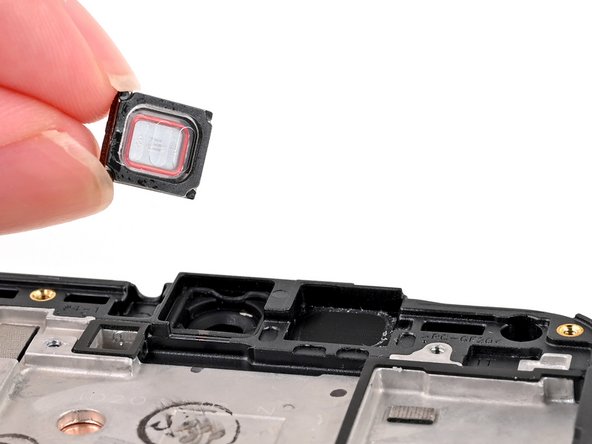
  29. Samsung Galaxy A15 Earpiece Speaker Replacement, Remove the earpiece speaker: 手順 29、 3の画像 1 Samsung Galaxy A15 Earpiece Speaker Replacement, Remove the earpiece speaker: 手順 29、 3の画像 2 Samsung Galaxy A15 Earpiece Speaker Replacement, Remove the earpiece speaker: 手順 29、 3の画像 3
    この手順で使用する道具:
    Tesa 61395 Tape
    $2.99
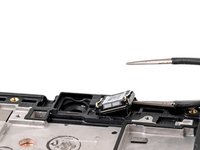
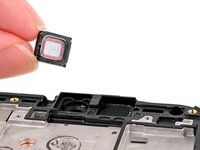
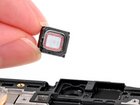
    • Insert the tip of angled tweezers underneath the earpiece speaker and gently pry it up to separate the adhesive.

    • Lift the earpiece speaker out of the phone.

    • Use angled tweezers to remove all the old adhesive from the frame before installing the earpiece speaker. If the replacement part doesn't include new adhesive, use 1 mm strips of thin, double-sided tape instead.

終わりに

Compare your new replacement part to the original part—be sure to remove adhesive backings from the new part before installing.

To reassemble your device, follow these instructions in reverse order.

Repair didn’t go as planned? Try some basic troubleshooting, or ask our Answers community for help.

3 の人々がこのガイドを完成させました。

Nick Schultz

メンバー登録日: 03/24/24

36,540 ポイント

224のガイドは作成済み

チーム

iFixit iFixit人のメンバー

Staff

122 メンバー

23,370のガイドは作成済み

0件のガイドコメント

コメントを追加

統計データ:

過去 24時間: 4

過去 7 日: 21

過去 30 日: 133

今までの合計 1,829