
Huawei Mate 20 LCD & Digitizer Replacement

はじめに
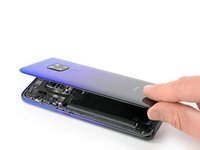
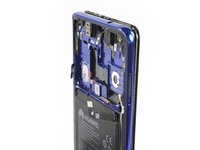
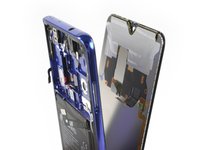
手順 1 に進むUse this guide to replace a broken or defective LCD Screen & Digitizer in your Huawei Mate 20.
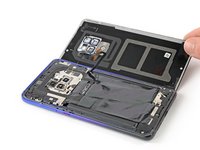
Note: This guide instructs you to replace only the screen while leaving the original frame and motherboard in place. However, some replacement screens for this phone come pre-installed in a new frame (a.k.a. chassis), which requires a very different procedure. Make sure you have the correct part before starting this guide.
Opening the Huawei Mate 20 will damage the waterproof sealing on the device. If you do not replace the adhesive seals, your phone will function normally but will lose its water-protection.
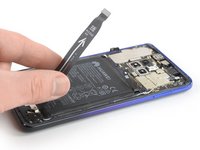
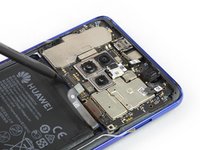
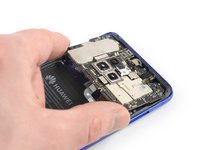
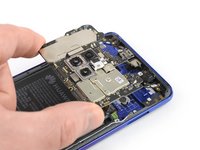
Before disassembling your phone, discharge the battery below 25%. The battery can catch fire and/or explode if accidentally punctured, but the chances of that happening are much lower if discharged.
You’ll need replacement adhesive to reattach components when reassembling the device.


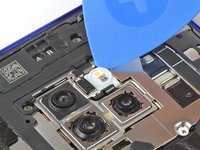
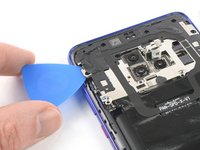
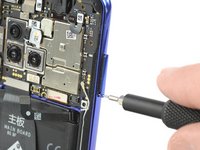
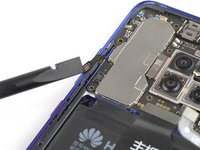
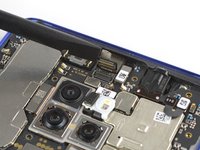
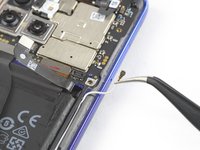
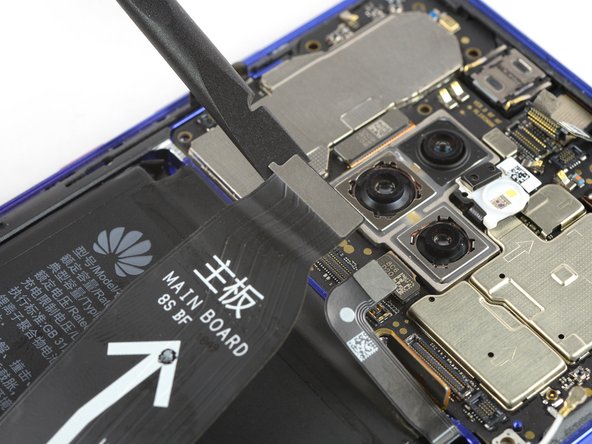
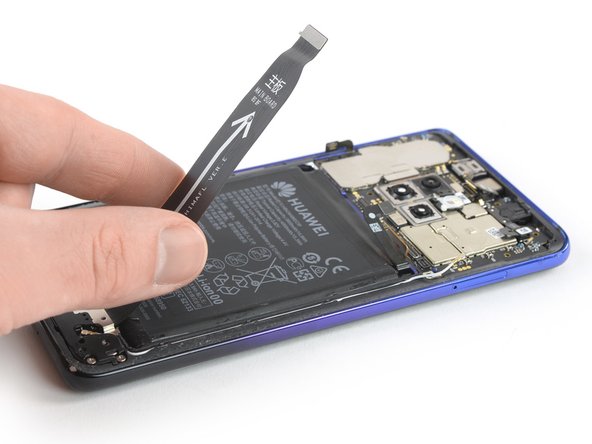
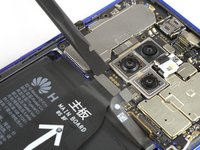
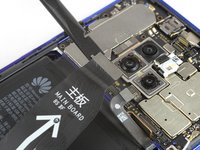
-
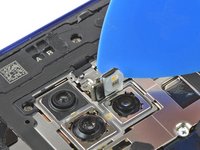
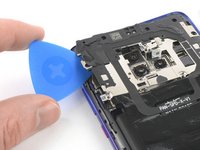
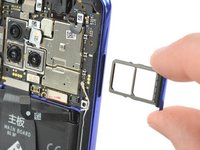
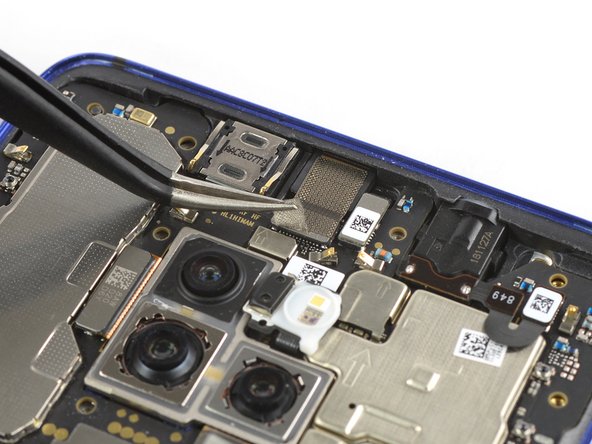
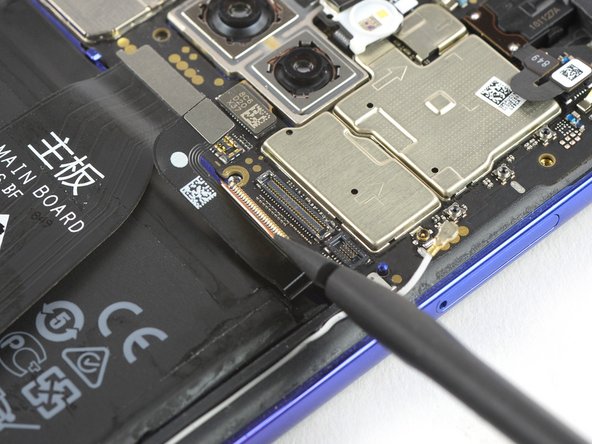
-
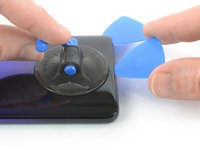
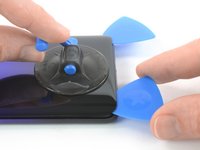
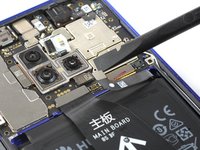
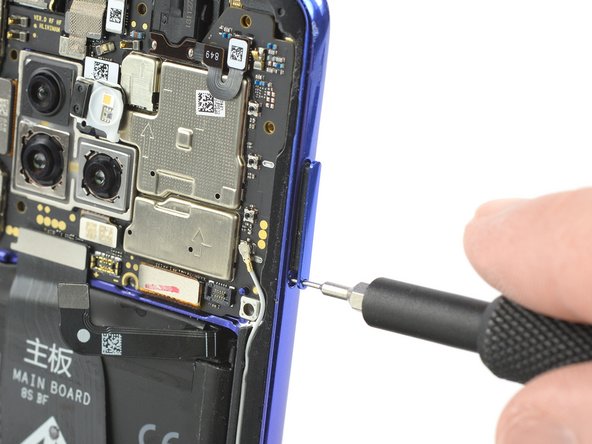
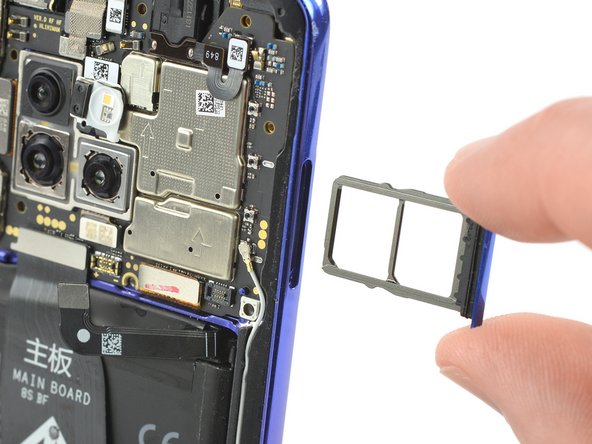
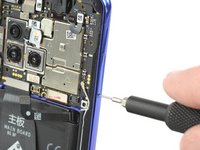
Before you begin, switch off your phone.
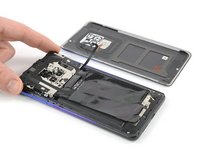
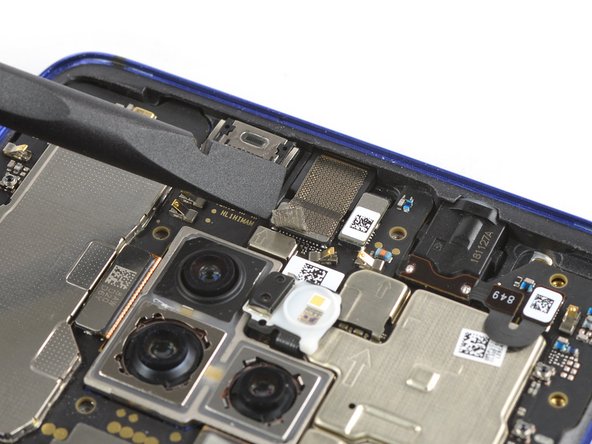
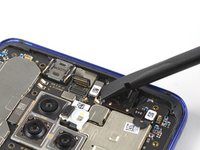
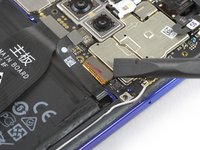
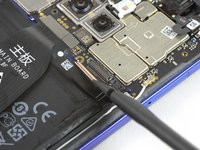
-
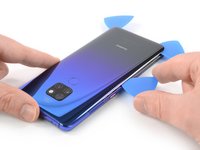
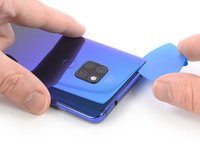
Apply a heated iOpener to the back of the phone to loosen the adhesive beneath the back cover. Apply the iOpener for at least two minutes.
-
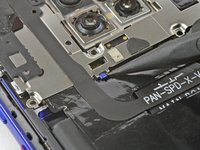
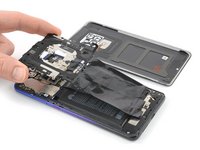
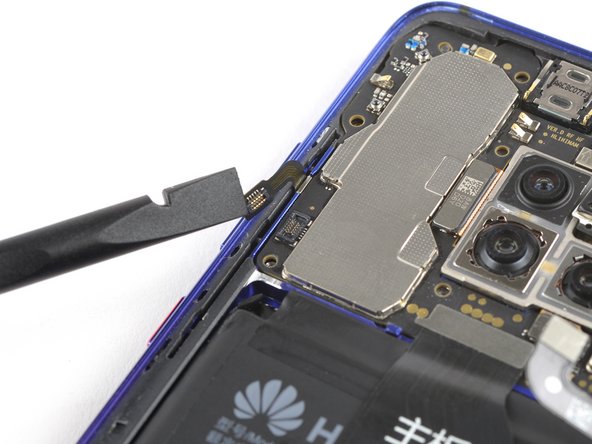
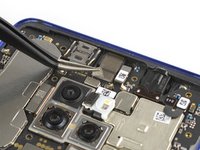
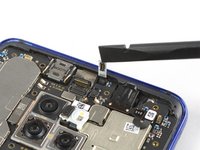
-
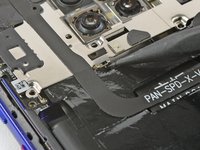
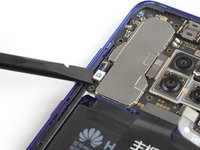
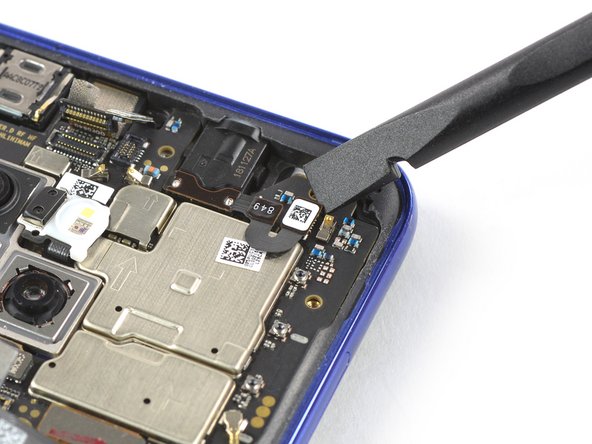
-
-
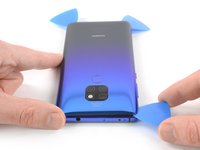
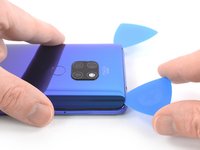
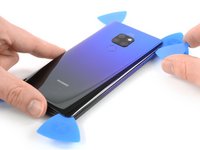
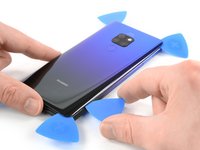
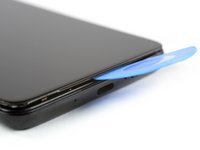
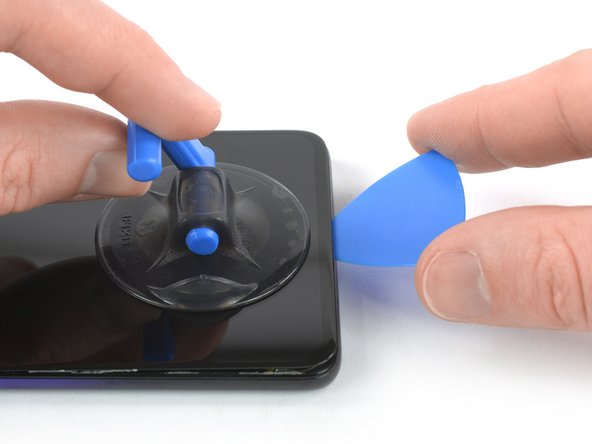
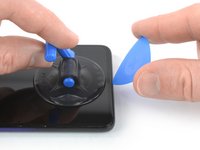
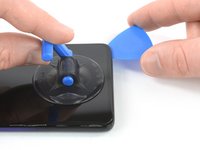
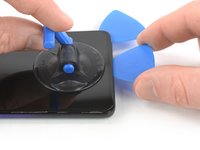
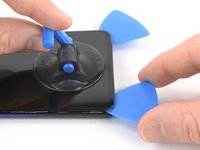
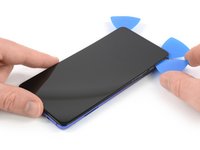
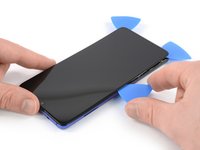
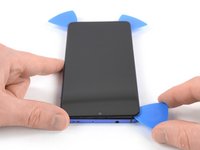
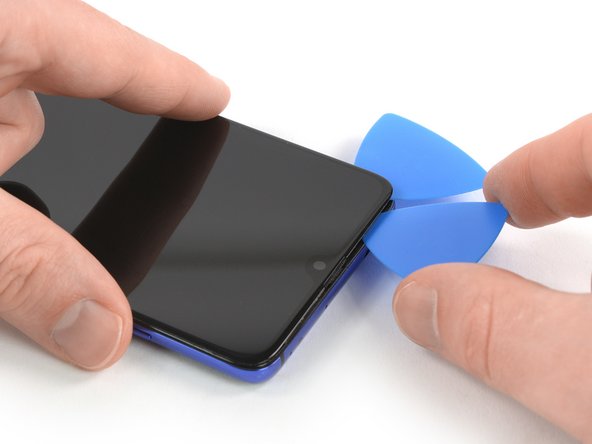
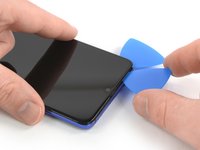
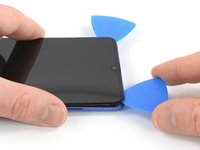
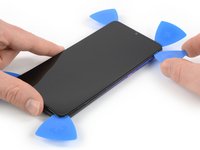
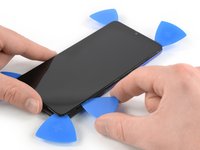
Apply a heated iOpener to the screen and all edges of the phone for at least two minutes, to loosen the adhesive.
-


To reassemble your device, follow these instructions in reverse order.
Take your e-waste to an R2 or e-Stewards certified recycler.
Repair didn’t go as planned? Check out our Answers community for troubleshooting help.
To reassemble your device, follow these instructions in reverse order.
Take your e-waste to an R2 or e-Stewards certified recycler.
Repair didn’t go as planned? Check out our Answers community for troubleshooting help.
8 の人々がこのガイドを完成させました。

