メインコンテンツにスキップ

Huawei Mate 20 LCD & Digitizer Replacement

英語
日本語

手順 5を翻訳中

手順5
Huawei Mate 20 LCD & Digitizer Replacement: 手順 0、 2の画像 1 Huawei Mate 20 LCD & Digitizer Replacement: 手順 0、 2の画像 2
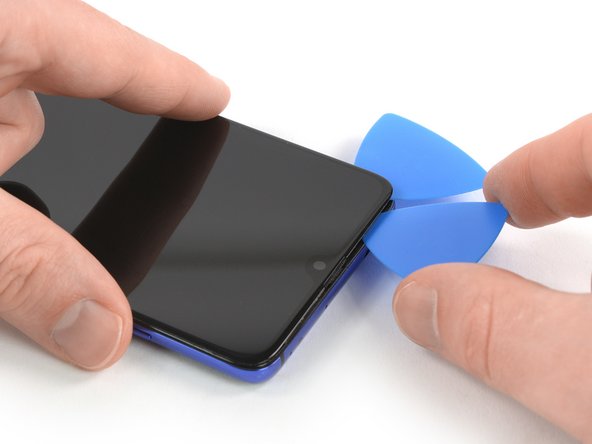
  • Insert a fourth opening pick at the top left corner.

  • When nearing the front facing camera, only work with the tip of the opening pick to avoid damaging or smearing the camera.

  • Slide the opening pick along the top edge of the phone to cut the adhesive. Leave the pick in the top right corner of the screen to prevent the adhesive from resealing.

ここに翻訳を挿入する

ここに翻訳を挿入する

ここに翻訳を挿入する

クリエイティブコモンズのオープンソース著作権のもと、あなたの投稿は著作権の対象となります