はじめに
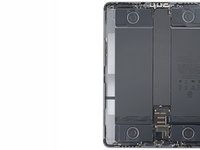
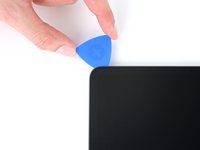
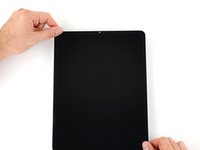
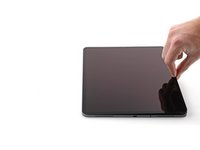
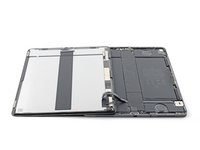
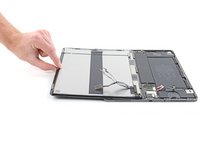
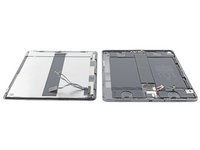
この修理ガイドを参照して、iPad Pro 12.9インチ 第3世代 スクリーンを交換します。
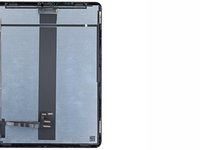
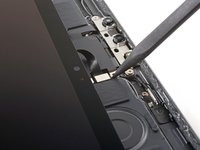
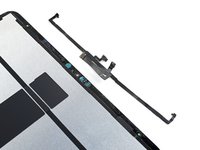
スクリーンはディスプレイと上部センサーアセンブリで構成されています。上部のセンサーアセンブリを移植しなければ、Face IDとTrue Toneが使えなくなります。
このガイドはWiFi + Cellularバージョン(モデルA2014)を使用して書かれています。異なるモデルをお持ちの場合、見た目に若干の違いがあるかもしれませんが、手順には影響ありません。
必要な工具と部品
-
この手順で使用する道具:Clampy - Anti-Clamp$24.95
-
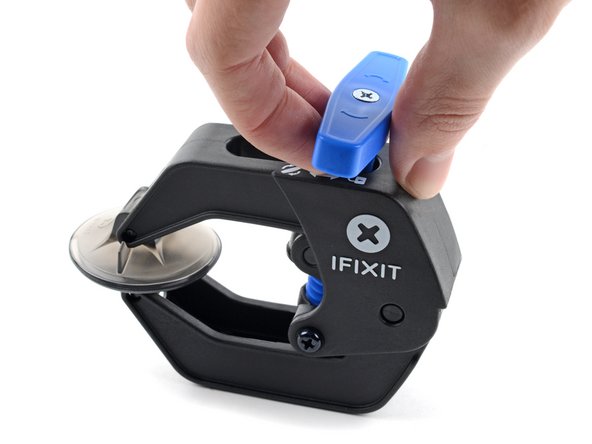
青色のハンドルを吸盤の反対側に引っ張って、リバースクランプのアームのロックを解除して下さい。
-
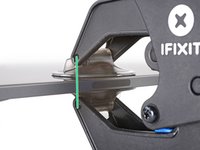
iPadの下に支えになるようなものを置いて、吸盤の間に水平になるようにして下さい。
-
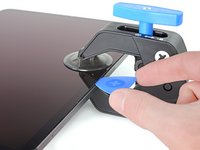
吸盤をiPadの左端の中央付近に移動させて下さい。片方が表側、もう片方が裏側に来るようにして下さい。
-
リバースクランプの下側が動かないように押さえてから、上からしっかり押し付けて上側の吸盤を張り付けて下さい。
-
-
-
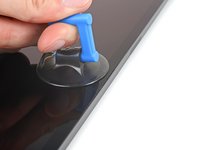
吸盤をスクリーンの右端中央にできるだけ近い位置に装着します。
-
強く安定した力で吸盤を引き上げ、フレームとスクリーンの間にわずかな隙間を作ります。
-
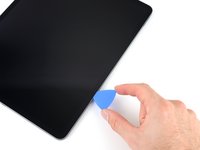
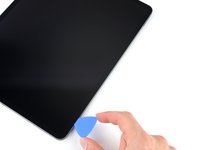
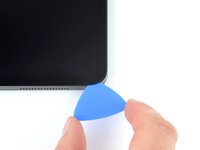
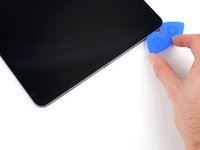
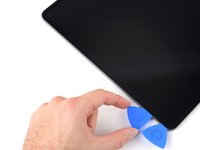
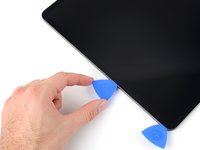
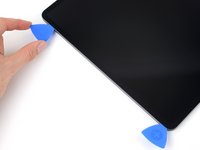
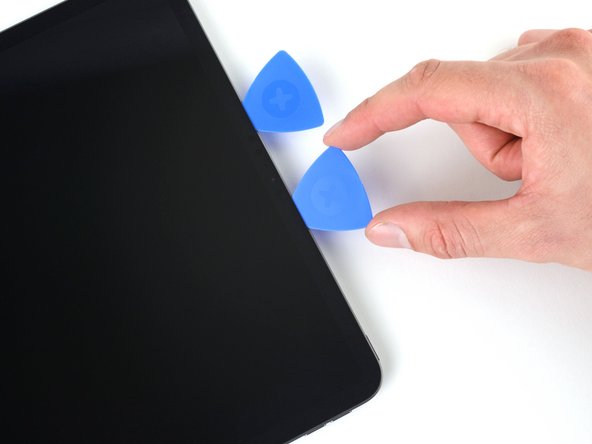
隙間にオープニングピックを差し込みます。
-
-
-
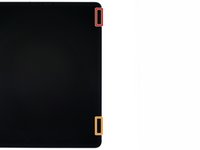
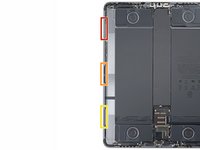
1つ目のマグネットはiPadの上部から約3cmの位置から始まります。
-
2つ目のマグネットは、iPadの底から約3cmの位置から始まります。
Every guide except one I checked including this one forgot to mention to transfer these magnets onto the the new screen/chassi.
LunarStahr - 返信
-
-
-
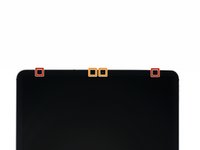
上部の切り込みは、フレームの上部から4cmのところから始まり、長さは3cmです。
-
中央の切り込みは、フレーム上部から12cmのところから始まり、長さは3cmです。
-
下の切り込みは、フレームの下から4cmのところから始まり、長さは3cmです。
-
-
-
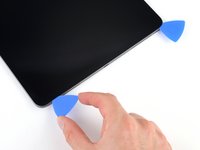
3本目のオープニングピックをスクリーンの左下コーナーに挿入します。
-
ピックを左上コーナーにスライドさせ、前の手順で示した切り込みを避けて左の接着剤を切開する。
-
次の手順を続行する前に、ピックを左上コーナーに挿入したままにします。
-
-
-
-
上端の接着剤が柔らかくなる間に、以下のことに注意してください:
-
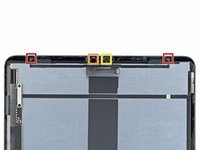
コーナー付近に2つの環境光センサーがあります。ここにピックを1mm以上差し込まないでください。
-
フロントカメラと追加のセンサーは上端中央にあります。ここにはピックを差し込まないでください。接着剤が1mm以下しかなく、部品を損傷する恐れがあります。
-
-
-
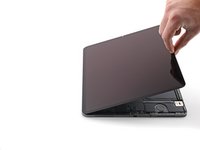
スクリーンの対向する2つの角をつかみながら、持ち上げてフレームから離します。
-
上端近くのリボンケーブルが見えなくなるまで、スクリーンをフレームの右下隅に向かってずらします。
-
-
この手順で使用する道具:FixMat$36.95
-
プラスドライバーを使い、上部ケーブルシールドを固定している2本のネジを外します。
-
長さ2.0 mmのネジ1本
-
長さ1.8 mmのネジ1本
-
-
-
プラスドライバーを使って、ディスプレイケーブルブラケットを固定している5本のネジを外します。
-
長さ1.1 mmネジー4本
-
長さ2.0 mmネジー1本
-
-
-
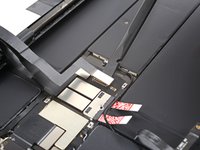
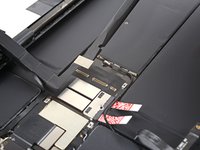
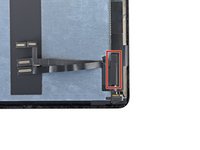
スクリーンの右下にあるディスプレイケーブルブラケットからテープを剥がします。
My display does not have this tape on it. The photo currently in step 30 of the removed display also does not contain the tape. The bracket we remove in step 34 is simply exposed.
I am assuming that if the tape is not there these steps can simply be skipped and ignored.
-
-
-
ディスプレイとデジタイザケーブルに接続しているテープを剥がします。
-
-
この手順で使用する道具:Tweezers$4.99
-
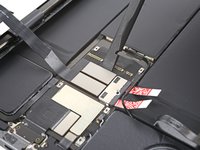
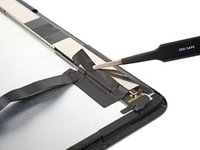
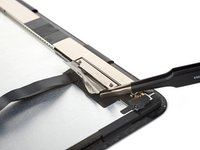
スパッジャーを使い、スクリーン上のディスプレイケーブル下部のプレスコネクタをこじ上げて外します。
-
ピンセットを使って底部のプレスコネクタを曲げ、スクリーンから離し、上部のプレスコネクタを露出させます。
-
-
-
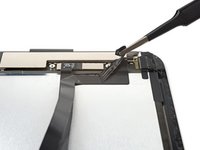
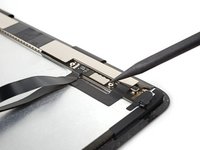
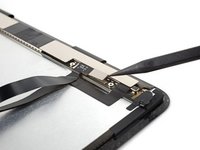
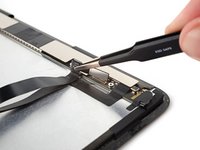
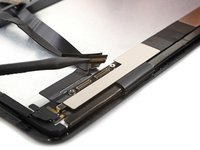
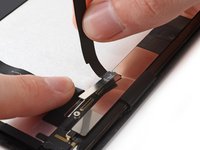
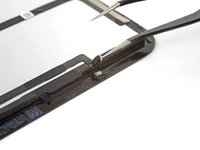
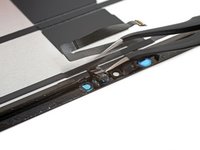
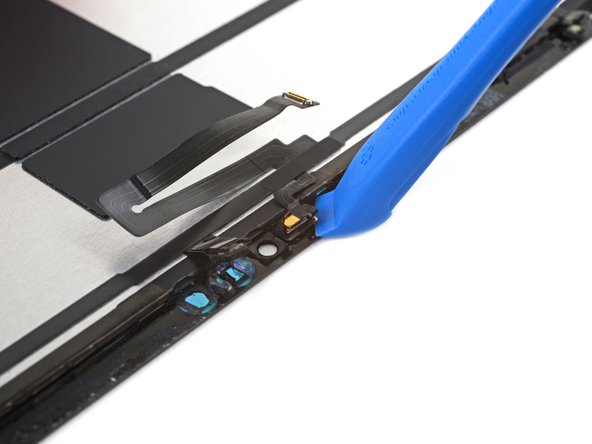
つる首タイプのピンセットの片側を環境光センサーとスクリーンの間に差し込みます。
-
センサーをスクリーンからこじ開けて外します。
-
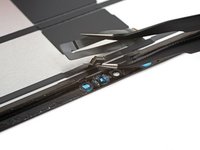
この手順を繰り返して、他の環境光センサーも外します。
-
-
-
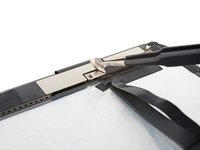
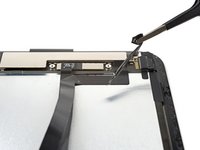
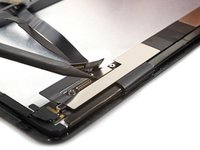
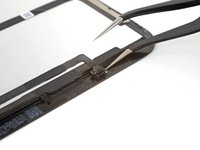
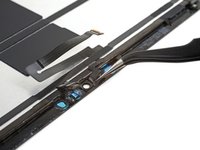
角度のついたピンセットの片方の腕を近接センサーケーブルとスクリーンの間に挿入します。
-
こじ開けるようにしながらピンセットをスクリーンの方にスライドさせ、センサーをスクリーンから切り離します。
-
デバイスを再組み立てするには、これらのインストラクションを逆の順番に従って作業を進めてください。
可能であれば、新しい接着剤を取り付けて再密封する前に、デバイス本体の電源を入れて、修理がうまくいったか点検を行ってください。
e-wasteを処理する場合は、認可済みリサイクルセンターR2を通じて廃棄してください。
修理がうまく進みませんか?ベーシックなトラブルシューティングを試してみるか、iPad Pro 12.9インチ 第3世代のアンサーコミュニティを参照してください。
デバイスを再組み立てするには、これらのインストラクションを逆の順番に従って作業を進めてください。
可能であれば、新しい接着剤を取り付けて再密封する前に、デバイス本体の電源を入れて、修理がうまくいったか点検を行ってください。
e-wasteを処理する場合は、認可済みリサイクルセンターR2を通じて廃棄してください。
修理がうまく進みませんか?ベーシックなトラブルシューティングを試してみるか、iPad Pro 12.9インチ 第3世代のアンサーコミュニティを参照してください。
48 の人々がこのガイドを完成させました。
以下の翻訳者の皆さんにお礼を申し上げます:
100%
Midori Doiさんは世界中で修理する私たちを助けてくれています! あなたも貢献してみませんか?
翻訳を始める ›
40 件のコメント
My Face ID no longer works?
Most likely you may have damaged the flex of proximity sensor.
Check connector
Check placement with flash light make sure everything is aligned correctly
why not get a new flex cable from ebay or aliexpress
imab -
What size of that tape do you need for this iPad? Thanks
What tool do you use to restore true tone ?
I do not think there is a way without OEM Screen or serial transferring such as with iPhone X MAX screen repairs you would use
I will have to look into it when I have time for you
I have the original screen. It’s still working, the glass is just completely shattered.
Is face id working
Yes, it’s working
Thanks couldnt find a guide for the 11 and the facial id threw me off
Was working on one for the 11 but I am to busy repairing lately. But they are identical pretty
Yes it is just like phones only on the iPad Air 2&3 and the Pro Series
I forgot to turn off the power of the ipad and the LCD backlight went out. How can I fix it?
It would be a board level repair you can send out for microsoldering iPad rehab can do
Thanks for the feed back
The cable that was supposed to be reused was damaged during the swap. Where can i get a replacement?
goober2432 - 返信
what glue do you use to attach the face id flex to the new screen?
Hi Mark,
I have lost two screws and I am wondering what are the dimensions of all the screws in my iPad pro 12.9 3rd Gen so I can replace them? I don't want to put the wrong ones in because I have heard that's bad!
@rebeccaperth I might have a recycled ipad pro at my work I can sell you the screws email me at info@icarefargo.com
Question, if I rip the digitizer flex cable to the LCD. (The one with two pins) can you solder the flex cable back together?
Quick question even though it might sound stupid but could the 2021 screen work with the 2018/2020 model?
The guide doesn't show the part regarding the face ID. And it's the most sensitive one. Good guide despite that though.
Thank you for making the guide. It really helped me replace a friend's iPad Pro 12.9 4th generation cracked screen. I did it yesterday, and it only took me a whole day! 😆
I broke the display cables when prying of a badly broken screen, is it possible to buy them seperately, the ones thad did not come with the new screen?
Hi there.
Yes, we sell them! Here's the link!
The first step in the tutorial is, "Allow your iPad's battery to fully drain before starting this repair. A charged battery may catch fire if damaged during the repair."
Ok, but that's not so simple. Is there a guide to efficiently and quickly draining the battery? Something besides app-oriented drains (like watching 6 hours of videos, turning the brightness up, etc.).
Wow, this was nerve-wracking. The top 4 sensors, didn't realize they are all glued on, so pulling them off, thought I broke them. After doing my best to put it back together again (used a tiny bit of crazy glue), everything worked! Getting those tiny screws back in was difficult (mostly getting them to seat on the screwdriver). I bought the glass kit, and suggested tool kit, and clamp, but missed out on the tape (figured it was included). Also came with a sheet of outer tape, but the kit already had it assembled. So once I concluded that was the case, I just took a small strip of the new stuff and used it to "tape" down the 4 sensor array.
On the bottom left corner, I tore off a small piece of copper tape by accident. Not sure if it is functional in any way. There was another in the bottom center. Pretty much part of the black adhesive. Hopefully that doesn't create issues.
But the weirdest thing of all, my shipment literally included a single card: a king of spades. Why?!
Everything was fine, thanks for this good and detailed guide.
In der Anleitung fehlt lediglich, wie man die im "Repait Kit" mitgelieferten Klebestreifen anbringt - es ist zwar mehr oder weniger selbst erklärend, die Ergänzung dieser Beschreibung würde die Gesamtdokumentation perfekt abrunden.
Hinweis zur Hardware: bei meinem iPad 3rd Gen. (Wifi) fehlte der Klebestreifen (Steps 38,39, 43) - funktioniert auch ohne! :-)
Just got my replacement screen and was able to replace it with ease because of these step by step instructions. Thank you!!
Can I use the E6000 glue for the sensor cables during installation? I don't want to buy an entire roll of Tesa tape for that.
I would say so. I used a clear Pattex 100% gel and it worked nicely to glue sensors to screen. It is about 1mm diameter thick glue so you can easily place it from left and right side of sensor and hold it for a while with your fingers. Then I used it to glue flex cables to screen, it’s a bit flexible too.
Liibo -
I swapped the screen and now my iPad is bootlooping. Can somebody help pls?
Hi, just replaced broken screen on my iPad Pro 12.9 and both FaceID and Truetone are working, thank you ifixit for supplying the good components and this guide with quality pictures showing all detailed operations.
Also I ordered it on Friday morning, it was shipped the same day from Germany and in Czechia it was delivered on Monday, very cool for a free delivery:-)


