
iPad 6 Wi-Fiのホームボタンアセンブリの交換

はじめに
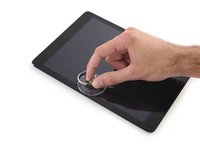
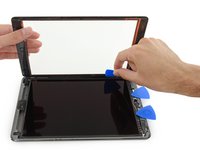
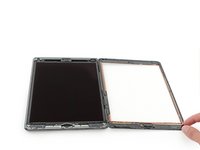
手順 1 に進むこのガイドの手順を参照して、iPad 6 Wi-Fiのホームボタンアセンブリを交換しましょう。
ホームボタンのTouch IDセンサーは、各ロジックボードと対になっているので、ホームボタンを交換するとTouch IDの機能を失います。ご注意ください。
バッテリーブロッカーを使用してバッテリーを分離するときは、十分に注意してください。 バッテリーの接点は簡単に損傷してしまい、致命的なダメージを引き起こします。 バッテリーを分離せずにガイドを完成させる場合は、バッテリーのショートやデリケートな回路コンポーネントの損傷を防ぐために、必要な場合(ネジを外す場合など)を除いて、メタル製の工具の使用を避けてください。
必要な工具と部品
パーツ


ツール


もっと見る
-
-
鍋を十分な量のお湯で満たして、iOpener を完全に沈めます。
-
お湯を沸かして熱くなったら火を止めます。
-
iOpenerを熱湯の中に約2−3分間沈めます。iOpener全体が完全に浸かっているか確認してください。
-
トングなどを浸かって、温まったiOpenerをお湯から取り出します。
-
タオルでiOpener全体を拭き取ります。
-
iOpenerの準備は整いました。iOpenerを再度温める必要がある場合は、お湯を沸騰させて、火を止めてからiOpenerを2-3分間浸してください。
-
-
-
ディスプレイガラスにひびが入ってしまった場合、割れてしまった部分が広がらないようにガラス表面上にクリアテープを貼るなどして、怪我がないようご注意ください。
-
iPadディスプレイ上にクリアタイプのテープを何重にも貼り、全体を覆います。
-
ここに書かれている手順にできるだけ従ってください。しかしながら、ガラスが一旦割れてしまうと、作業を続けていくにつれてひびが広がってしまう可能性があります。この場合、ガラスを取り出すためにはメタル製工具を使用する必要があります。
-
-
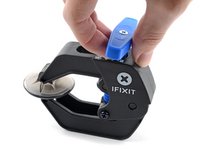
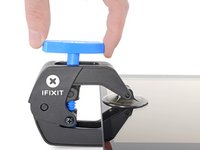
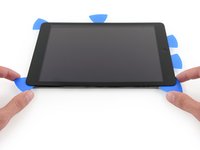
この手順で使用する道具:Clampy - Anti-Clamp$24.95
-
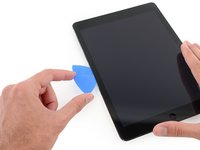
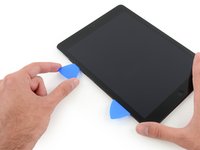
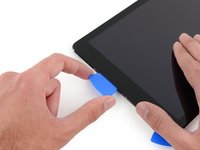
青いハンドルを後方に引き、リバースクランプのアームのロックを解除します。
-
青いハンドルをヒンジ側に引くと、オープニングモードが解除されます。
-
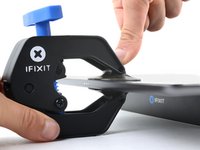
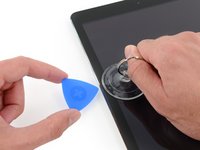
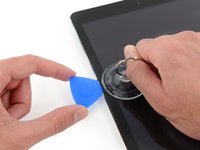
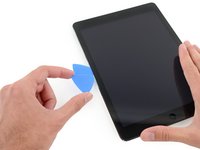
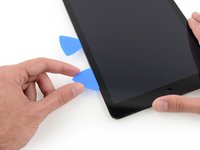
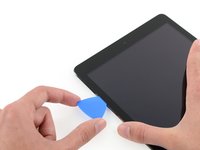
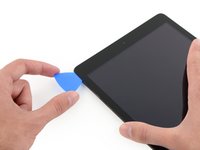
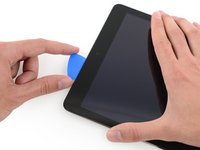
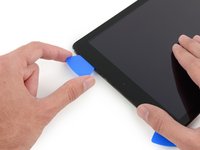
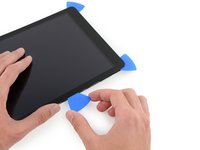
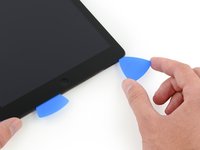
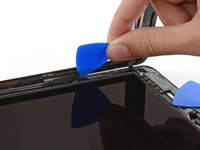
吸盤を左端の中央付近に配置し、上下に1つずつ装着します。
-
リバースクランプの下部をしっかりと固定し、上部カップをしっかりと押し下げて吸盤を装着ます。
-
-
-
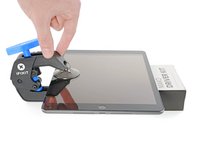
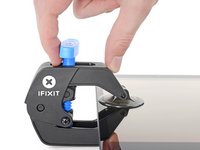
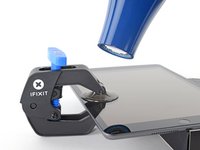
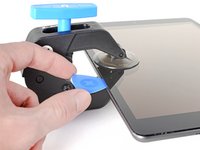
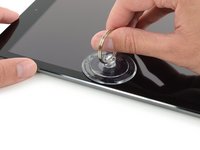
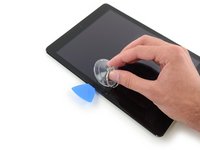
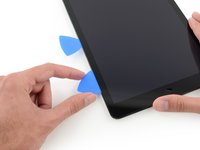
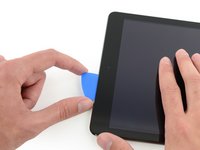
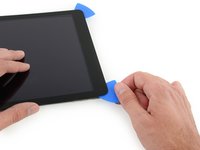
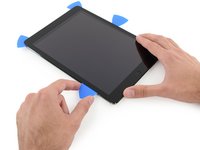
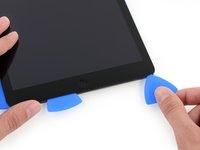
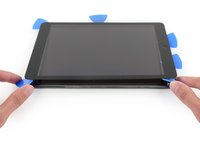
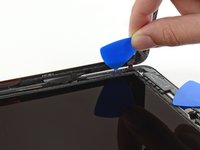
温めた側の真ん中から少し上辺りに、吸盤カップを取り付けます。
-
しっかりと吸盤がスクリーンに装着されるにはカップがスクリーン上に完全に平らに付いているか確認してください。
-
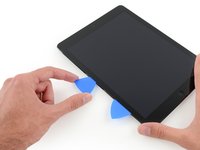
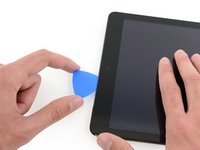
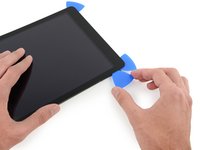
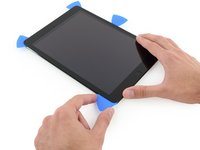
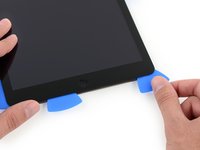
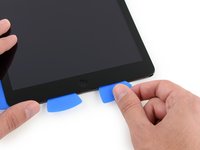
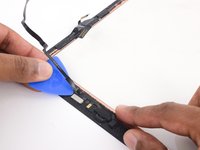
iPadを片手で押さえながら、背面ケースをフロントパネルのガラスから離すために吸盤カップを上部に向けて引っ張りあげます。
-
iPadのスクリーンの破損がひどい場合は、透明なパッキングテープで表面を覆うと、吸盤がうまく接着します。 または、強力なテープ(ダクトテープなど)を使用して、ハンドルに折りたたんでください。
-
-
-
この手順で使用する道具:Polyimide Tape$9.99
-
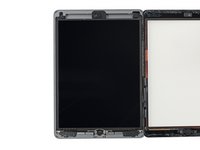
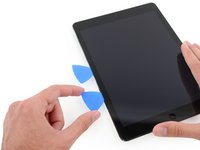
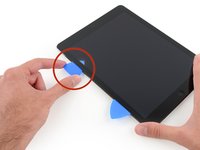
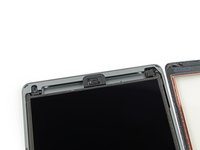
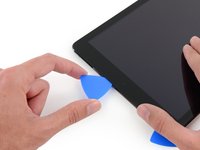
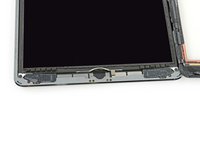
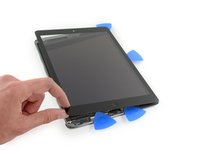
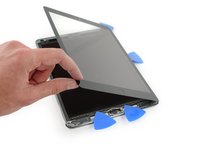
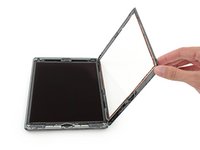
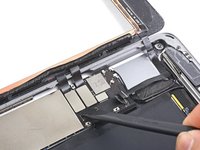
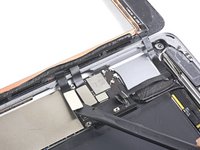
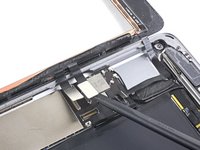
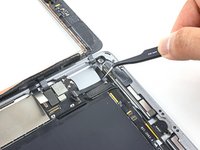
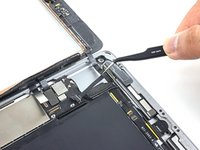
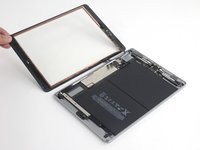
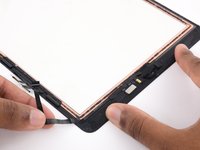
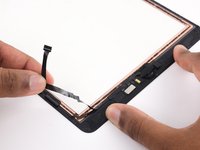
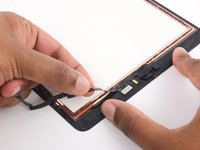
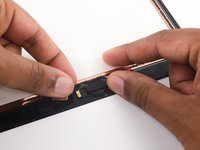
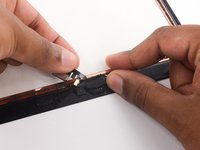
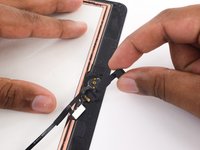
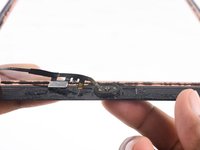
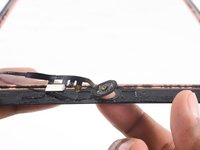
フロントパネルアセンブリを取り出します。
-
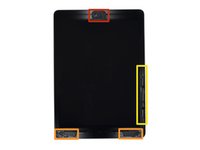
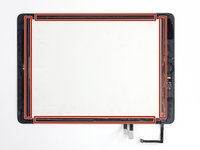
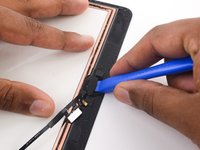
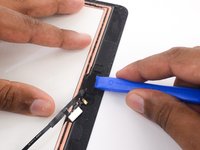
新しいディスプレイで"ghost"もしくは "phantom"のタッチ入力の問題が発生した場合、パネル背面のハイライト表示されたエリアに、カプトン(ポリイミド)テープなど非常に薄い絶縁テープを塗布することで解決できます。 iFixitの修理用パネルには適切な断熱材が施されているため、テープを追加する必要はありません。
-


デバイスを再度組み立てるには、この説明書の逆の順番で組み立ててください。
デバイスを再度組み立てるには、この説明書の逆の順番で組み立ててください。
30 の人々がこのガイドを完成させました。
以下の翻訳者の皆さんにお礼を申し上げます:
100%

これらの翻訳者の方々は世界を修理する私たちのサポートをしてくれています。 あなたも貢献してみませんか?
翻訳を始める ›

5 件のコメント
This guide can be a little subtle when compared to actually doing the home button repair. Here are some troubleshooting tips from what I've learned about doing these:
First, when removing the home button itself, I do NOT recommend pushing the button up through the screen as shown here unless you're certain it will adhere properly to the gasket on the new/ same screen. Alternatively, after you have removed the bracket holding it in place, heat the display around the home button and slide a pick and gently remove the paper gasket WITH the home button still attached, then move the entirely assembly. Go slow and use about a minute of 85c heat on a plate / get it hot enough that the adhesive gives, just under where it tolerable to touch but no more.
If you have moved the button and bracket but can't get it to click, first check the alignment. There is a small metal nub on the bracket's underside; this needs to meet the part of the button that actually “clicks" when you press it, otherwise the button will not work…
(cont)
The bracket does NOT sit dead center over the home button but is sightly higher than it. You may need to place it a few times before you get it settled correctly.
The bracket adhesive can lose stickiness, especially if you move it multiple times; in this case you will have to either replace it or add some glue. This is important as if the bracket fails in any way, your home button will fall into the device or at the very least become unusable. A little dab of Jewelers glue on each bracket side followed by about ten minutes under compression can keep it on without raising it too much with red tape (which can make it sit too high and make it unusable if not heated to cure correctly). Also although tempting, once you have applied new adhesive, leave the button alone for awhile to allow it to cure; do not try and “test" it while still wet as you'll push the bracket loose and have to redo the whole affair.
crtrue -
How does the gasket attach? This whole thing ive actually gotten lucky. I didnt know these things are this strong.
Yes very touchy so far. Now im waiting for parts .
When reattaching the home button bracket, I’ve found it works well to clean the old adhesive from the bracket, then apply a small amount of Goop (soft cure adhesive) to each tab, then use binder clips (paper clips for multiple sheets) to hold the two bracket tabs firmly in place while the glue sets over several hours. By using the binder clips, you can jockey the bracket around to perfectly align the actuator tip over the home button clicker before glue sets.