はじめに
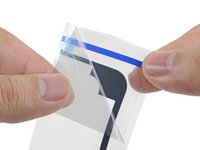
このガイドでは、開口したiPadのディスプレイアセンブリ用の接着ストリップを装着する方法を扱っています。これは、iPad Pro 9.7インチ ディスプレイアセンブリの修理ガイドの一部分です。
必要な工具と部品
-
この手順で使用する道具:Tweezers$4.99
-
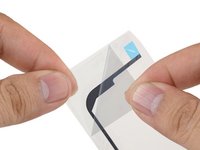
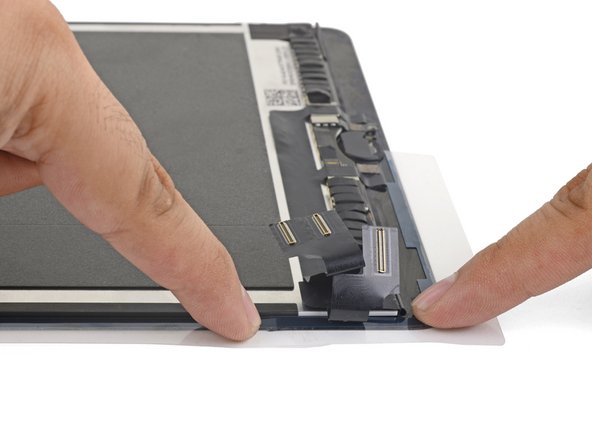
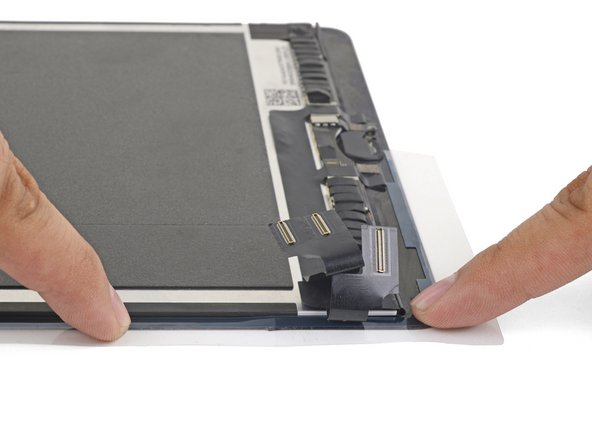
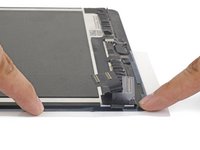
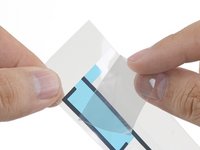
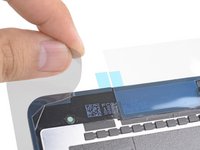
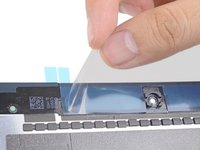
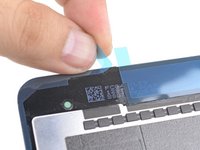
新しい接着ストリップをインストールする前に、ディスプレイアセンブリとフレームに残った全ての接着剤を除去してください。
-
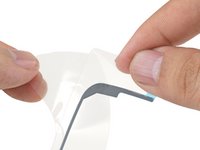
ピンセットを使って、テープの残骸を全て剥ぎ取ります。
-
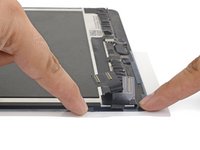
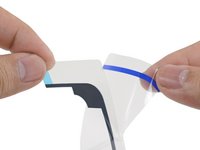
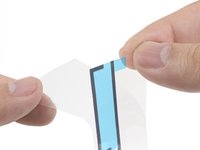
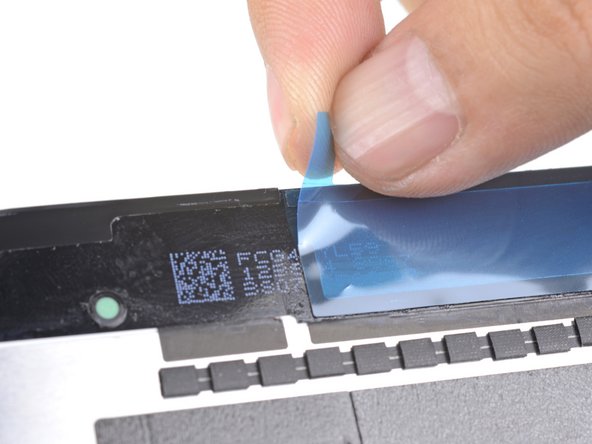
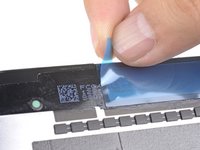
開口ツールもしくはスパッジャーを使って、残りを削り取ります。高濃度(90%以上)のイソプロピルアルコールを使用して接着剤を柔らかくすることもできます。
-
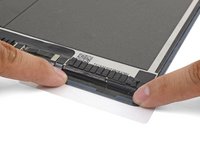
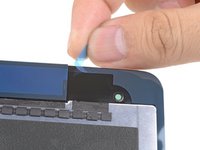
ワイプで一定方向に拭き取って、汚れを取り除きます。
-
-


修理が上手くいきませんか?トラブルシュートのヘルプには、Answers Communityを参照してください。
修理が上手くいきませんか?トラブルシュートのヘルプには、Answers Communityを参照してください。
58 の人々がこのガイドを完成させました。
以下の翻訳者の皆さんにお礼を申し上げます:
100%

これらの翻訳者の方々は世界を修理する私たちのサポートをしてくれています。 あなたも貢献してみませんか?
翻訳を始める ›


11 件のコメント
Thanks, I was able to fix my wife’s shattered digitizer screen on the iPad 6th gen with this guide!
I managed to get it done, but this was a personal nightmare for me and more difficult than replacing the battery in my ipad. There are too many instruction that say “remove plastic” and I have no idea which layer; there was nothing on the packaging to indicate which side was up or which side was the front and I ended up guessing the wrong direction because it “looked” right, but wasn’t. A simple sticker on the packaging indicating a direction would have removed all of the frustration. I only managed to figure it out by removing all of the plastic so that the sticky side of the adhesive was exposed and then I could finally see how it was supposed to fit and how I was supposed to press down with the other side of the plastic to push the adhesive side into the frame.
Fixed a cracked iPad 4 mini screen; I agree with twizzlercraze72. Some kind of labeling would have saved so much peeling and re-sticking. I ended up with a gap next to my home button. An expensive lesson to learn.
For me, actually replacing the battery wasn’t too bad, but I ended up using too much isopropyl to clean off the old glue, and it seeped under the display and ruined it. Wish Apple didn’t use so much glue. It massively impedes repairability, which is not very environmentally sound. My iPad was perfect apart from the battery - it’s now got a perfect battery but the iPad is ruined :-(
Same here :(. $50 repair just turned into $250!