メインコンテンツにスキップ

Samsung Galaxy A10 Battery Replacement

必要な工具と部品

  1. Samsung Galaxy A10 Battery Replacement, Samsung Galaxy A10 SIM Tray Replacement: 手順 1、 2の画像 1 Samsung Galaxy A10 Battery Replacement, Samsung Galaxy A10 SIM Tray Replacement: 手順 1、 2の画像 2
    • Insert a SIM card eject tool, a SIM eject bit or a straightened paper clip into the hole on the SIM tray located at the left side of the phone.

    • Press firmly to eject the tray.

  2. Samsung Galaxy A10 Battery Replacement: 手順 2、 2の画像 1 Samsung Galaxy A10 Battery Replacement: 手順 2、 2の画像 2
    • Remove the SIM card tray.

    • When reinserting the cards, make sure to properly orient them in the tray.

  3. Samsung Galaxy A10 Battery Replacement, Back Cover: 手順 3、 2の画像 1 Samsung Galaxy A10 Battery Replacement, Back Cover: 手順 3、 2の画像 2
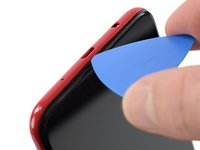
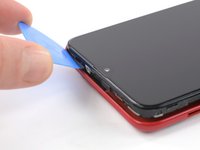
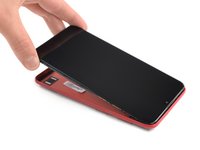
    • The back cover is held in place by plastic clips.

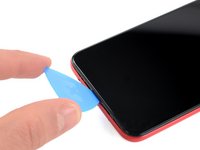
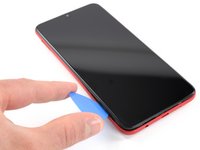
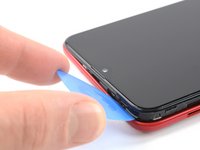
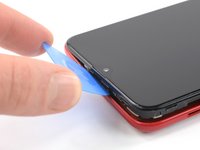
    • Insert an opening pick between the screen and the back cover on the bottom of the phone where the charging port is located.

  4. Samsung Galaxy A10 Battery Replacement: 手順 4、 3の画像 1 Samsung Galaxy A10 Battery Replacement: 手順 4、 3の画像 2 Samsung Galaxy A10 Battery Replacement: 手順 4、 3の画像 3
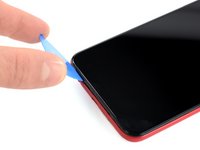
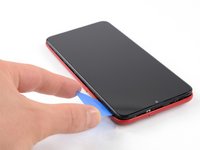
    • Slide the opening pick to the bottom left corner to release the clips.

  5. Samsung Galaxy A10 Battery Replacement: 手順 5、 3の画像 1 Samsung Galaxy A10 Battery Replacement: 手順 5、 3の画像 2 Samsung Galaxy A10 Battery Replacement: 手順 5、 3の画像 3
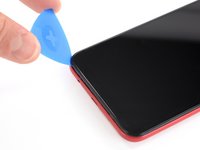
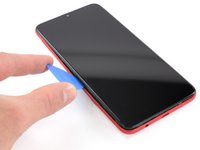
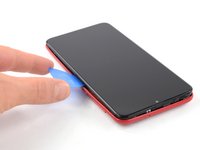
    • Slide the opening pick along the left edge to the top left corner of the phone, to release the clips.

  6. Samsung Galaxy A10 Battery Replacement: 手順 6、 3の画像 1 Samsung Galaxy A10 Battery Replacement: 手順 6、 3の画像 2 Samsung Galaxy A10 Battery Replacement: 手順 6、 3の画像 3
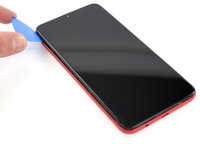
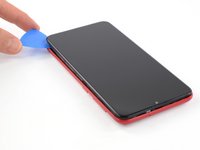
    • Slide the opening pick from the top left corner to the top right corner to release the plastic clips.

  7. Samsung Galaxy A10 Battery Replacement: 手順 7、 3の画像 1 Samsung Galaxy A10 Battery Replacement: 手順 7、 3の画像 2 Samsung Galaxy A10 Battery Replacement: 手順 7、 3の画像 3
    • Slide the opening pick from the top left corner to the bottom right corner to release the remaining clips.

  8. Samsung Galaxy A10 Battery Replacement: 手順 8、 2の画像 1 Samsung Galaxy A10 Battery Replacement: 手順 8、 2の画像 2
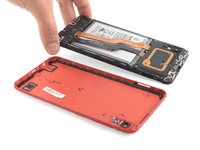
    • Remove the back cover.

  9. Samsung Galaxy A10 Battery Replacement, Samsung Galaxy A10 Motherboard Cover Replacement: 手順 9、 1の画像 1
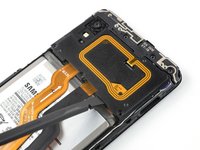
    • Remove the three Phillips #00 screws (3 mm length).

  10. Samsung Galaxy A10 Battery Replacement: 手順 10、 3の画像 1 Samsung Galaxy A10 Battery Replacement: 手順 10、 3の画像 2 Samsung Galaxy A10 Battery Replacement: 手順 10、 3の画像 3
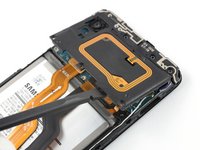
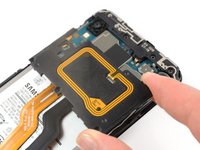
    • Use the flat end of a spudger to pry up the motherboard cover to release the plastic clips which hold the cover in its place.

    • The clips can be a bit resistive. If you're having trouble prying up the motherboard cover, twist the spudger to make the process easier.

    • Remove the motherboard cover.

    • The remaining plastic clips should release during this process or can be unhinged easily by hand.

  11. Samsung Galaxy A10 Battery Replacement, Battery Disconnect: 手順 11、 2の画像 1 Samsung Galaxy A10 Battery Replacement, Battery Disconnect: 手順 11、 2の画像 2
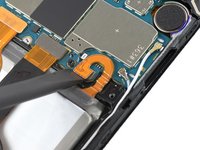
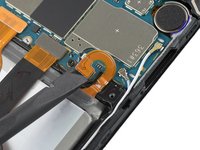
    • Use a spudger to disconnect the battery by prying the connector straight up from its socket.

  12. Samsung Galaxy A10 Battery Replacement, Battery: 手順 12、 3の画像 1 Samsung Galaxy A10 Battery Replacement, Battery: 手順 12、 3の画像 2 Samsung Galaxy A10 Battery Replacement, Battery: 手順 12、 3の画像 3
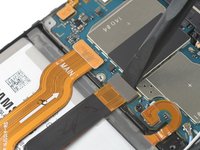
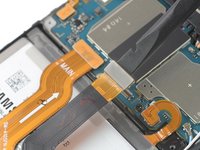
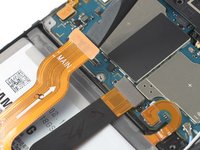
    • Use the flat end of a spudger to pry up and disconnect the interconnect and display flex cables from the motherboard.

  13. Samsung Galaxy A10 Battery Replacement: 手順 13、 1の画像 1
    • Remove the eight Phillips #00 screws from the bottom (3 mm length).

  14. Samsung Galaxy A10 Battery Replacement: 手順 14、 1の画像 1
    • Remove the daughterboard cover.

  15. Samsung Galaxy A10 Battery Replacement: 手順 15、 2の画像 1 Samsung Galaxy A10 Battery Replacement: 手順 15、 2の画像 2
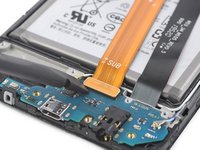
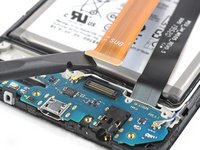
    • Use a spudger to disconnect the interconnect cable by prying the connector straight up from its socket.

    • Remove the interconnect cable.

  16. Samsung Galaxy A10 Battery Replacement: 手順 16、 1の画像 1
    • Apply a heated iOpener to the screen to loosen the adhesive beneath the battery. Apply the iOpener for at least two minutes. You might need to repeat this procedure several times during the battery replacement.

  17. Samsung Galaxy A10 Battery Replacement: 手順 17、 3の画像 1 Samsung Galaxy A10 Battery Replacement: 手順 17、 3の画像 2 Samsung Galaxy A10 Battery Replacement: 手順 17、 3の画像 3
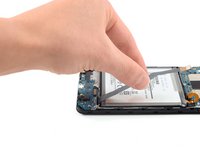
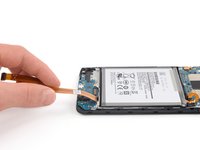
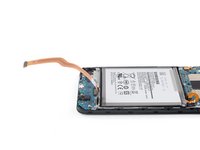
    • Carefully bend the display cable away from the battery to make room for removal.

    • Take care to bend the cable only slightly.

  18. Samsung Galaxy A10 Battery Replacement: 手順 18、 3の画像 1 Samsung Galaxy A10 Battery Replacement: 手順 18、 3の画像 2 Samsung Galaxy A10 Battery Replacement: 手順 18、 3の画像 3
    この手順で使用する道具:
    Plastic Cards
    $2.99
    購入する
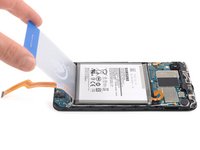
    • Try your best not to deform the battery during this process. Soft-shell lithium-ion batteries can leak dangerous chemicals, catch fire, or even explode if damaged. Do not use excessive force or pry at the battery with metal tools.

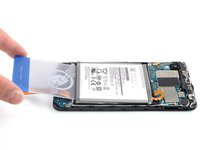
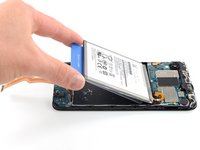
    • Insert a plastic card underneath the bottom edge of the battery.

    • Carefully slide it underneath the battery to loosen the adhesive.

    • Continue sliding the plastic card underneath to pry up the battery from the bottom.

  19. Samsung Galaxy A10 Battery Replacement: 手順 19、 1の画像 1
    • Remove the battery.

    • Do not reinstall a damaged or deformed battery, as doing so is a potential safety hazard. Replace it with a new battery.

    • Secure the new battery with pre-cut adhesive or double-sided adhesive tape. In order to position it correctly, apply the new adhesive into the device at the places where the old adhesive was located, not directly onto the battery. Press the new battery firmly into place.

終わりに

If possible, turn on your device and test your repair before installing new adhesive and resealing.

To reassemble your device, follow these instructions in reverse order. Apply new adhesive where necessary after cleaning the relevant areas with isopropyl alcohol (>90%).

For optimal performance, calibrate your newly installed battery: Charge it to 100% and keep charging it for at least 2 more hours. Then use your device until it shuts off due to low battery. Finally, charge it uninterrupted to 100%.


Take your e-waste to an R2 or e-Stewards certified recycler.

Repair didn’t go as planned? Try some basic troubleshooting, or ask our Answers community for help.

31 の人々がこのガイドを完成させました。

作成者

3人の作成者と共同で作成されました。
Adriana Zwink

メンバー登録日: 12/18/19

48,076 ポイント

167のガイドは作成済み

チーム

iFixit iFixit人のメンバー

Staff

135 メンバー

16,734のガイドは作成済み

0 件のコメント

コメントを追加

統計データ:

過去 24時間: 35

過去 7 日: 296

過去 30 日: 1,209

今までの合計 68,517