
Dell XPS 17 9710 SSD Replacement

はじめに
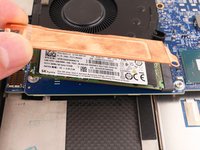
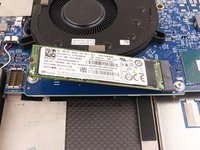
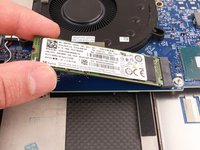
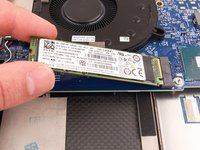
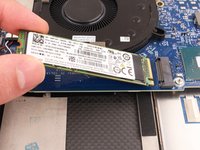
手順 1 に進むThe Dell XPS 17 9710 is equipped with two M.2 SSD slots, so you can use this guide to either add a second SSD or upgrade/replace the existing SSD.
Before you perform this procedure, if possible, backing up your SSD is recommended. If you are replacing the SSD where your operating system is installed, be sure to clone and properly migrate your OS, or you'll have to install a fresh version.


-
-
Power off and unplug your laptop.
-
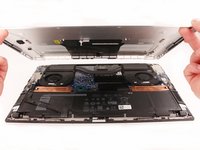
Close the display and flip the entire laptop upside-down, with the hinge facing away from you.
-
-
-
Use a Torx T5 screwdriver to remove the eight 4.4 mm-long screws that secure the lower case.
-
-
-
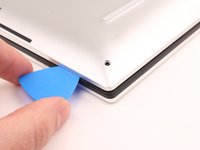
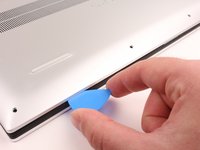
Insert an opening pick at the bottom left corner, between the lower case and the chassis.
-
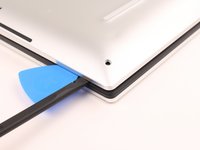
Insert the flat end of a spudger into the gap created by the opening pick.
-
Pivot the spudger up to release the first set of retaining clips.
-
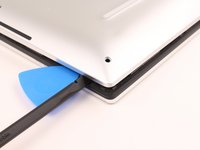
Repeat this process for the bottom right corner.
-
-
-
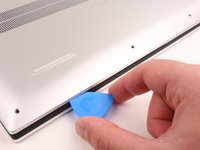
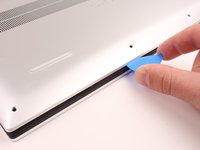
Insert an opening pick into the gap created on the front edge of the laptop.
-
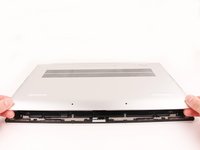
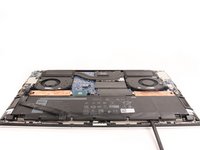
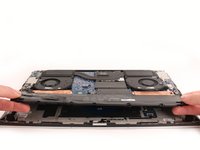
Slide the opening pick around the entire perimeter of the laptop, prying up intermittently, until the lower case fully releases from the clips on the chassis.
-
-
-
-
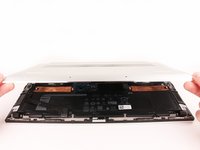
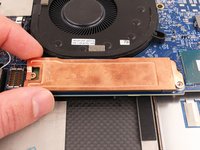
Use the flat end of a spudger to lift the front edge of the battery until you can easily grip it with your fingers.
-
Lift the battery up and out of its recess to remove it.
-


To reassemble your device, follow these instructions in reverse order.
Take your e-waste to an R2 or e-Stewards certified recycler.
Repair didn’t go as planned? Try some basic troubleshooting, or ask our Answers community for help.
To reassemble your device, follow these instructions in reverse order.
Take your e-waste to an R2 or e-Stewards certified recycler.
Repair didn’t go as planned? Try some basic troubleshooting, or ask our Answers community for help.
ある他の人がこのガイドを完成しました。

