はじめに
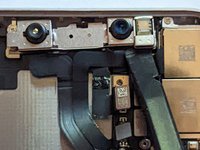
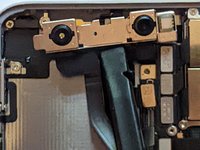
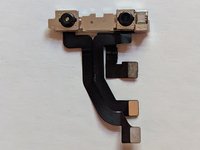
前面カメラには通常のカメラ、赤外線(IR)カメラ、インジケーターライトが含まれます。これら3つの部品群は、AppleのFace IDで使用されます。
前面カメラは基板とペアになっているためFace IDの機能を保ったまま交換できるのはAppleだけです。
Face IDが使用できなくても問題ない方は、この手順にそって前面カメラを交換することができます。
必要な工具と部品
-
-
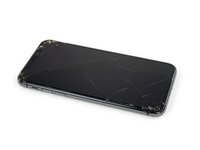
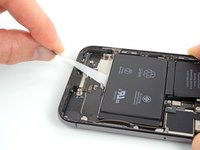
iPhoneの画面全体に、透明な梱包用テープを重ね合わせます。
-
次の手順でうまく吸盤が装着しない場合は、強力なテープ(ガムテープなど)を持ち手に折って、代わりにスクリーンを持ち上げてみてください。
-
-
この手順で使用する道具:Clampy - Anti-Clamp$24.95
-
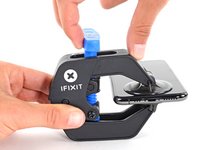
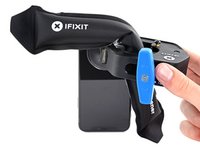
青いハンドルをヒンジ側に引くと、リバースクランプのアームを解除します。
-
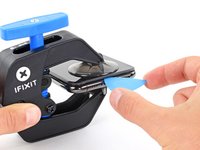
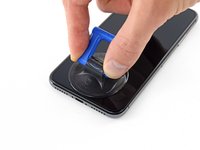
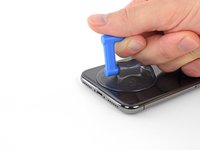
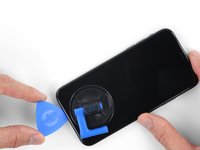
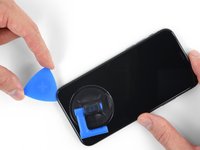
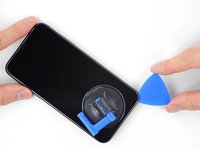
吸盤は、スクリーンのホームボタンのすぐ上に、前面と背面側に1つずつ装着します。
-
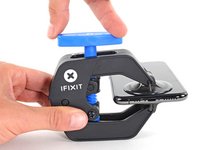
吸盤カップ両側をしっかりと締め合わせると、標的の場所にしっかりと装着させることができます。
-
-
-
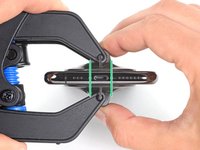
iOpenerを温めて、Anti-Clampのアームに通します。
-
iOpenerを半分に折って、iPhoneの下端に重ねます。
-
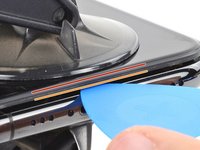
1分ほど待つと接着剤が剥がれ、隙間ができます。
-
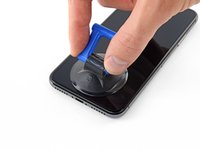
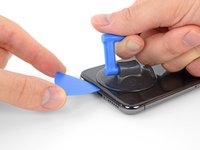
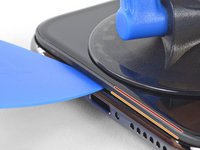
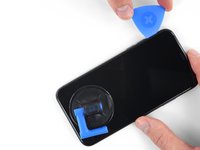
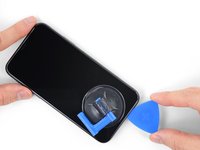
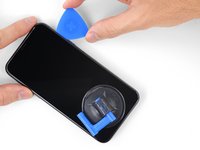
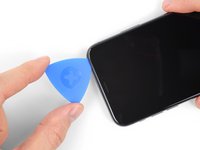
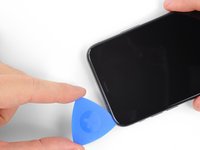
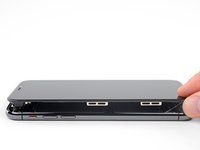
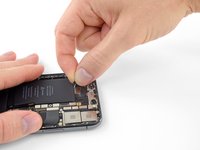
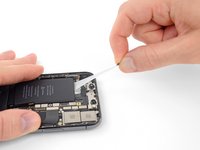
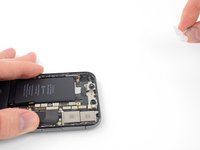
スクリーンそのものではなく、スクリーンとプラスチックベゼルの下にオープニングピックを挿入します。
-
次の3つの手順をスキップしてください。
-
-
この手順で使用する道具:Magnetic Project Mat$19.95
-
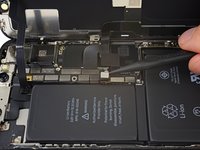
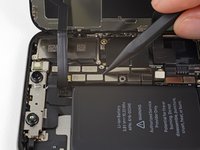
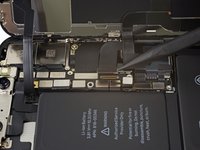
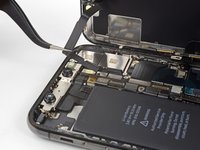
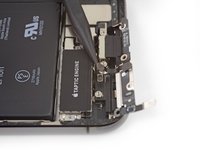
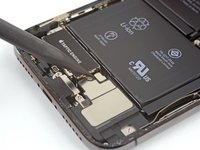
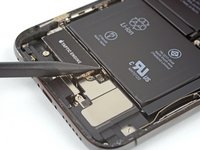
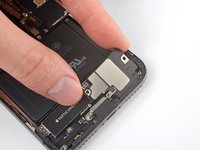
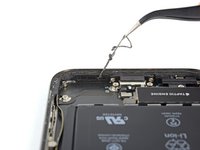
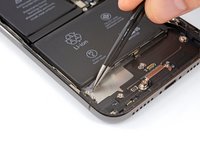
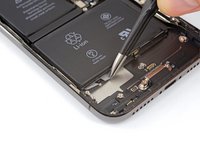
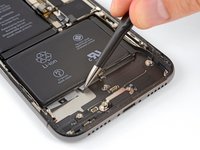
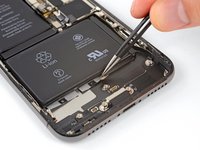
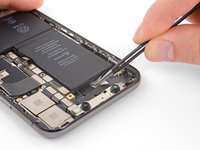
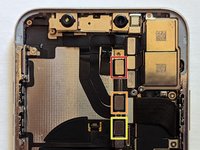
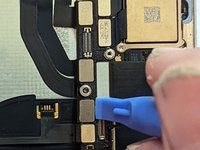
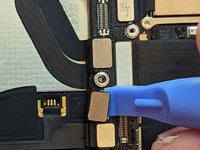
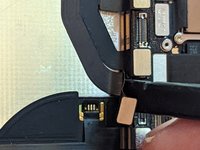
基板のコネクター用ブラケットを固定している次の長さのY000ネジを5本外します。
-
1.1 mm ネジー3本
-
3.1 mmネジー1本
-
3.7 mmネジー1本
-
-
-
-
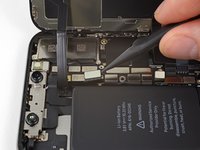
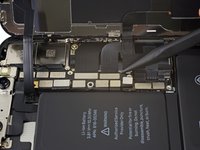
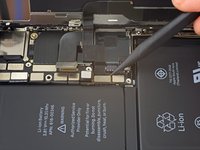
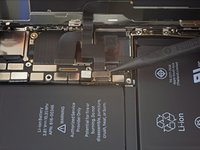
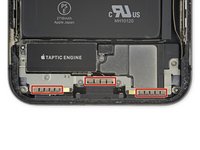
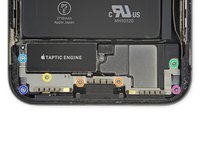
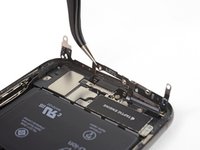
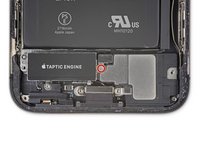
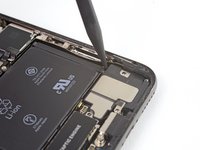
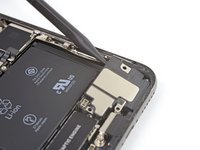
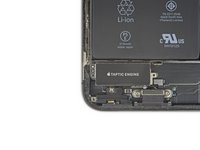
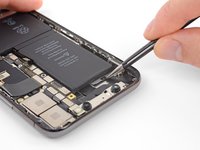
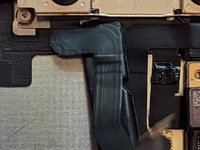
Taptic Engineとスピーカーを固定しているブラケットから次の7本のネジを外します。
-
Y000 1.9 mm ネジー2本
-
Y000 1.2 mmネジー1本
-
Y000 1.6 mmネジー1本
-
2.4 mmプラスネジー1本
-
1.7 mmプラスネジー1本
-
1.5 mmプラスネジ−1本
-
-
-
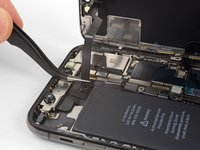
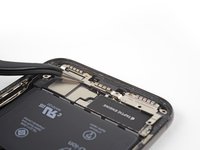
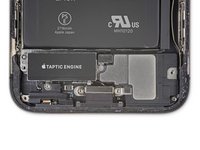
ピンセットを使って筐体とスピーカーの古いガスケットを剥がして取り除いて下さい。
-
マイクロファイバークロスとイソプロピルアルコールを使って、残っているガスケットの接着剤の残骸を筐体とスピーカーから清掃して下さい。
-
新しいスピーカーガスケットを取り付ける前に 、スピーカーの底面に取り付けつ際の正しい向きを確認して下さい。ガスケットの大きい方の穴 がスピーカーグリルメッシュの周囲になるのが正しい向きです。
-
ガスケットについている大きくて透明な剥離紙を剥がしてから、ピンセットを使って慎重にガスケットをスピーカー底面の所定の位置に載せます。
-
指やスパッジャーを使ってガスケットを所定の位置にしっかり押し付けて、ガスケットをしっかり貼り付けます。
-
残っている剥離紙を剥がしてからスピーカーを所定の位置に取り付けます。この際にスピーカーコネクタを裏側に閉じ込めないようにして下さい。
-
-
-
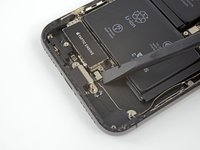
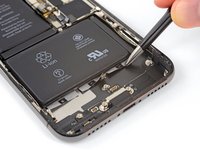
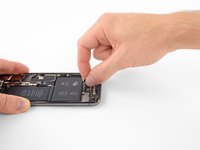
バッテリーの底で接着ストリップが切断してしまいリアケースに付いたままの場合はiOpener かヘアドライヤーを準備して、バッテリー裏のリアケースに直接熱をあててください。
-
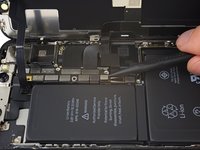
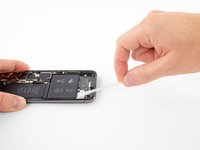
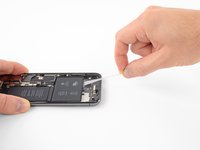
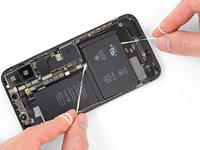
iPhoneを裏返しにして、頑丈な糸(デンタルフロスや薄いギター弦など)をバッテリーの下にくぐらせます。
-
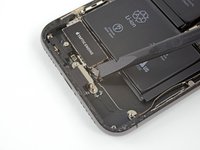
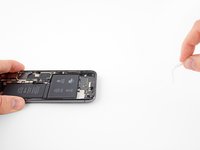
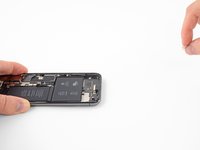
糸を布で包んで(あるいは手袋をはめて)指を保護します。
-
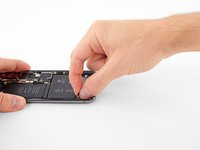
糸を左右に鋸を引くように、バッテリーの上から下まで接着剤を切り込みながらスライドします。接着剤が変形するのが遅いため、この作業には若干時間がかかります。忍耐してバッテリーを解放しましょう。バッテリーにダメージを与えたり変形させないようにご注意ください。
-


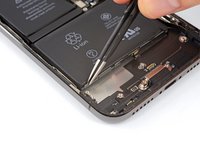


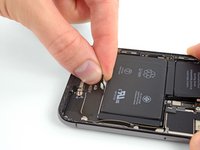


組立を行うには、これらの手順を逆に行ってください。
組立を行うには、これらの手順を逆に行ってください。
7 の人々がこのガイドを完成させました。
以下の翻訳者の皆さんにお礼を申し上げます:
100%

これらの翻訳者の方々は世界を修理する私たちのサポートをしてくれています。 あなたも貢献してみませんか?
翻訳を始める ›

チーム

3 件のコメント
Hey I want to try this but dont you also need new glue for the screen and battery
Indeed you do. The fact that they aren't included in the parts list is due to the way preexisting guides are combined together to create a new guide such as this one. They inherit the parts and tools from previous guides, and in this case the iFixit-created guides that form the basis for this guide did not include those parts, so my guide didn't inherit them.
Here are the adhesives I would recommend to do this job.
iPhone X Display Assembly Adhesive
iPhone X Battery Adhesive Strips
iPhone X Front Facing Camera Cables Conductive Adhesive Set
iPhone X Loudspeaker Adhesive Gasket
You'll note that I added a couple of items to your list; you can get away without the front camera cables adhesives since they sit under the battery so they're not going anywhere, but I would suggest the last one. It's something that's rarely mentioned, but removing the speaker will generally ruin the sealant on it, thereby reducing the water resistance of the phone overall, so I've taken to ordering that gasket along with the others.
I would also like to point out that depending on exactly why you want to replace the front camera assembly, you may be able to do so without losing Face ID. You see, only the IR camera and dot projector are paired to the motherboard; the selfie camera itself is not. So it is possible to cut open the metal bracket that holds the selfie camera and replace just the camera, keeping the paired parts and thus keeping Face ID working. Both the replacement bracket and the camera alone are available for sale on sites like eBay, AliExpress and Amazon. But again, that only helps. if it's just the camera that's broken; if either of the other parts isn't working then you've lost Face ID permanently - well, unless you pay Apple to replace the camera assembly, that is.