はじめに
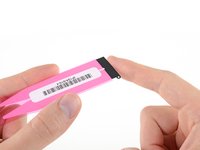
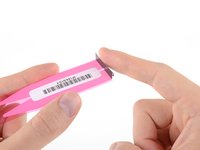
このガイドを使用して、iPhone 5s/5c/SEの交換用バッテリー接着ストリップを正しく交換してください。 バッテリーを取り外すときは毎回、これらのストリップを交換する必要があります。 ストリップは正しく貼らないと簡単に破損するので、このガイドを初めて実行する場合は予備のストリップが必要になることがあります。
始める前に、以下にリンクされているガイドに沿ってバッテリーを取り外してください。
補足:iPhone 5とそれ以前のモデルは接着ストリップを使いません。
その他のモデルのiPhone粘着ストリップを交換したい場合は、以下のガイドを参照してください。
必要な工具と部品
-
-
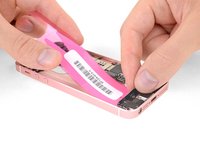
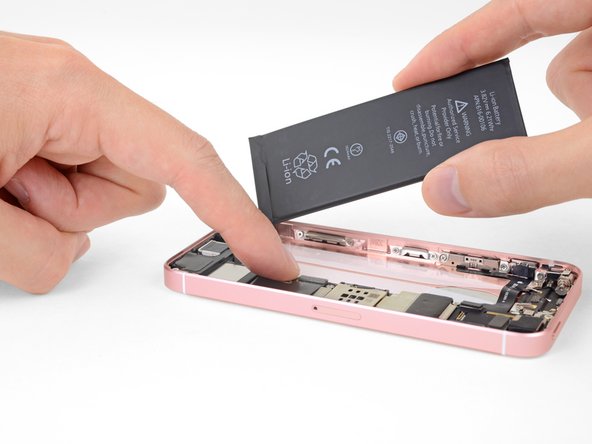
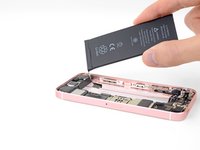
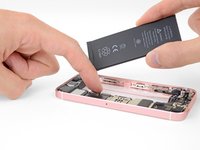
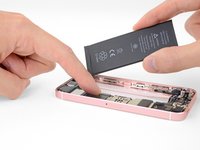
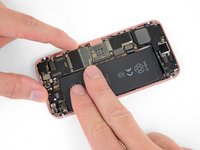
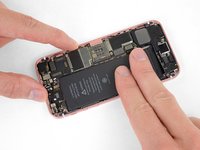
新しい接着テープを取り付ける前に、一時的に新しいバッテリを接続し、iPhone内部の位置が揃っていることを確認してください。
-
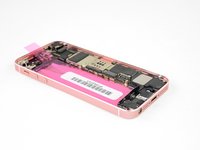
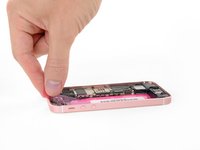
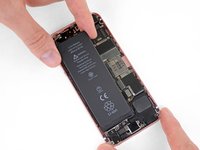
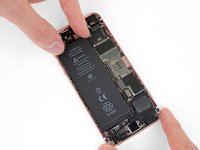
問題がないようであれば、バッテリーの接続を外して、取り外します。
-
-
-
この手順で使用する道具:Tweezers$4.99
-
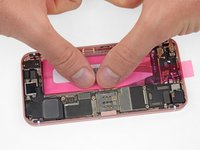
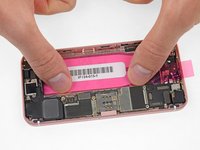
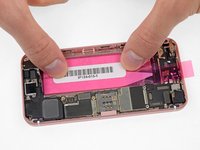
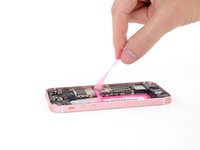
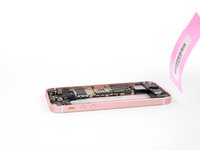
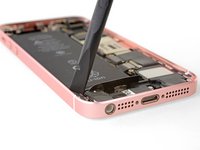
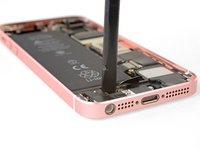
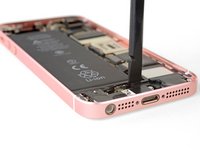
スパッジャーか先の尖っていないピンセットを使って、バッテリー下端とiPhone下の内側にあるコンポーネントの間に黒いタブを寝かします。
-
この手順の間、鋭利なツールでバッテリーを突かないように十分注意してください。リチウムイオンバッテリーは誤って突き刺すと危険な火災を引き起ことがあります。
-


iPhoneを組み立て直すには、バッテリーの取り外しに使用したガイドに戻り、逆の手順ですすめてください。
古いバッテリーは 認証済みリサイクルセンターへお持ちください。
iPhoneを組み立て直すには、バッテリーの取り外しに使用したガイドに戻り、逆の手順ですすめてください。
古いバッテリーは 認証済みリサイクルセンターへお持ちください。
241 の人々がこのガイドを完成させました。
以下の翻訳者の皆さんにお礼を申し上げます:
100%

これらの翻訳者の方々は世界を修理する私たちのサポートをしてくれています。 あなたも貢献してみませんか?
翻訳を始める ›


4 件のコメント
Maybe, but the adhesive strips are designed to be very strong and very thin, and reasonably heat-resistant. This keeps the battery secure even if you shake the phone (or take it jogging), and it won’t come loose if the phone gets hot. The thin profile also means the battery has room to expand slightly without contacting or putting pressure on the display. Considering how cheap the strips are vs. the cost of the expensive phone you are repairing, I tend to err in favor of putting it back together the way it’s designed. But, your phone, your choice!
All worked well except removing one of the adhesive strips. I used a “Bed Buddy” microwavable heat pack to warm the phone as directed and it worked fine. So far I’m pleased. Now comes the re-assembly challenge.
Use this iFixit video guide for applying the adhesive instead IMO—many people will tell you to apply it to the battery itself instead of the bottom of the case:
https://www.youtube.com/watch?v=Xthi6DOx...
At least you have options now. :)