はじめに
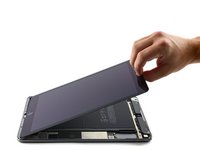
バッテリーがすぐに消耗してしまいますか?このガイドの手順に従って、iPad Air2 Wi-Fiモデルの古くなったバッテリーを交換してください。
バッテリーが膨張している場合、適切な予防処置をとってください。
'''ご注意: バッテリーブロッカーを使って、バッテリーの絶縁をする際は、慎重に作業を進めてください。バッテリーコンタクトはデリケートで、破損してしまうと取り返しのつかないことになってしまいます。バッテリーを絶縁しないでガイドを完了する場合は、バッテリーのショートやデリケートな回路部品の損傷を防ぐために、必要な場合(ネジを外す場合など)を除いて、メタル製ツールの使用は避けてください。
必要な工具と部品
-
-
鍋を十分な量のお湯で満たして、iOpener を完全に沈めます。
-
お湯を沸かして熱くなったら火を止めます。
-
iOpenerを熱湯の中に約2−3分間沈めます。iOpener全体が完全に浸かっているか確認してください。
-
トングなどを浸かって、温まったiOpenerをお湯から取り出します。
-
タオルでiOpener全体を拭き取ります。
-
iOpenerの準備は整いました。iOpenerを再度温める必要がある場合は、お湯を沸騰させて、火を止めてからiOpenerを2-3分間浸してください。
-
-
-
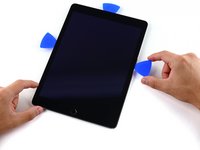
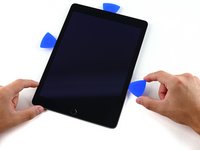
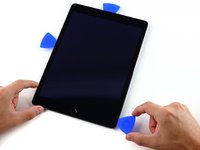
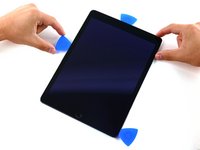
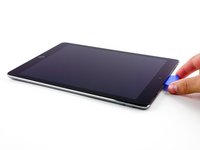
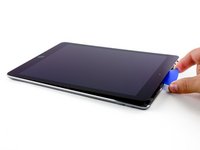
液晶ガラスにひびが入っている場合はさらにひび割れが広がらないように、また修理作業中怪我をしないように、保護メガネを装着してください。
-
iPadディスプレイ全体を透明色の補強テープで何重にも覆ってください。
-
記載された通りの手順に従ってください。しかしながら、ガラスが一度割れてしまうと何度もひび割れてしまうことがあります。この場合はガラスをすくい上げるようにして取り出さなければならず、メタル製の開口ツールが必要になります。
-
-
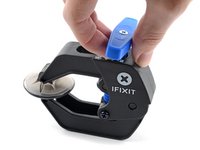
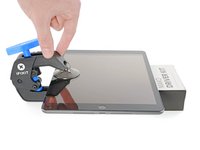
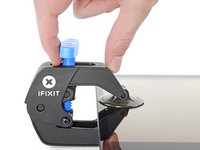
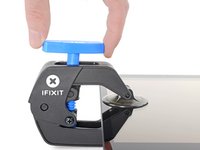
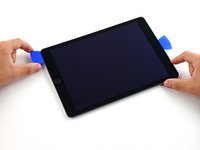
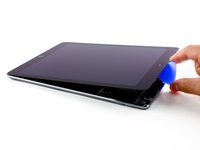
この手順で使用する道具:Clampy - Anti-Clamp$24.95
-
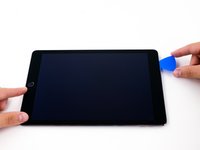
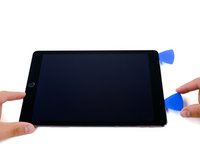
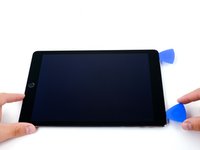
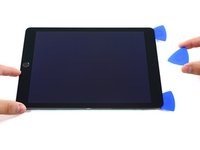
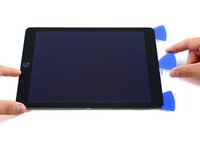
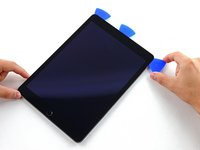
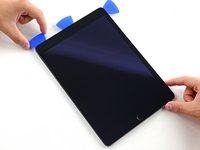
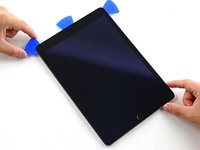
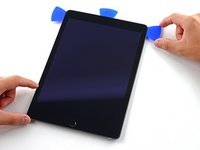
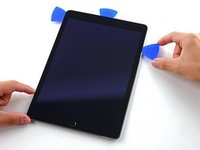
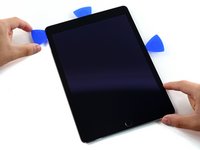
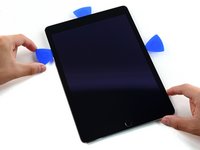
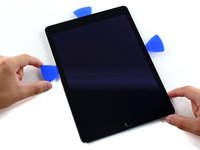
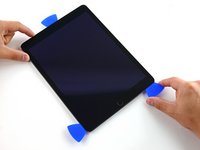
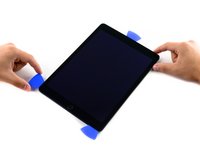
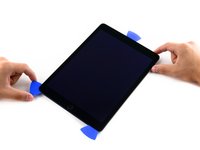
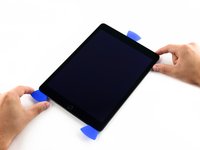
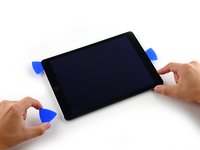
リバースクランプのアームがスクリーンの面裏にかかるように、iPadを十分持ち上げます。
-
青いハンドルを後方に引き、リバースクランプのアームのロックを解除します。
-
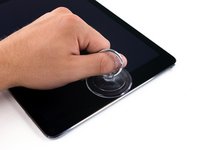
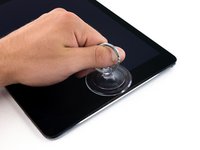
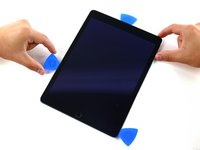
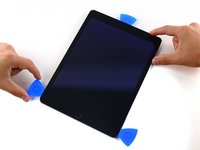
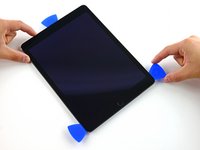
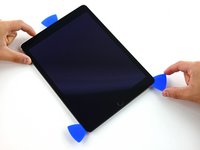
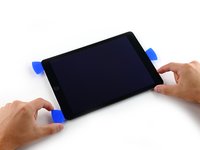
吸盤をiPhoneの下端付近に装着します。上部に一つ、下部に1つずつ取り付けます。
-
吸盤を押し下げると、目的の部位に吸い付かせることができます。
-
-
-
-
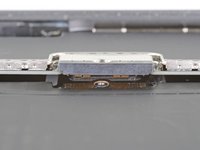
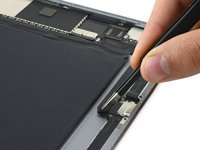
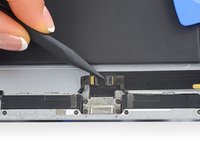
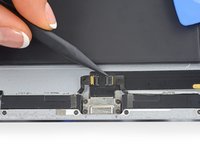
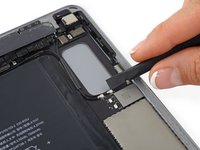
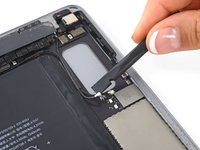
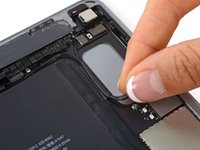
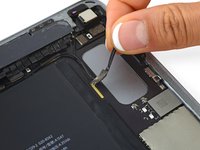
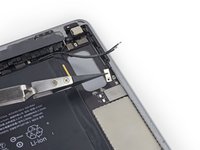
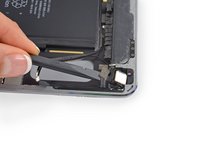
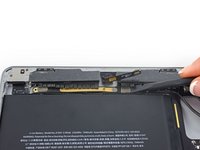
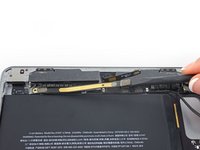
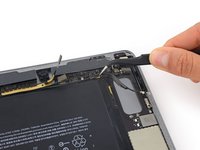
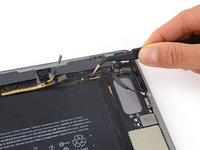
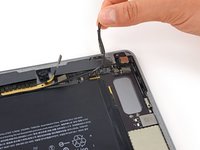
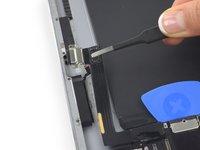
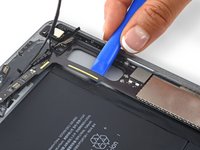
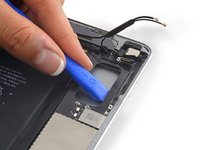
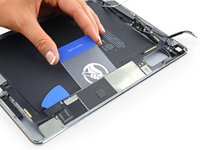
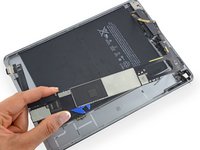
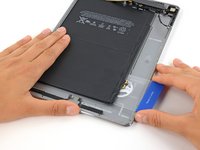
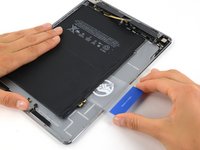
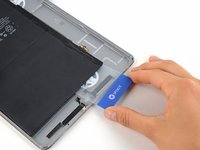
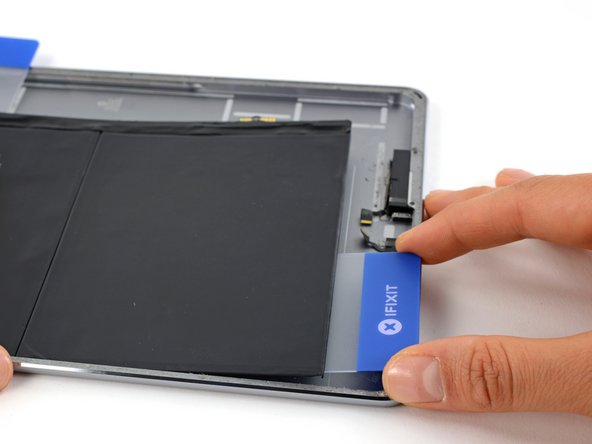
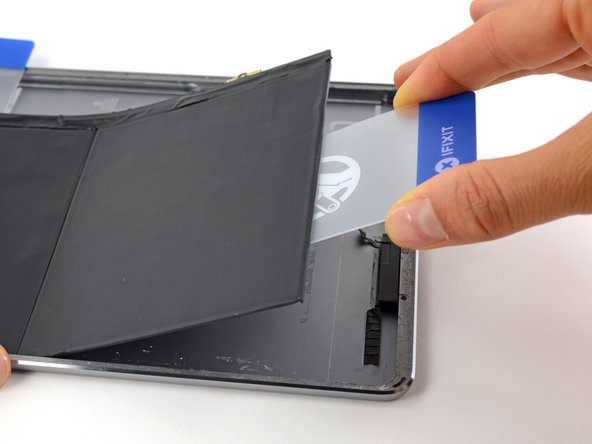
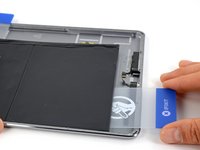
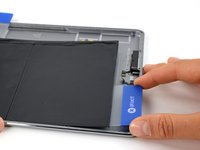
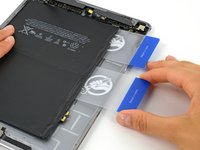
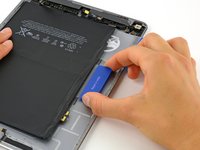
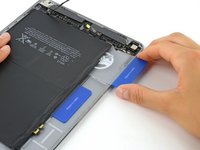
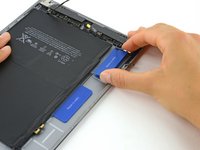
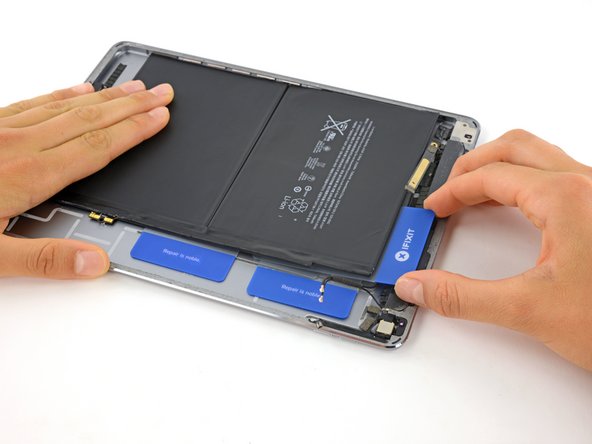
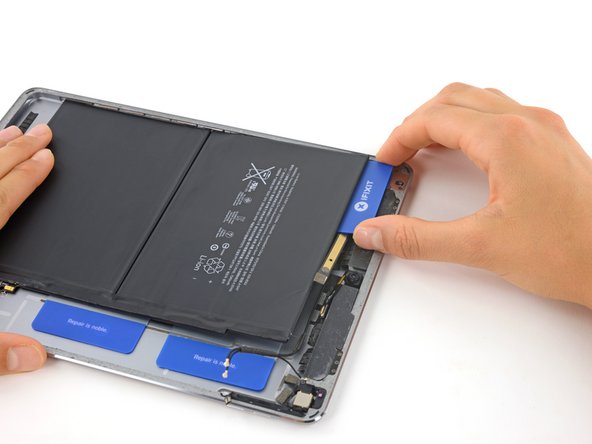
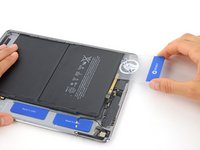
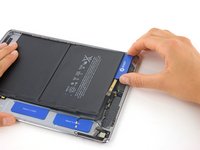
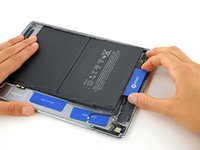
メイン基板のバッテリーコネクターエリアの下に、バッテリー絶縁ピックをスライドさせ、作業中はそのままにしておきます。
-
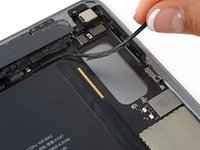
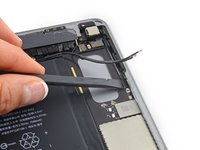
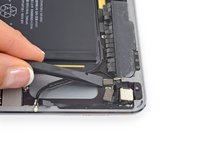
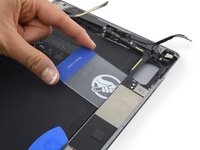
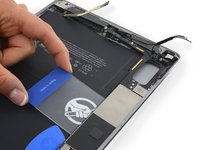
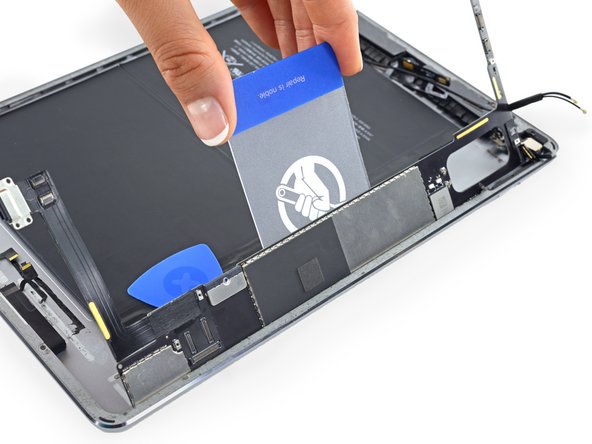
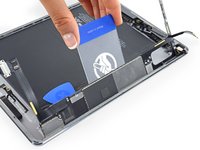
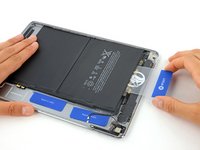
または、トランプでバッテリーブロッカーを作り 、ロジックボードのコネクタの下に滑り込ませてバッテリーを外す方法もあります。
-
-
-
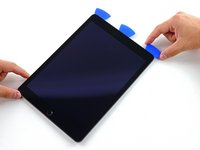
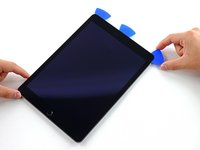
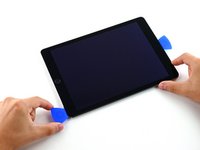
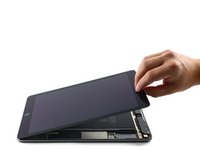
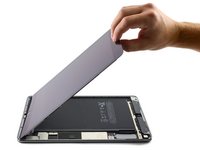
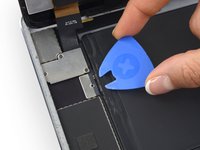
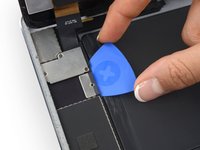
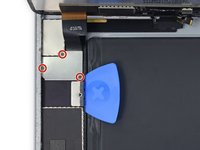
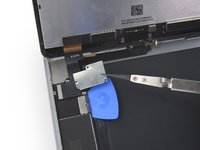
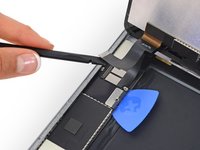
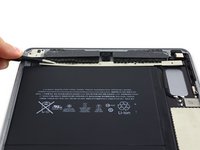
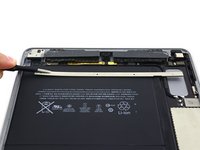
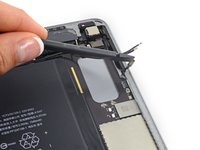
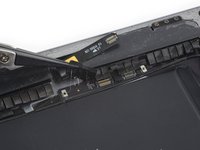
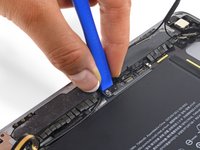
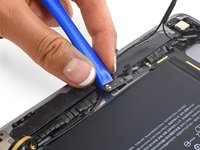
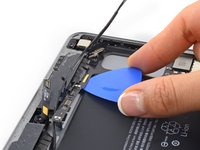
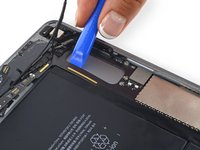
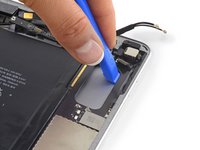
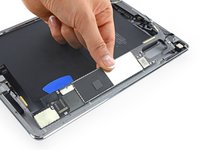
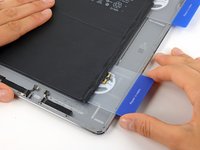
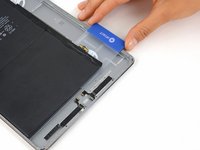
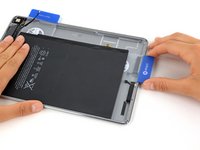
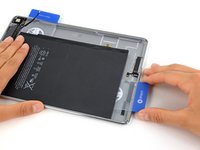
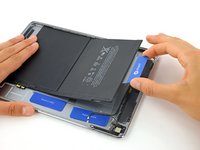
フロントパネルアセンブリを、リアケースから取り外します。
-
ディスプレイアセンブリを再利用する予定の場合、ディスプレイ用接着剤を交換しなければなりません。iPadの接着剤ガイドを参照して、ディスプレイアセンブリに再装着して、デバイスを密封しましょう。
-
-
-
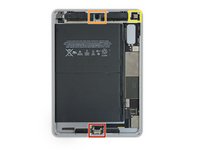
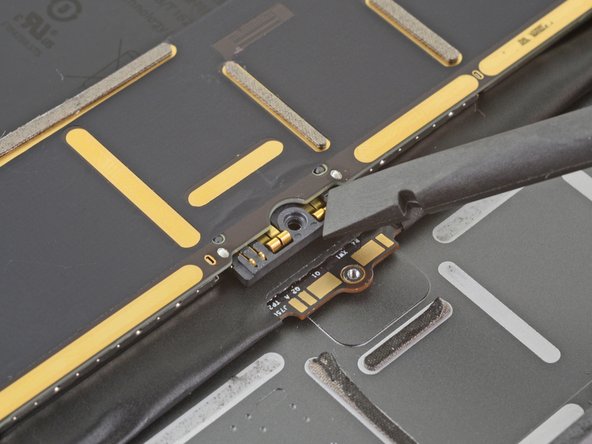
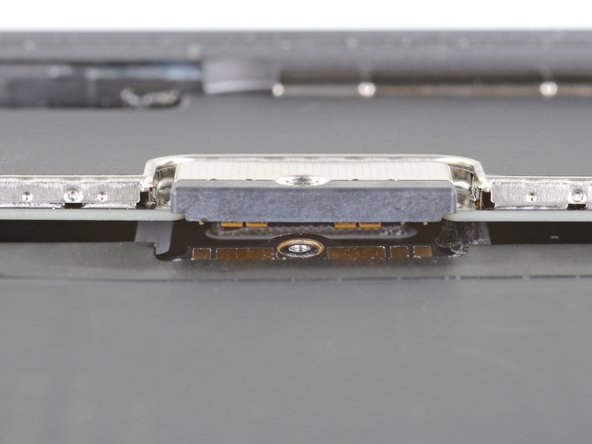
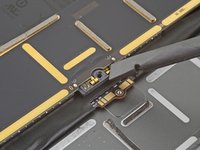
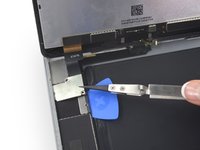
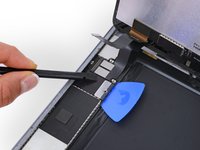
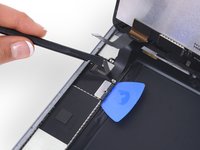
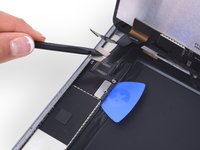
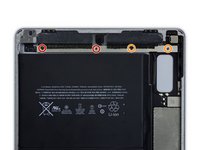
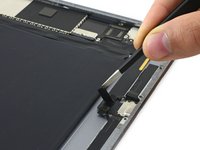
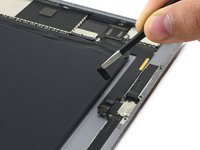
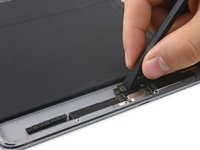
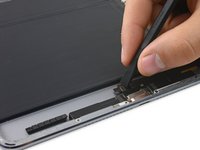
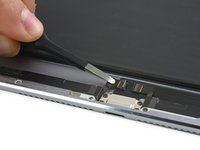
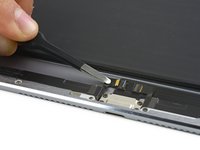
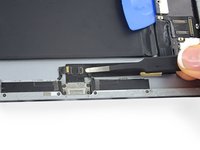
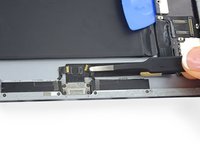
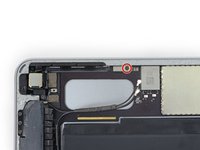
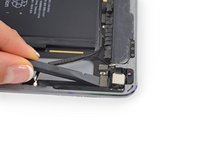
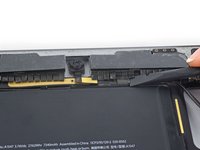
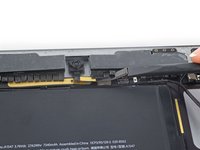
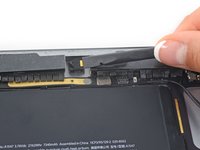
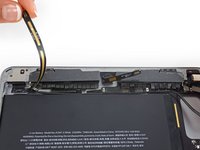
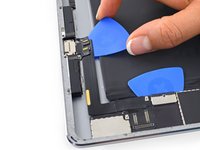
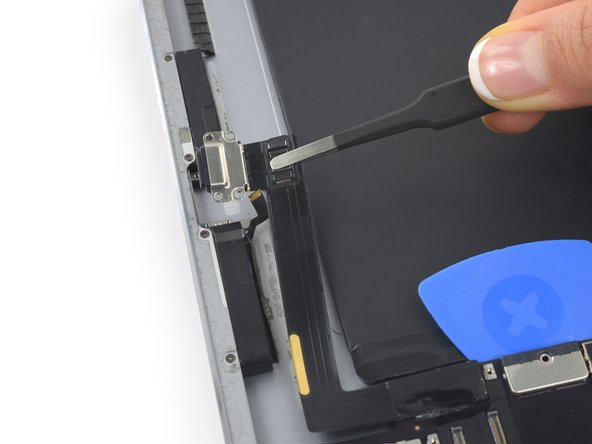
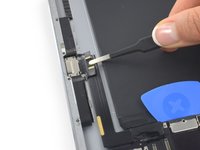
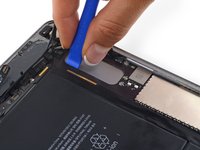
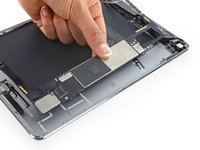
上部コンポーネントケーブルブラケットをタブレットに固定している次の4本のプラスネジを外します。
-
1.6mm 2本
-
1.3mm 2本
-
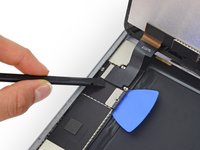
上部コンポーネントケーブルブラケットを保護フラップの下からスライドさせて、iPadから取り出します。
-
-
-
iOpenerの使用方法ガイドの手順に従い、iOpenerを準備してください。
-
iPad裏面の上部に沿ってiOpenerを2,3分置き、ロジックボードを所定の位置に留めている接着剤を柔らかくします。
-
-
-
iOpenerを電子レンジで約30秒間温めます。
-
温まったiOpenerをiPad裏側中央に配置します。バッテリーに付けられた接着剤が柔らかくなるまで約90秒間置きます。
-
iOpenerを右側(背面カメラの反対側)に移します。そしてさらに90秒間置いてください。
-
最後にiOpenerをiPadの右側端付近に90秒間置きます。
-


デバイスを再組み立てする際は、これらの手順を逆の順番に従って作業を進めてください。
デバイスを再組み立てする際は、これらの手順を逆の順番に従って作業を進めてください。
254 の人々がこのガイドを完成させました。
以下の翻訳者の皆さんにお礼を申し上げます:
100%

これらの翻訳者の方々は世界を修理する私たちのサポートをしてくれています。 あなたも貢献してみませんか?
翻訳を始める ›

60 件のコメント
Can the iPad air 2 battery be replaced without removing logic board or do all the internal components have to be dismantled before battery can be replaced?
The battery contacts are pinned underneath the logic board, so it's difficult to remove with the logic board in place. There's also very little room to work with the logic board installed, so there's an increased risk of damaging something with a wayward swipe of your card or pry tool. But yes, it's possible. You can reference this guide for tips on the procedure (it's for a different model but the same overall strategy will work).
I just finished this repair successfully. Don't force ANYTHING Find something, a steel plate, aluminum plate, a heat gun and heat the plates not the iPad. Then it does not over heat, it is even and does not get cool. That makes it really easy. I used a piece of 6" of channel beam and blew the heat in the channel, measuring the top with a laser thermometer (140F target) after step #37, it worked so much better. I lifted the battery w/o touching electronics, and logic board too. It was easy with separators from IFixIT and slabs from a milk carton.
I don't think anything was risky this way and should have used the beam for the 1-37 steps.
Thanks to all who contribute here.
I've just completed this fix (among 4-5 others previously). First comment here b/c this was an unusual repair. The biggest surprise about this fix (or anything to do with the internals of an iPad): the size of the screws! I'm surprised it isn't mentioned at the top, along with the PN000 driver: these things are literally the size of a grain of sand! So, taking them out is the easy part. Putting them back in is a trick. The secret: place them on the holes first, in whichever direction, then maneuver them btw fingernail and driver into correct position. You'll need something to anchor the screen in a vertical position to use both hands. Not mentioned in Jeff and AMT's comments: there is a loop in the battery contact. Not removing the logic board means you'll be breaking the loop on the old battery to remove it, and you'll need to snip the loop on the new battery to insert it. It all worked for me. It made the actual fix a fraction of the steps from the written one (just 4 screws removed), but it's risky.
I bought the $20 repair kit to go along with the lithium ion battery. The suction cup and the heating tube did not work even after multiple attempts to use the heating tube. I had to resort to a hair dryer and use a straight razor to pry the edge just enough to slip a pick in there. I did find incredible use for the magnetized screw drivers and spudgers.
I bought the iFixIt lithium ion battery replacement and once reassembling the iPad Air 2 (double checking each connection for fit and order), it still does not turn on. ugh…