はじめに
このガイドはSamsung Galaxy S20 バッテリーを交換する方法です。
バッテリーは強力な接着剤で固定されています。高濃度(90%以上)のイソプロピルアルコールで接着剤を緩めてください。
バッテリーが膨張している場合は、 適切な方法で処理してください。
デバイスを解体する前に、バッテリーの残量を25%以下まで放電してください。充電されたリチウムイオンバッテリー は引火の原因となったり、アクシデントで穴を開けてしまうと爆発の恐れがあります。
この作業を完了するには、交換用の接着剤が必要です。
必要な工具と部品
-
-
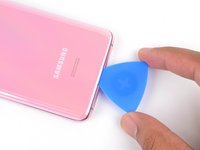
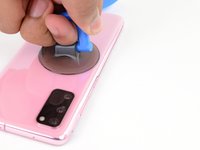
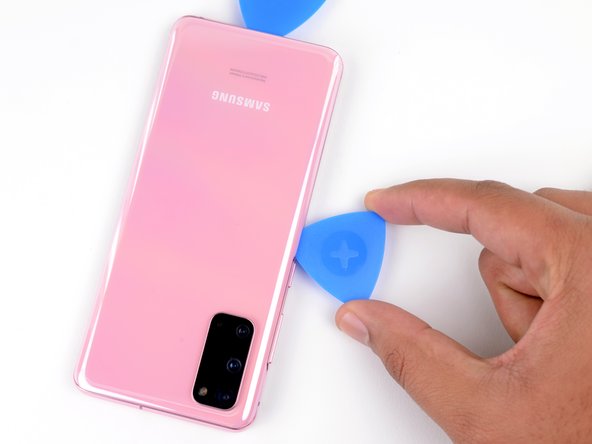
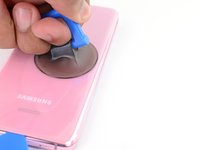
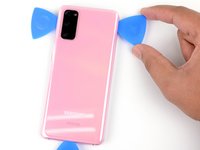
デバイス背面の、下部中央のできる限り端に近い位置に吸盤カップを装着します。
-
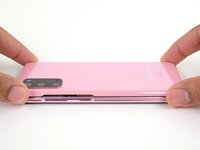
吸盤カップを強く一定の力で引き上げて、バックカバーとフレームの間に隙間を作ります。
-
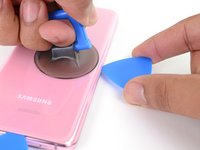
隙間に開口ピックの先端を差し込みます。
-
-
-
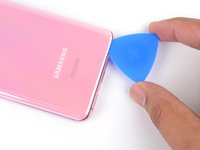
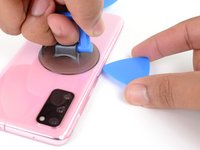
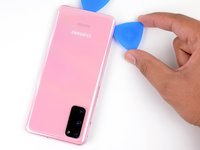
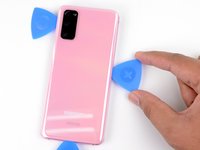
吸盤カップをデバイス背面に装着します。できる限り左端の中央に取り付けてください。
-
強く、一定の力で吸盤カップを引き上げて、バックカバーとフレームの間に隙間を生じます。
-
開口ピックの先端を隙間に差し込みます。
-
もしくは高濃度(90%以上)イソプロピルアルコールの数滴を隙間に注入し、接着剤を緩めることもできます。
-
-
-
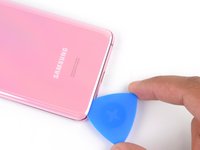
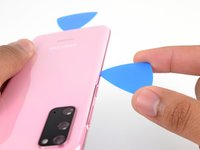
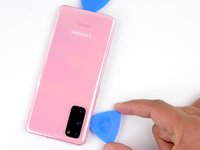
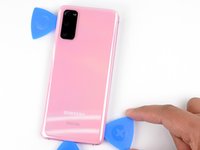
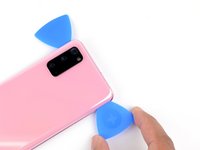
吸盤カップをデバイス背面に取り付けます。できる限り右端の真ん中に装着してください。
-
吸盤カップを一定の強さで引き上げて、バックカバーとフレームの間に隙間を作ってください。
-
開口ピックの先端を隙間に差し込みます。
-
-
-
-
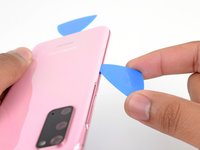
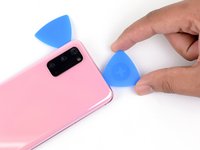
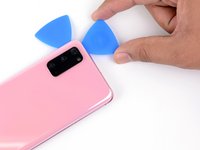
デバイスの右端から右上隅に向かってピックを徐々にスライドさせます。
-
バックカバーの接着剤を完全に切開するために、左上隅に向けて上端に沿ってスライドを続けます。
-
-
この手順で使用する道具:Tweezers$4.99
-
バックカバーをゆっくりと持ち上げます。開口ピックを使って、残りの接着剤を切開します。
-
バックカバーを取り出します。
-
再組み立ての際は、バックカバーを密封する前に、デバイスの電源を入れて、全ての機能が動くかテストをすることをお勧めします。再組み立て作業に戻る前に、デバイスの電源を必ず切ってください。
-
ピンセットや指を使って、接着剤の塊を取り除きます。接着剤が分離しにくい場合は熱を加えてください。
-
プレカットされた接着剤を使用する場合は、 このガイドを参照してください。
-
両面テープを使用する場合は、 このガイドを参照してください。
-
-
この手順で使用する道具:Tweezers$4.99
-
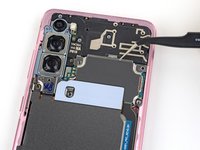
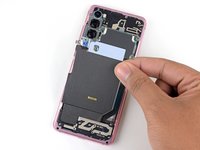
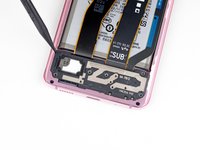
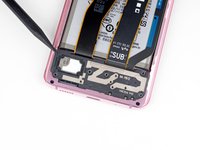
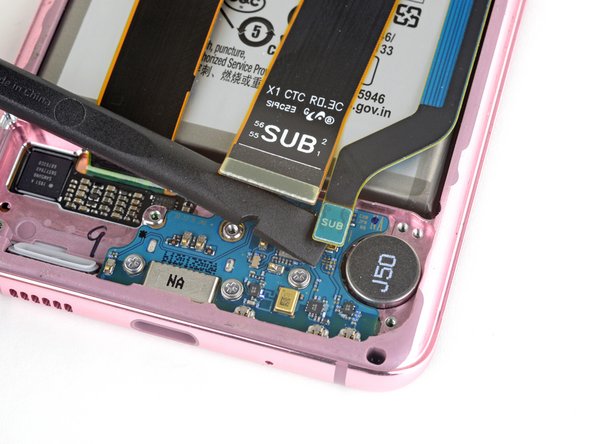
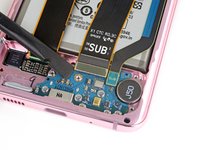
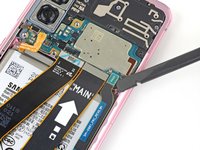
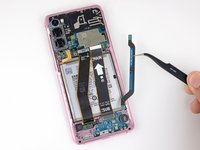
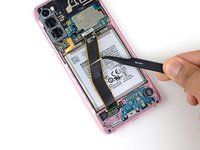
ピンセットを使って、プラスチックのミッドフレームからマザーボードブラケットをゆっくりと引き上げて、クリップを外します。
-
-
この手順で使用する道具:Tweezers$4.99
-
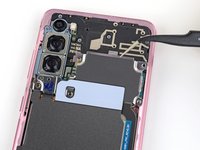
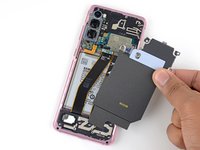
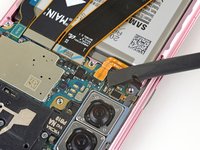
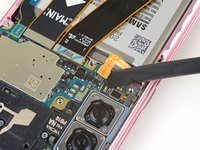
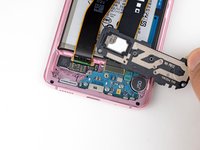
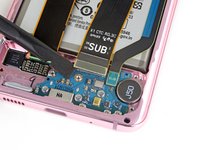
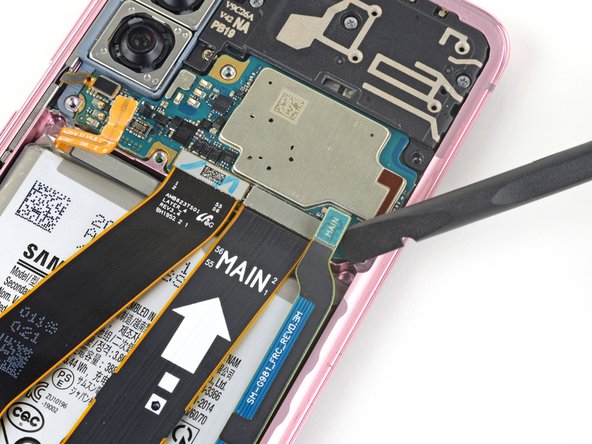
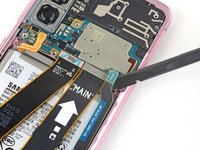
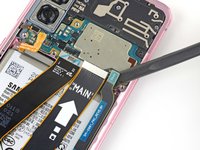
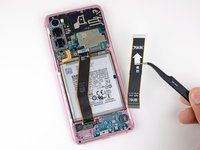
ミッドフレーム左上隅にある凹みに、スパッジャーまたはピンセットの先端を挿入してこじ開けて、クリップを外します。
-
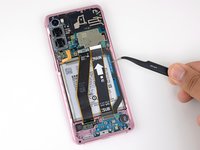
ラウドスピーカーと下部ミッドフレームを取り出します。
-
-
-
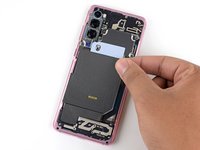
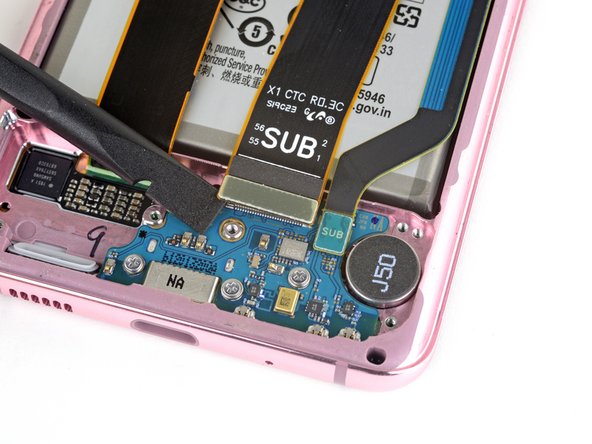
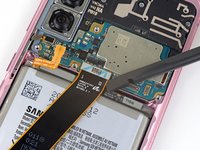
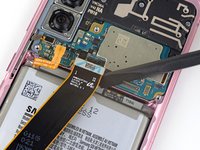
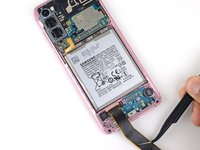
高濃度(90%以上)のイソプロピルアルコールをバッテリーの上端に2滴垂らします。
-
あまり多くのアルコールを使いすぎると、ディスプレイを傷めてしまうことがあります。
-
イソプロピルアルコールが接着剤を柔らかくするため、1分間待ちます。
-
-
-
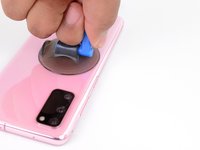
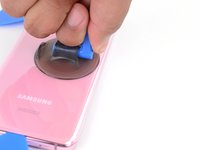
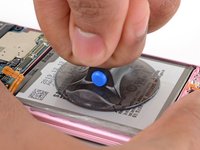
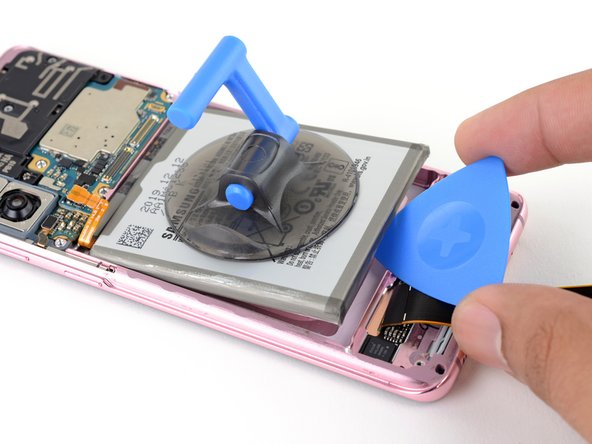
バッテリー中央に吸盤ハンドルを装着します。
-
片手でデバイスの上下を固定し、もう一方の手で吸盤ハンドルをしっかりと引き上げます。
-
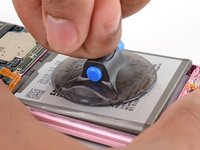
接着剤を緩めるには、強い力で一気に引っ張るのではなく、時間をかけて繰り返し引っ張る必要があります。一度に15秒間、安定した力で吸盤を引っ張ってください。
-
それでも緩まない場合は、イソプロピルアルコールを上端、左端、右端に1~2滴垂らし、1分待ってからもう一度引っ張ります。
-
バッテリーがデバイスから持ち上がり始めたら、次の手順に進みます。
-


オリジナルのパーツと交換用パーツをよく見比べてください。交換用パーツに付いていない残りのコンポーネントや接着シールなどは、インストールする前に新パーツに移植する必要があります。
このデバイスを再組み立てするには、インストラクションを逆の順番に従って作業を進めてください。
このガイド を参照して、バッテリーサイクルをリセットしてください。そして、この手順を完了後、新しく搭載したバッテリーの残量を キャリブレーションしてください。
e-wasteを処理する場合は、認可済みリサイクルセンターR2を通じて廃棄してください。
修理が上手く進みませんか?トラブルシューティングのヘルプには、このモデルのアンサーコミュニティを参照してください。もしくは S20 バッテリーのトラブルシューティングWiki をご覧ください。
29 の人々がこのガイドを完成させました。
以下の翻訳者の皆さんにお礼を申し上げます:
100%

Midori Doiさんは世界中で修理する私たちを助けてくれています! あなたも貢献してみませんか?
翻訳を始める ›

25 件のコメント
I had a huge amount of difficulty removing the battery during this repair. The adhesive is really strong, the suction cup doesn't stick to the battery very well and if you lever it out you run the risk of puncturing the battery. It's also really difficult to pull up on the battery while holding the phone down, especially because you want to avoid touching the circuits.
Eventually I succeeded and everything seemed to work but the next day the phone wouldn't switch on. I think maybe the adhesive remover got somewhere it shouldn't have. If I could add something to this guide, it would be "once battery is removed, allow phone to sit for 30 mins to ensure all adhesive remover has evaporated". If I was allowed a do-over I would try to heat the adhesive instead. Or use the string trick. I'm switching to an iphone now because apparently they don't glue their batteries.
Good point! I would suggest to use pure isopropyl alcohol and not something below 99%. The residual water might be not much but still there is a slight chance of it getting somewhere inside. Also the 99% pure alcohol evaporates much faster and leaves no traces. Apple batteries are also glued in with adhesive. What apple does right are the pull-strings to remove the sticky tape between chassis and battery.
Followed every step and managed to complete it but after a couple of minutes the phone screen stopped working and turned black.
I'm pretty sure that happened because the isopropyl alcohol went through the phone into the screen through the gap right under where the battery seats.
If you attempt this at home be aware this might happen, so disconnect the display too or look into using a different method for removing the battery.