はじめに
新しいWi-Fiアンテナでインターネット接続の問題を解決します。
必要な工具と部品
-
この手順で使用する道具:Phillips #00 Screwdriver$5.49
-
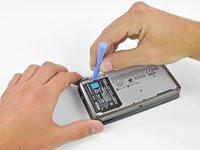
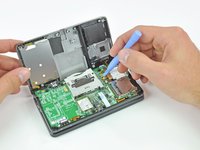
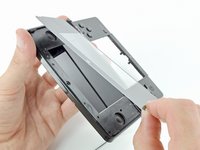
PH00プラスドライバーを使って、バックカバーの上部に沿って留められている4本のネジを緩めます。
-
-
-
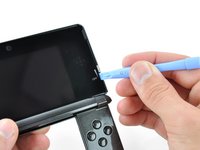
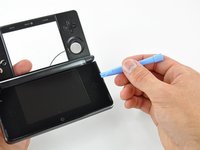
この手順で使用する道具:Tweezers$4.99
-
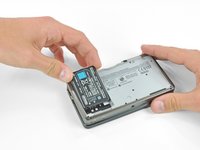
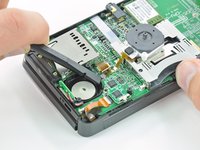
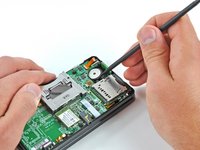
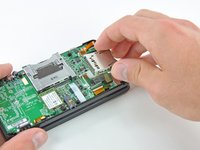
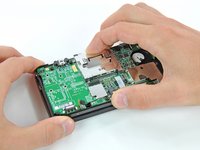
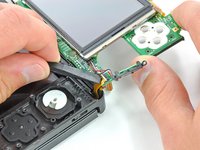
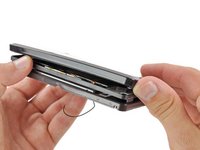
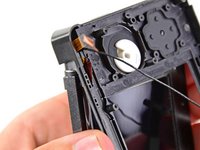
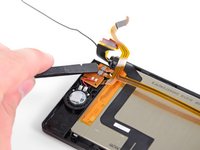
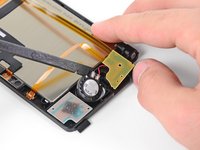
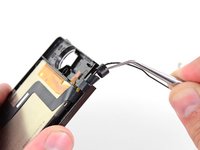
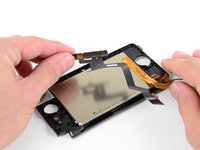
マイクのそばにあるマイクのリボンケーブルをピンセットでつまみます。
-
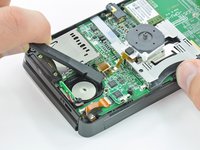
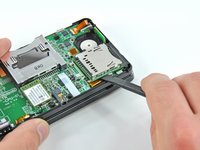
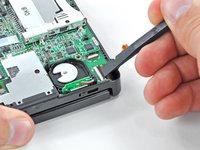
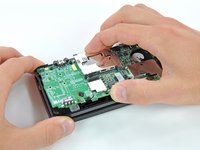
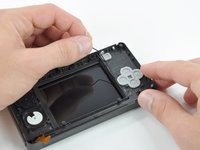
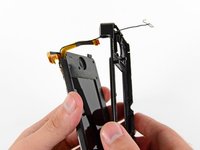
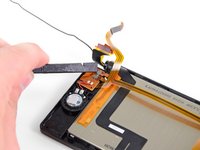
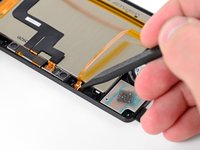
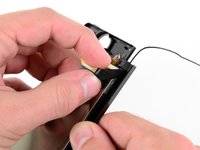
マイクを上部ケースから垂直に引き上げます。
-
-
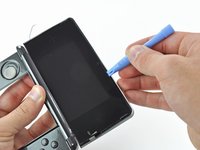
この手順で使用する道具:Tweezers$4.99
-
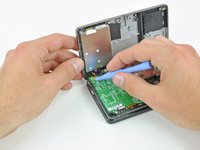
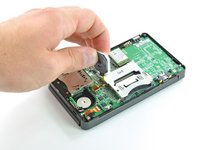
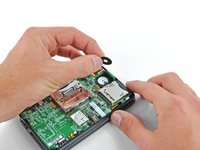
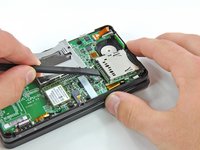
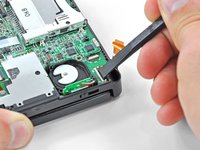
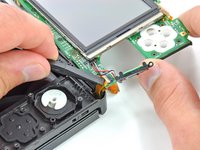
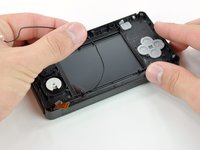
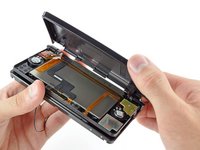
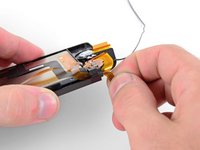
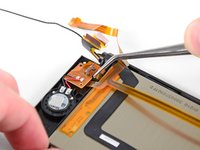
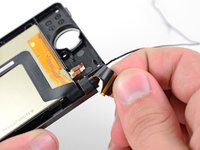
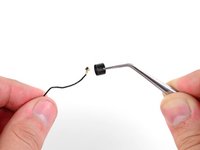
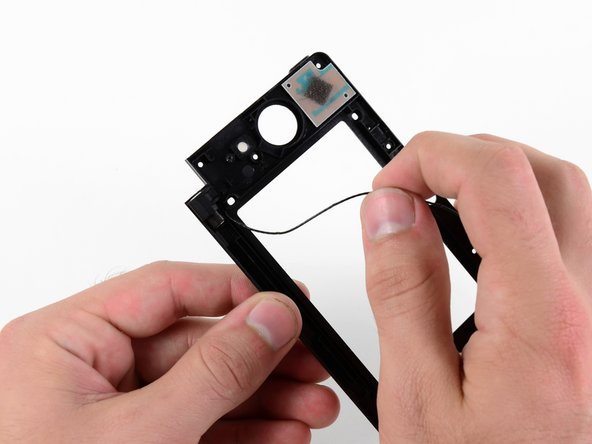
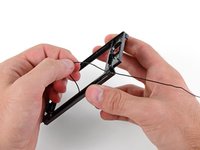
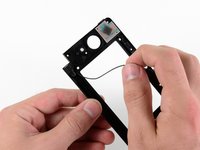
分解作業を続ける前に、ピンセットを使って、ワイヤレス通知LED用の透明プラスチック製ディフューザーを取り外します。この小さなディフューザーは、ひとりでに落下するので床に落ちると探すのが大変です。ご注意ください。
-


デバイスを再度組み立てるには、この説明書の逆の順番で組み立ててください。
デバイスを再度組み立てるには、この説明書の逆の順番で組み立ててください。
5 の人々がこのガイドを完成させました。

2 件のコメント
this guide is idiotic, i followed it to the letter and all it did was make me realize that there is a much easier and much safer way of replacing the antenna; steps 1-29 (step 30 if you want to, not necessary though) are fine and right on the money, however pushing the ribbons through makes it way more difficult when you could just remove the antenna board, thred just the wire through leaving the ribbons unchanched, and put in the replacement board and thread the wire through, then reassemble the console. this method almost guarantees that the ribbons wont get scratch and you wont get frustrated.
this is amazing i will going to follow all steps it seems very difficult before i read this but now this will really helpful and easier than i thought thank you!! Antenna Amplifier