メインコンテンツにスキップ
Mr. Coffee 5-Cup Mini Brew Thermal Fuse Replacement

Mr. Coffee 5-Cup Mini Brew Thermal Fuse Replacement

Megan Wood

Megan Wood とその他 4 人の作成者

最終更新日: July 2, 2024

35 - 45 分
難しい
おすすめの学生による修理ガイド

Our guide helps to replace the thermal fuses in a Mr. Coffee 5-Cup Mini Brew coffee maker (Model #: BVMC-PC05BL2-NP-001). Some reasons for the machine not working are from degradation and use overtime, especially if the unit is particularly old and dated. When something is broken, the thermal fuses will likely trip. After doing the necessary repair, the thermal fuse needs to be replaced.

Thermal fuses are single-use devices that cannot be reset, so you would need to replace them to make the coffee machine work again. Thermal fuses work to ensure the machine does not overheat and become a fire hazard. To check if your thermal fuses are functioning, you can use a multimeter at where the thermal fuse attaches to the machine, where the thermal fuses attach to each other, and the other spot where the thermal fuse attaches to the machine on the other side to check if current is running through.

必要な工具と部品

パーツ

ツール

もっと見る

これらのリンクを通じて購入すると、iFixit は手数料を得ます。
  1. Mr. Coffee 5-Cup Mini Brew Thermal Fuse Replacement, Thermal Fuse: 手順 1、 3の画像 1 Mr. Coffee 5-Cup Mini Brew Thermal Fuse Replacement, Thermal Fuse: 手順 1、 3の画像 2 Mr. Coffee 5-Cup Mini Brew Thermal Fuse Replacement, Thermal Fuse: 手順 1、 3の画像 3
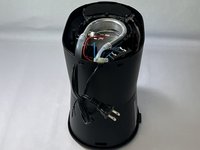
    • Remove the coffee pot.

    • Flip the Mr. Coffee machine over so the base is facing up.

  2. Mr. Coffee 5-Cup Mini Brew Thermal Fuse Replacement: 手順 2、 2の画像 1 Mr. Coffee 5-Cup Mini Brew Thermal Fuse Replacement: 手順 2、 2の画像 2
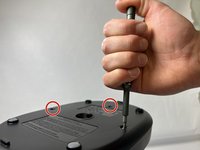
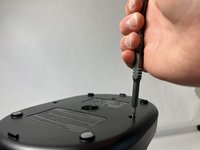
    • Use the Y1 Tri-point screwdriver to remove the three 1.5 cm screws from the baseplate.

  3. Mr. Coffee 5-Cup Mini Brew Thermal Fuse Replacement: 手順 3、 3の画像 1 Mr. Coffee 5-Cup Mini Brew Thermal Fuse Replacement: 手順 3、 3の画像 2 Mr. Coffee 5-Cup Mini Brew Thermal Fuse Replacement: 手順 3、 3の画像 3
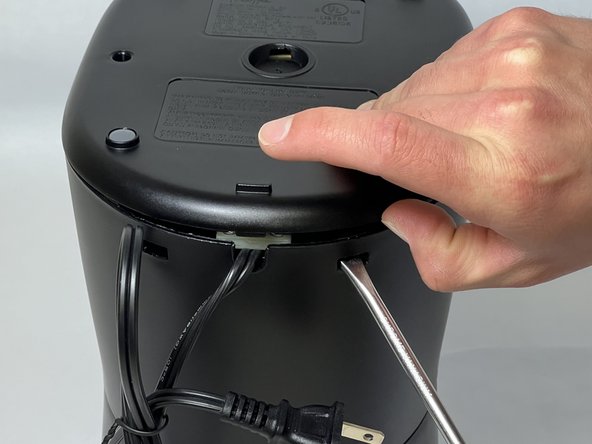
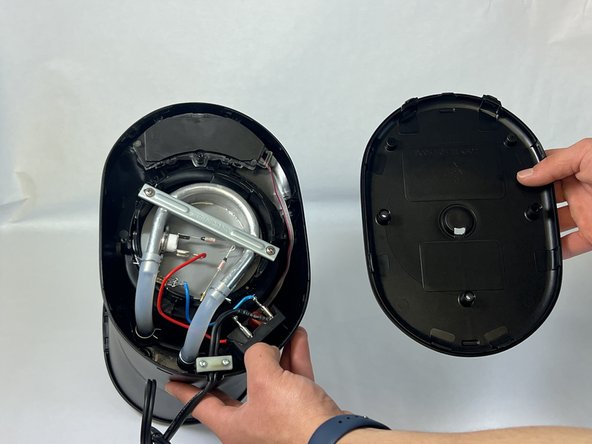
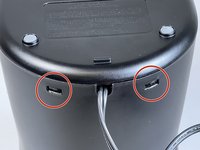
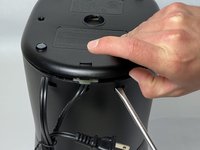
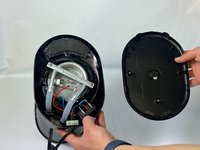
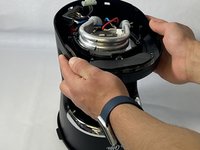
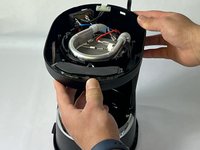
    • Use a flathead screwdriver to unclip the two clips from the back of the baseplate.

    • Unsnap the front clips and remove the baseplate.

  4. Mr. Coffee 5-Cup Mini Brew Thermal Fuse Replacement: 手順 4、 3の画像 1 Mr. Coffee 5-Cup Mini Brew Thermal Fuse Replacement: 手順 4、 3の画像 2 Mr. Coffee 5-Cup Mini Brew Thermal Fuse Replacement: 手順 4、 3の画像 3
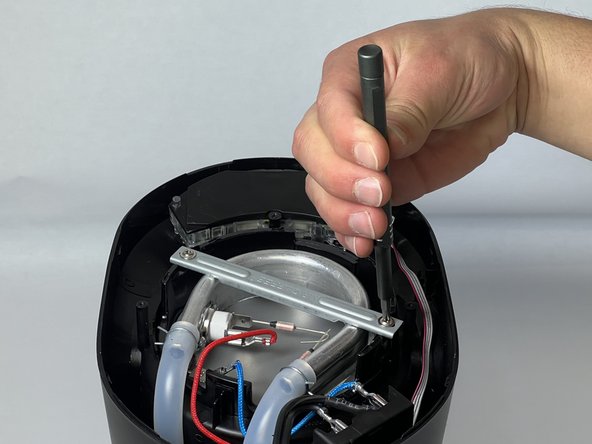
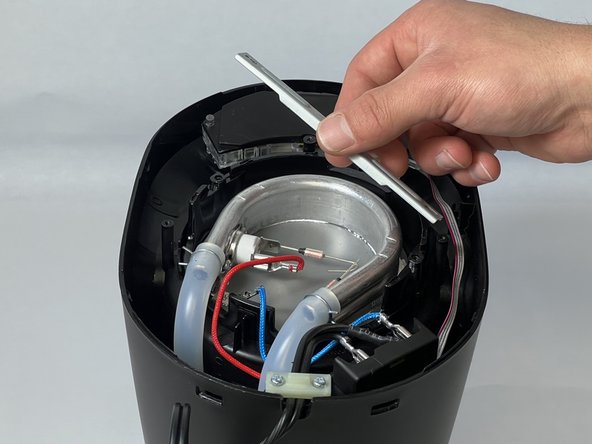
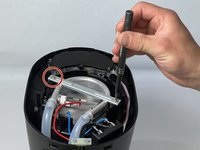
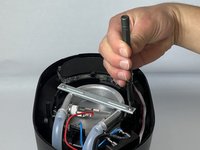
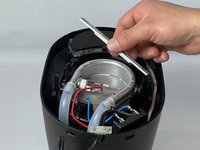
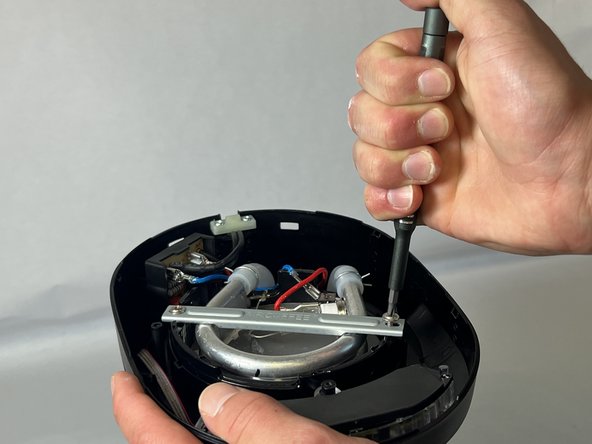
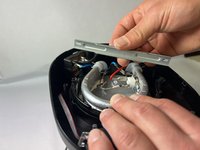
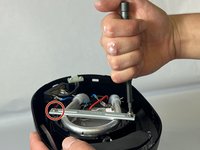
    • Use a Phillips screwdriver to remove the two 1.5 cm screws on the metal bracket.

  5. Mr. Coffee 5-Cup Mini Brew Thermal Fuse Replacement: 手順 5、 3の画像 1 Mr. Coffee 5-Cup Mini Brew Thermal Fuse Replacement: 手順 5、 3の画像 2 Mr. Coffee 5-Cup Mini Brew Thermal Fuse Replacement: 手順 5、 3の画像 3
    • Rotate the Mr. Coffee machine around so the front is facing you.

  6. Mr. Coffee 5-Cup Mini Brew Thermal Fuse Replacement: 手順 6、 1の画像 1
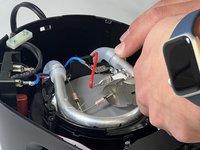
    • Locate the two thermal fuses.

    • The thermal fuses are attached to two different mounts and to each other.

  7. Mr. Coffee 5-Cup Mini Brew Thermal Fuse Replacement: 手順 7、 3の画像 1 Mr. Coffee 5-Cup Mini Brew Thermal Fuse Replacement: 手順 7、 3の画像 2 Mr. Coffee 5-Cup Mini Brew Thermal Fuse Replacement: 手順 7、 3の画像 3
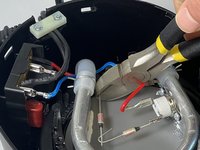
    • Clip each fuse where it connects with its mount with wire cutters.

    • Discard the fuses.

  8. Mr. Coffee 5-Cup Mini Brew Thermal Fuse Replacement: 手順 8、 3の画像 1 Mr. Coffee 5-Cup Mini Brew Thermal Fuse Replacement: 手順 8、 3の画像 2 Mr. Coffee 5-Cup Mini Brew Thermal Fuse Replacement: 手順 8、 3の画像 3
    この手順で使用する道具:
    Tweezers
    $4.99
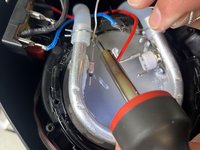
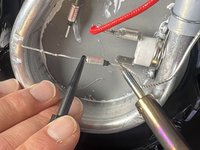
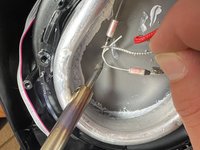
    • Do not touch the hot soldering iron. Use in a well ventilated area.

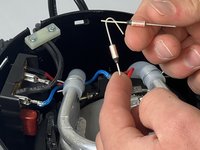
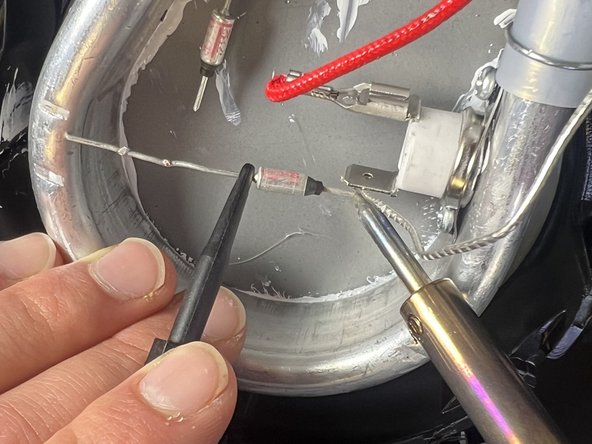
    • Hold the tail of the fuse with tweezers at the contact point from the previous fuse.

    • Avoid contact with soldering iron and other internal components.

    • Melt the solder material with the soldering iron at the point of contact until it melts and beads onto the tail of the fuse.

    • Hold the head of the new fuse with the tweezers at the contact point from the removed fuse.

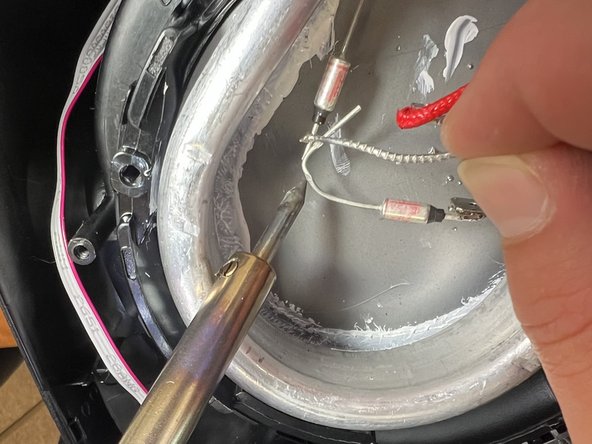
    • Melt the solder material with the soldering iron at the point of contact until it melts and beads onto the head of the fuse.

    • While touching the wires of the fuses together, melt the soldering material with the soldering iron until it melts and beads onto the two wires.

  9. Mr. Coffee 5-Cup Mini Brew Thermal Fuse Replacement: 手順 9、 3の画像 1 Mr. Coffee 5-Cup Mini Brew Thermal Fuse Replacement: 手順 9、 3の画像 2 Mr. Coffee 5-Cup Mini Brew Thermal Fuse Replacement: 手順 9、 3の画像 3
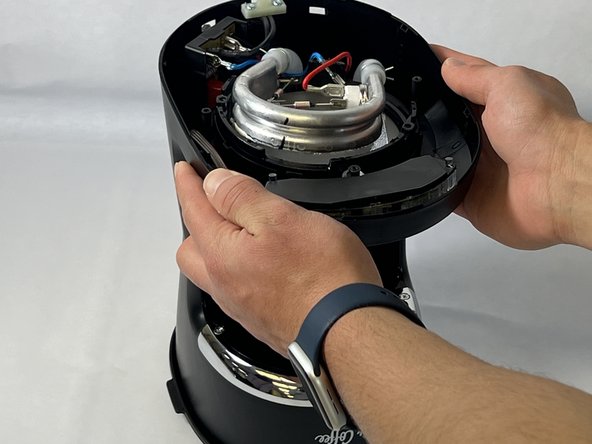
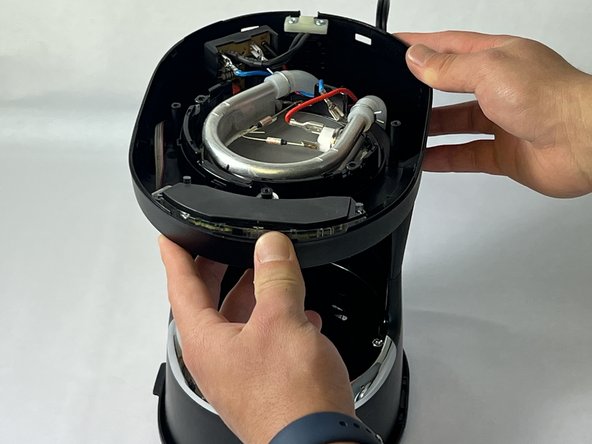
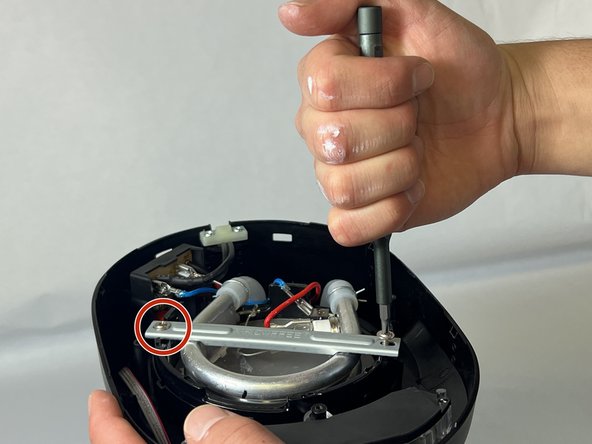
    • Place the support beam back into the original place.

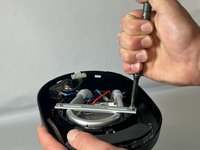
    • Use a Phillips #1 screwdriver to fasten the 1.5 cm screws into place on the metal bracket.

    • The screws can be distinguished by looking at the head type. The two Phillips screws are for the metal support beam on the inside. The three tri-point head type screws are for securing the baseplate on the outside.

  10. Mr. Coffee 5-Cup Mini Brew Thermal Fuse Replacement: 手順 10、 1の画像 1
    • Clip baseplate back into place by snapping the front into the clips first and then the back clips (by the cord).

  11. Mr. Coffee 5-Cup Mini Brew Thermal Fuse Replacement: 手順 11、 2の画像 1 Mr. Coffee 5-Cup Mini Brew Thermal Fuse Replacement: 手順 11、 2の画像 2
    • Use a Y1 Tri-point screwdriver to fasten the three 1.5 cm screws into place on the baseplate.

ゴール

作成者

4人の作成者と共同で作成されました。

Megan Wood

メンバー登録日: 01/22/24

193 ポイント

1ガイドが承認済み

チーム

UC Davis, Team 1-3, Morris Winter 2024 UC Davis, Team 1-3, Morris Winter 2024人のメンバー

UCD-MORRIS-W24S1G3

3 メンバー

1のガイドは作成済み

コメント 1 件

My Mr. Coffee 5-cup coffeemaker machine is brand new, and never used. When plugged in the "On" button is lit but it stays quiet and does not brew. Also, the carafe plate and the water both stay cold. I opened up the bottom plate and everything looked tight, connected, and squeaky clean as it left the factory. Since it is out of warranty, the company is not willing to do anything. Any suggestion as to what might have gone wrong? Thanks.

My email: asarverma@yahoo.com

Anand - 返信

コメントを追加

統計データ:

過去 24時間: 4

過去 7 日: 12

過去 30 日: 56

今までの合計 757