
MacBook Unibody Model A1278 ヒートシンクの交換

はじめに
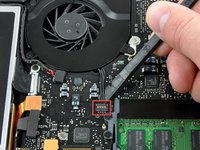
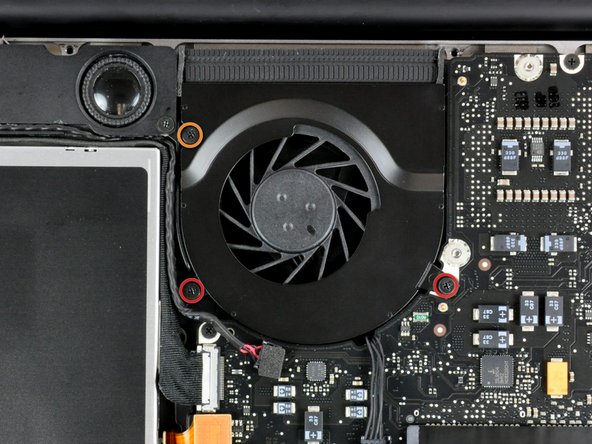
手順 1 に進むヒートシンクはプロセッサを冷却して、デバイスをハッピーにしてくれます。
必要な工具と部品
パーツ
ツール


もっと見る
-
-
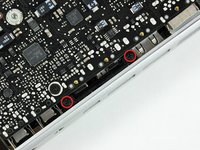
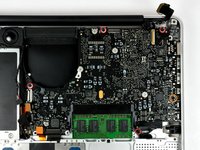
ケースを閉じたまま、Unibodyを裏返しにして水平に置きます。
-
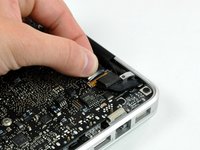
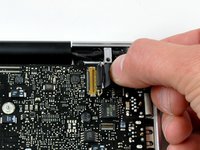
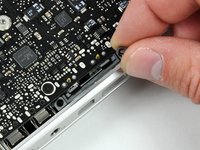
アクセスドアのリリース用ラッチの溝側を押し込んで、出てきた先端をつかみます。 リリース用ラッチが垂直になるまで持ち上げます。
-
-


デバイスを再組立する際は、これらのインストラクションを逆の順番に従って作業を進めてください。
デバイスを再組立する際は、これらのインストラクションを逆の順番に従って作業を進めてください。
48 の人々がこのガイドを完成させました。
以下の翻訳者の皆さんにお礼を申し上げます:
100%

Midori Doiさんは世界中で修理する私たちを助けてくれています! あなたも貢献してみませんか?
翻訳を始める ›

6 件のコメント
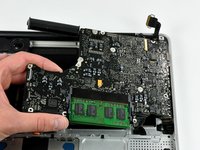
Great guide! Helped me deep-clean the MacBook and reapply thermal paste to the CPU/GPU. I found it better to do step 15, the keyboard ribbon cable before screwing the keyboard flex bracket back on. The cable is fragile, and it's hard to get back in, so I recommend a fair amount of caution. The same goes for the IR sensor ribbon cable - put it on before you place the logic board down, by turning the logic board to best insert the cable. Also, remember to use the exact correct screwdrivers! If not, you risk stripping the screw heads, which will cause you an extreme amount of frustration later down the line. I completely stripped one of the screws holding down the fan previously, and it took me an hour just to get it off. Other than this, the guide is perfect for all your needs.
Great guide. Laptop was struggling encoding a movie for my iPad. Temps sitting close to 100°c and fan maxed out. After replacing thermal compound and giving the insides a good dust it’s now encoding again but 20-30°c lower and fan isn’t going crazy yet.
Watch out when doing this I did this last night and my mac book stopped charging. When I get home later I will diagnose the issue but if I am correct I just need to re seat the cable.
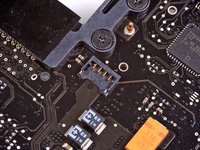
The guide is missing a vital step: before lifting the logic board, you need to disconnect the cable on the top right underneath.
you mean step 26?