はじめに
Use this guide to replace a defective home button with fingerprint sensor in your Huawei P20.
Opening the Huawei P20 will damage the splash and dust protection seals on the device. If you do not replace the adhesive seals, your phone will function normally but will lose its protection.
Due to the phone’s design, we recommend removing the lithium-ion battery in order to remove the screen and have better access to the components. However, it is possible to remove the screen without removing the battery. Reusing a deformed battery after it has forcefully been removed, is a potential safety hazard. In this case, replace it with a new battery.
Before disassembling your phone, discharge the battery below 25%. The battery can catch fire and/or explode if accidentally punctured, but the chances of that happening are much lower if discharged.
You’ll need replacement adhesive to reattach components when reassembling the device.
必要な工具と部品
-
-
Before you begin, switch off your phone.
-
Apply a heated iOpener to the back of the phone to loosen the adhesive beneath the back cover. Apply the iOpener for at least two minutes.
-
-
-
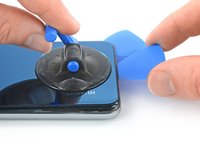
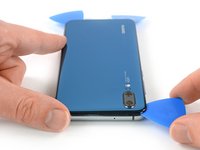
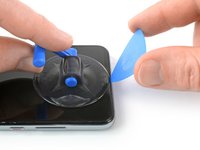
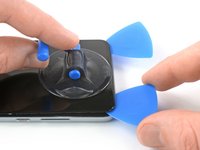
Secure a suction handle to the bottom of the back cover, as close to the edge as possible.
-
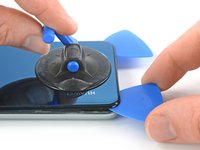
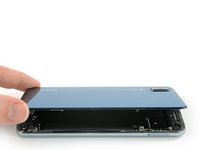
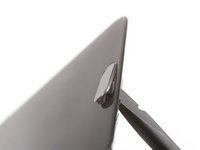
Lift the back cover with the suction handle to create a small gap between the cover and the frame.
-
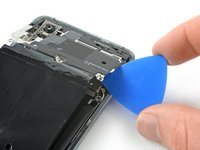
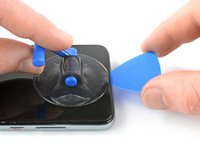
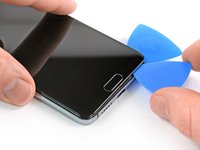
Insert an opening pick into the gap.
-
If you have trouble, apply more heat to further soften the adhesive. Follow the iOpener instructions to avoid overheating.
-
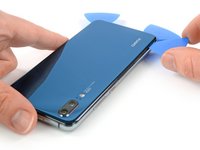
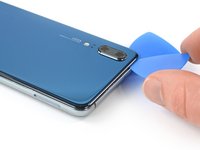
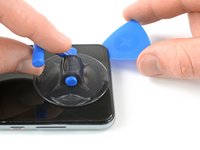
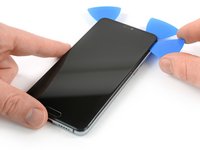
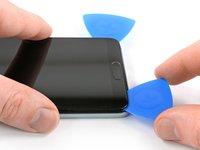
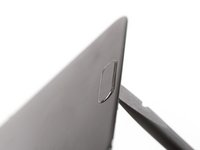
Slide the opening pick to the bottom right corner.
-
-
-
If the adhesive becomes hard to cut it most likely cooled down. Use your iOpener to reheat it.
-
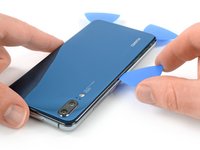
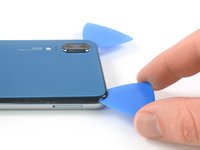
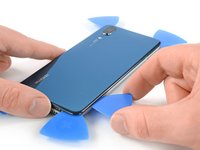
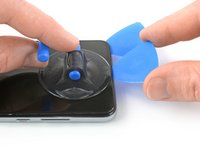
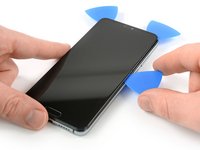
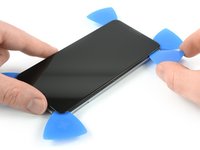
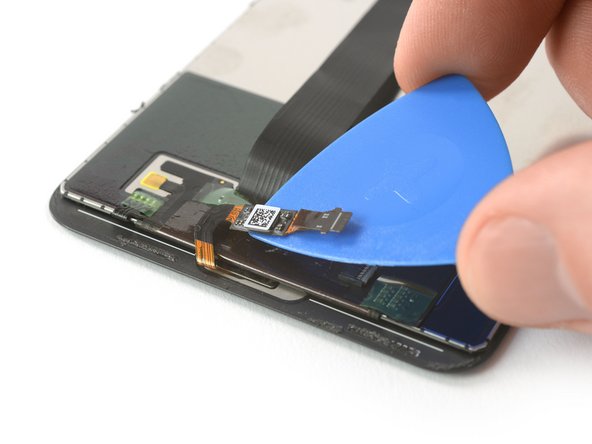
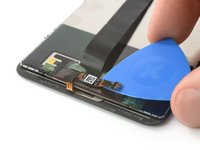
Insert a fourth opening pick under the top left corner of the back cover.
-
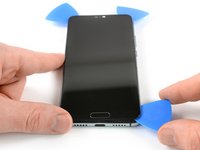
Slide the opening pick along the top edge of the phone to cut the adhesive.
-
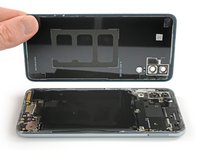
Leave the opening pick in the top right corner to prevent the adhesive from resealing.
-
-
この手順で使用する道具:Tweezers$4.99
-
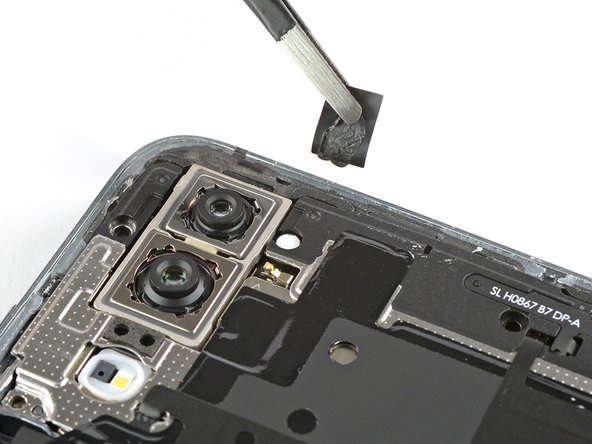
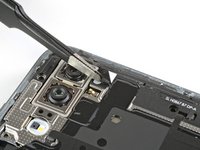
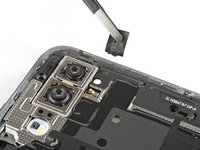
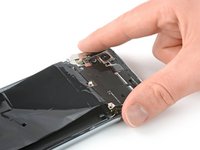
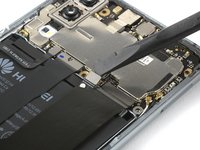
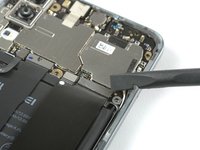
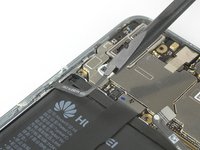
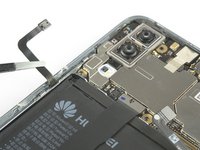
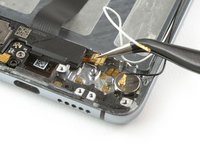
Use a pair of tweezers to peel the black tape next to the rear camera off the motherboard cover.
-
-
-
-
Apply a heated iOpener to the screen to loosen the adhesive beneath the battery. Apply the iOpener for at least two minutes.
-
-
この手順で使用する道具:Plastic Cards$2.99
-
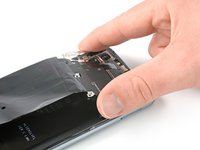
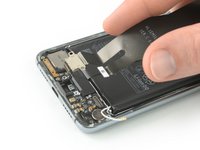
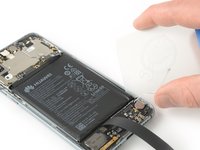
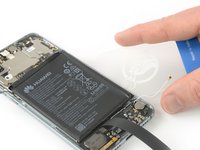
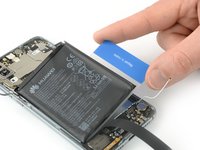
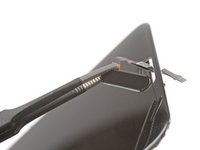
Start to slide a plastic card under the bottom right corner of the battery to cut the adhesive.
-
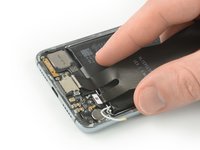
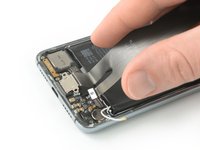
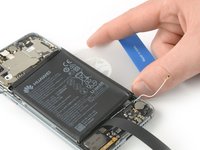
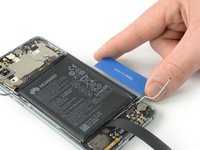
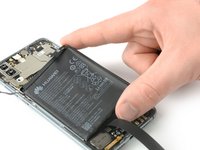
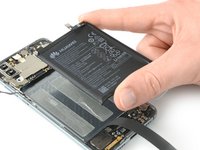
Slide the plastic card along the right side of the battery to further release the adhesive. Gently start to pry up the battery while doing so.
-
-
-
Apply a heated iOpener to the bottom end of the screen to loosen the adhesive underneath the loudspeaker. Apply the iOpener for at least two minutes.
-
-
-
Apply a heated iOpener to the screen and all edges of the phone to loosen the adhesive beneath the edges of the LCD screen and digitizer. Apply the iOpener for at least two minutes.
-
-
-
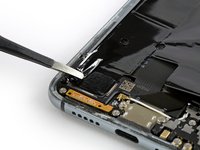
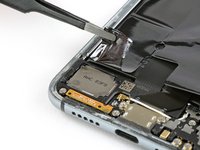
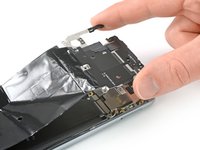
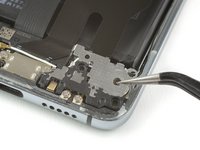
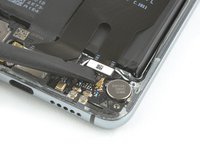
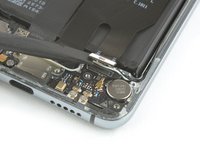
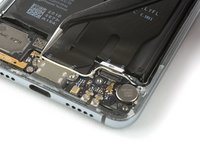
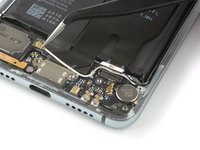
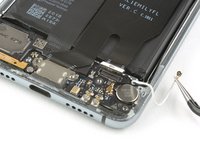
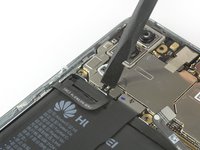
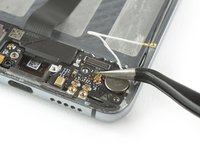
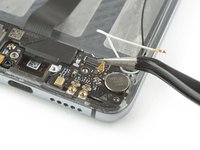
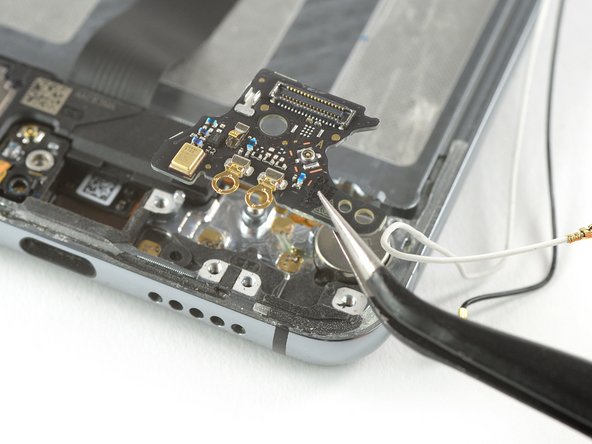
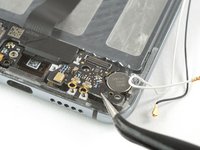
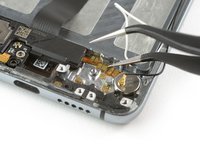
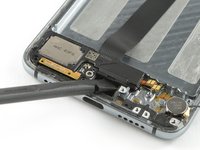
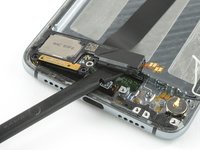
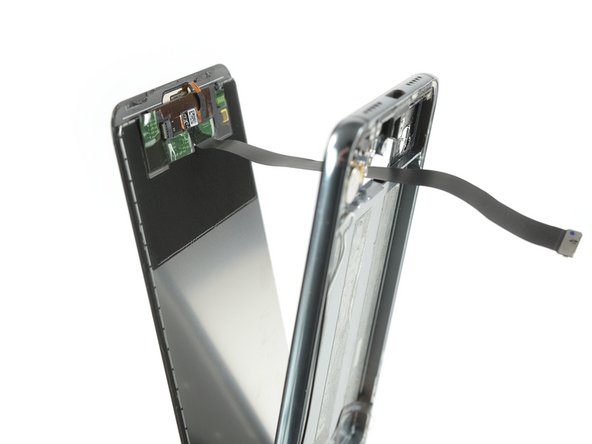
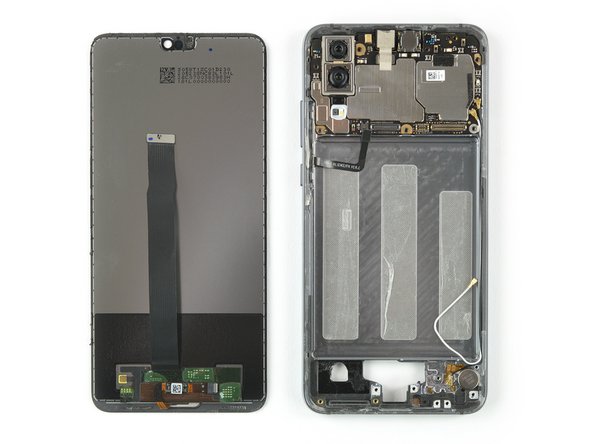
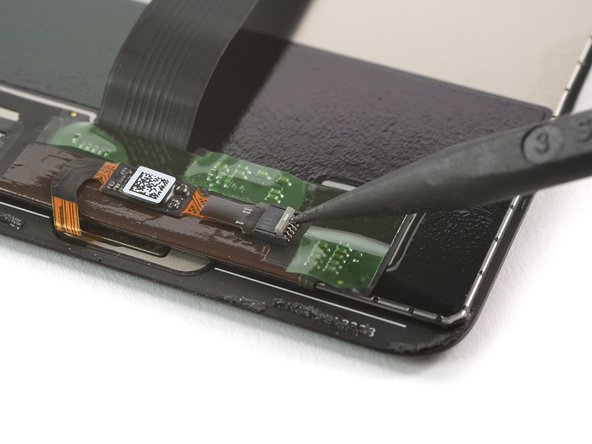
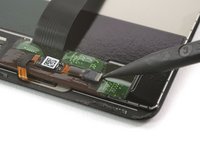
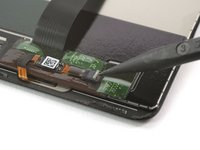
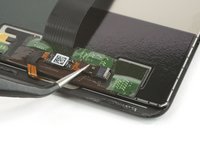
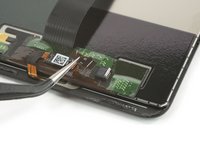
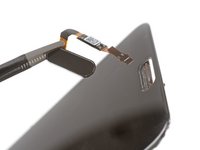
Use the pointed end of a spudger to open the ZIF connector of the home button.
-


If possible, turn on your phone and test your repair before installing new adhesive and resealing the phone.
To reassemble your device, follow these instructions in reverse order.
The best way to secure the new screen is with a sheet of custom-cut double-sided tape. Apply the tape to the back of the screen, then carefully feed the display cable through the frame. Align the screen and press it into place.
Take your e-waste to an R2 or e-Stewards certified recycler.
Repair didn’t go as planned? Check out our Answers community for troubleshooting help.
8 の人々がこのガイドを完成させました。


3件のガイドコメント
In order to reassemble the phone, is it a difference between the double sided tape and the glue?
Good guide. Hardest part is to soften the adhesive, especially for the display-step. I don't have an iOpener, so instead tried to use a rice bag. From a helpful comment in the iOpener guide I've got the idea to use the 3d printer heating bed. Set it to ~60°C and put the p20 on for ~>10mins several times and it worked. I did not needed to replace the screen but instead just unhooked the fingerprint sensor from the zif connector, due to it getting very hot and draining the battery since an official huawei update. Not the only one with that problem, but no fix, so this might be a valuable solution. Thanks to the author of the guide.