はじめに
This repair guide was authored by the iFixit staff and hasn’t been endorsed by Google. Learn more about our repair guides here.
If you're having issues with the overall functionality of your phone and are unable to diagnose the root cause, consider replacing the motherboard of your device.
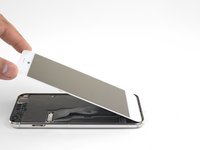
The Pixel XL’s unreinforced display panel is fragile and is attached to the frame with strong adhesive, making repairs difficult. There is a considerable chance of breaking the display, especially if it already has micro-fractures. Be sure to apply plenty of heat and be extremely careful during the prying stage.
必要な工具と部品
-
-
Insert a SIM eject tool, SIM eject bit, or a paperclip into the small hole on the left edge of the phone, near the top.
-
Press to eject the tray.
-
-
-
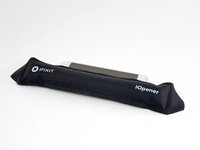
Heat an iOpener and apply it to the top edge of the display for two minutes.
-
Take note of the following regions before you begin prying:
-
Thin adhesive lined against the display panel
-
Thick adhesive
-
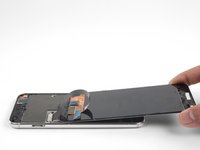
The OLED display panel, which is very prone to damage
-
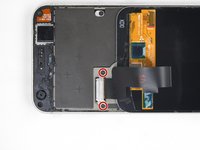
The display cable, which can be damaged during prying
-
-
-
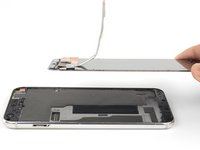
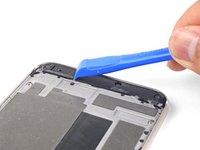
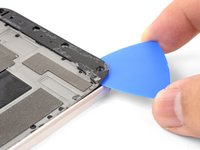
Heat an iOpener and apply it to the right edge of the phone for two minutes.
-
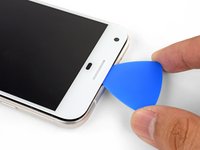
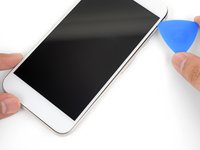
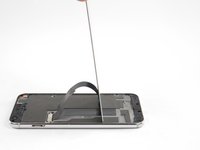
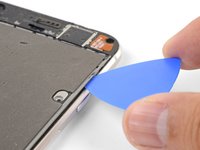
Insert an opening pick near the top edge of the phone, where you have already sliced the adhesive.
-
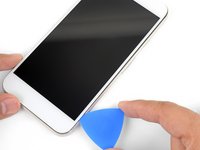
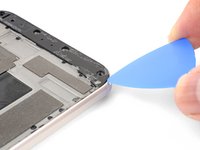
Slowly guide the pick around the right corner.
-
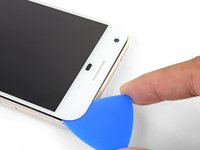
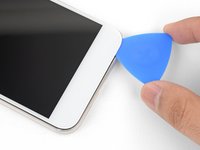
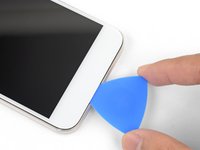
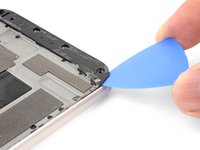
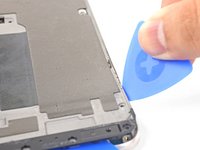
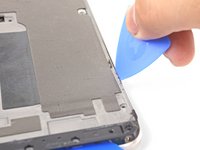
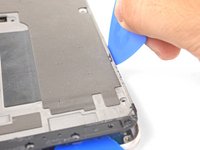
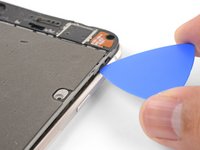
Carefully slide the pick down the right edge of the phone to slice through the adhesive.
-
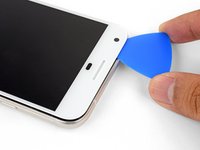
Repeat the step for the left edge of the phone.
-
-
-
-
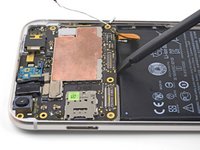
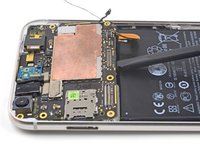
Remove the following screws that secure the midframe to the back:
-
Seven black 4 mm T5 screws
-
Two silver 3 mm T5 screws
-
-
-
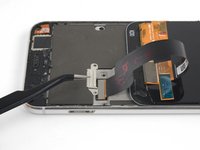
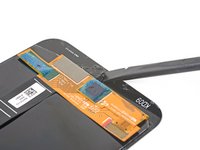
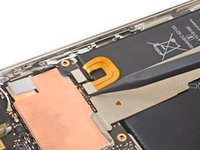
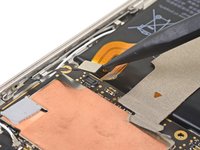
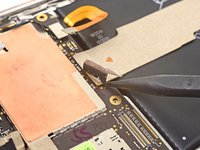
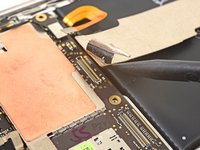
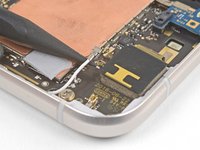
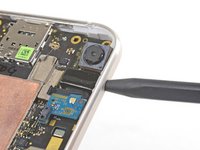
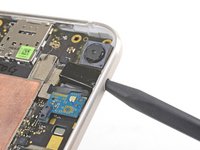
Use the point of a spudger to pry up and disconnect the battery connector.
-
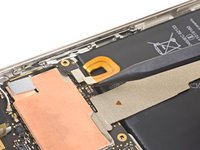
Bend the battery flex cable slightly so that it will not accidentally touch the motherboard.
-
-
-
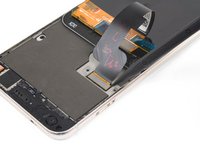
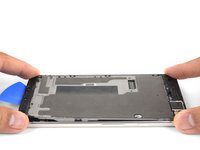
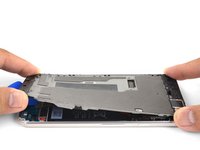
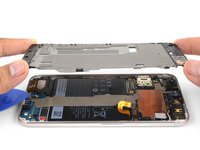
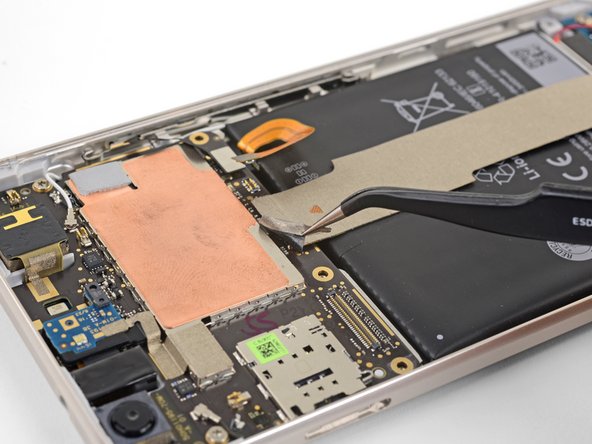
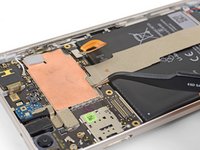
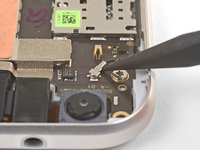
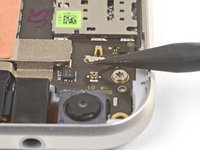
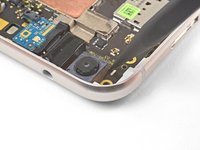
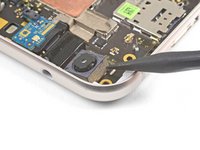
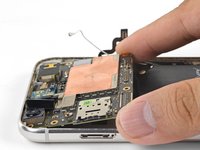
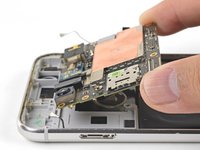
Hold the motherboard by the corners and maneuver it out of its recess, being careful not to snag any cables.
-
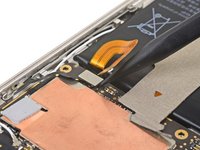
Bend the fingerprint sensor cable slightly so that it bows upward near the connector.
-
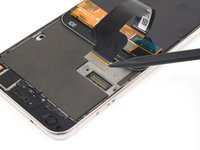
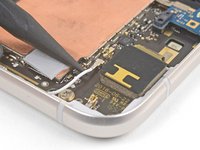
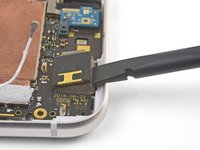
Stand the motherboard up and position it such that the connector rests against the socket.
-
Use your finger to carefully align the connector and press it into the socket. Do not use excessive force! If done correctly, the socket should hold the connector securely.
-


To reassemble your device, follow these instructions in reverse order.
Take your e-waste to an R2 or e-Stewards certified recycler.
Repair didn’t go as planned? Check out our Google Pixel XL Answers community for troubleshooting help.
To reassemble your device, follow these instructions in reverse order.
Take your e-waste to an R2 or e-Stewards certified recycler.
Repair didn’t go as planned? Check out our Google Pixel XL Answers community for troubleshooting help.
5 の人々がこのガイドを完成させました。


3件のガイドコメント
Thanks for the detailed steps , Question : Where can I buy the replacement motherboard ?
This guide has been updated!
Arthur Shi - 返信