はじめに
この修理ガイドはiFixitテクニカルスタッフによって執筆されたものであり、Googleによって承認されたものではありません。修理ガイドの詳細はこちら。
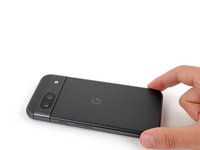
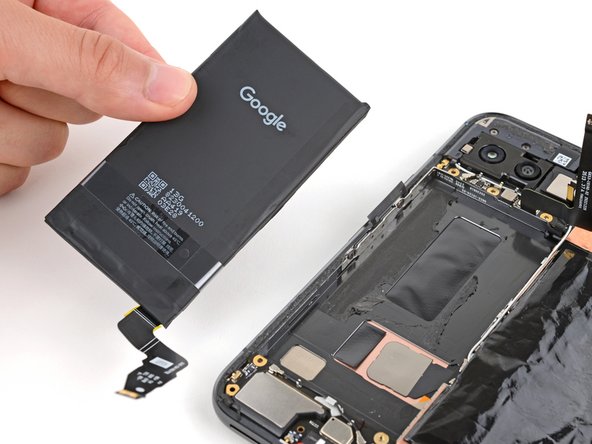
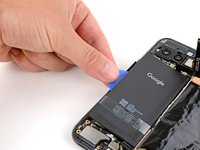
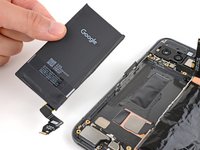
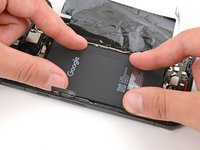
お使いのGoogle Pixel 8aのバッテリーを取り外したり交換する際は、本ガイドを参照して下さい。
リチウムイオンバッテリーの寿命には限りがあります。携帯電話の充電が保たなくなったり、突然切れたりしたら、バッテリーの交換時期かもしれません。
お使いのバッテリーが膨張している場合は、適切な方法で処理を行なって下さい。
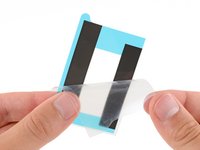
本ガイドの修理を完了するには、バッテリーや背面カバーやフラッシュユニットを取り付けるための交換用接着剤が必要になります
注意:どのような修理もスマートフォンの防水性能を損なう恐れがあります。修理後に防水性能がどの程度保たれるかは、背面カバーの接着剤をどれだけ適切かに取り付けられたかによって変わります。
必要な工具と部品
-
-
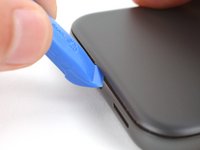
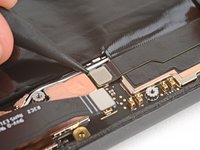
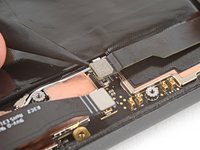
特に異なる指示がない場合、工具を3mm(オープニングツールの平らになっている部分の幅)以上深く縁に差し込まないでください。
-
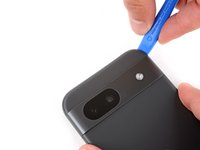
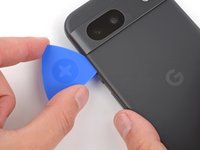
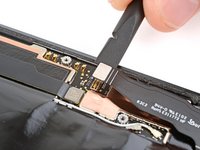
カメラ部の突起の縁には工具を差し込まないでください。
-
-
-
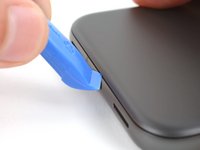
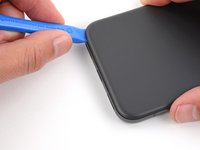
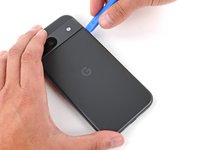
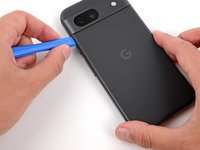
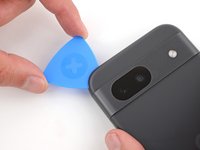
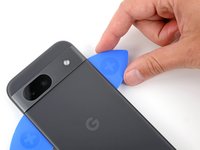
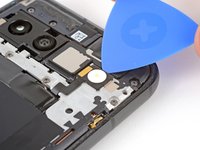
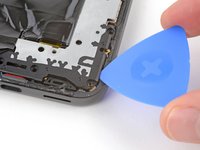
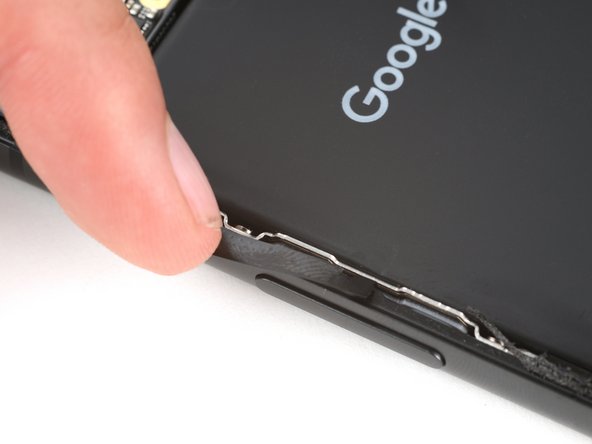
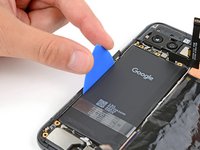
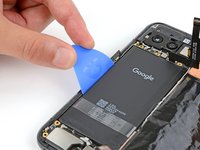
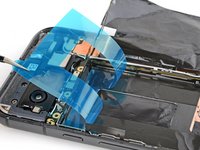
オープニングピックを背面カバーの左上の角に差し込み、先端が先端がカメラ部の突起の上端付近に届くまで差し込んでください。
-
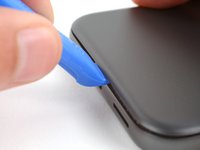
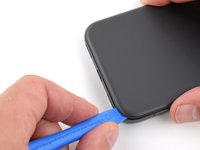
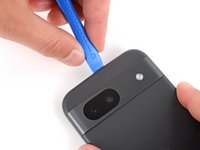
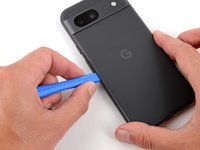
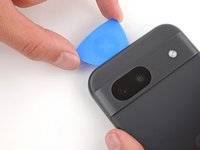
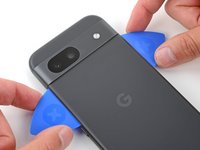
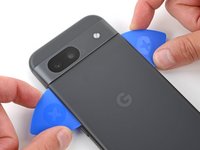
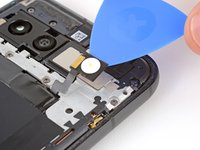
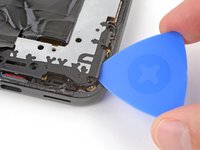
オープニングピックを右に滑らせて、カメラの右端まで動かしたら止めて下さい。
-
-
-
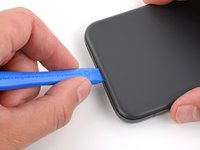
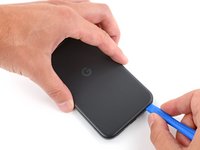
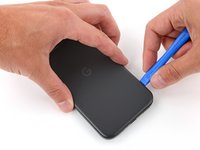
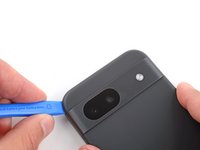
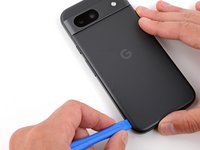
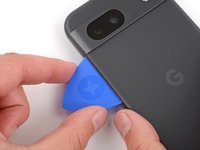
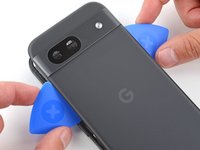
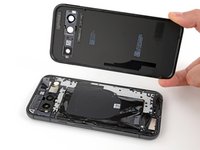
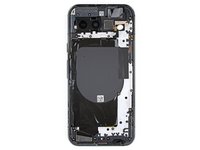
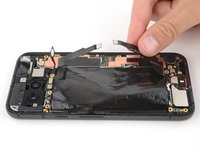
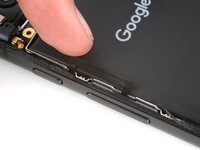
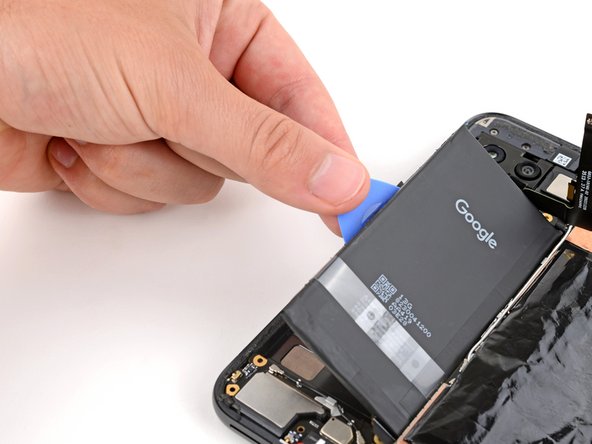
これで背面カバーが外せるようになりました。
-
スマートフォンを密封する前にテストするなら、今がちょうど良いタイミングです。電源を入れて正しく機能するか確認して下さい。組み立て直しを続ける前に電源を切るのを忘れないでください。
-
こちらのガイドを参照して、新しい接着剤と背面カバーを取り付けて下さい。
-
-
-
この手順で使用する道具:FixMat$36.95
-
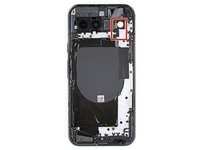
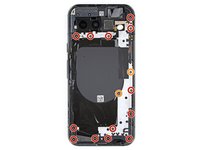
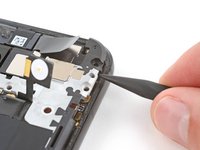
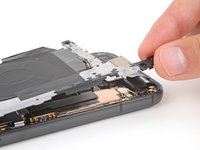
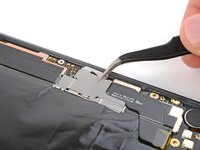
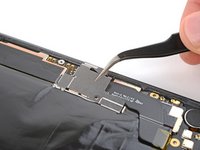
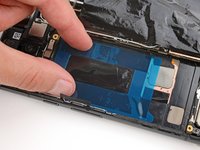
トルクスプラス3IPドライバーを使って、ロジックボードカバーを固定している合計15本のネジを外して下さい。
-
長さ4.3mmのネジ 13本
-
長さ1.9mmのネジ 2本
-
-
-
-
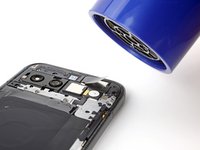
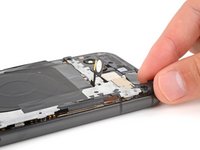
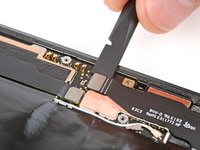
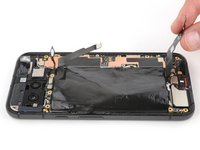
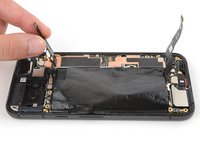
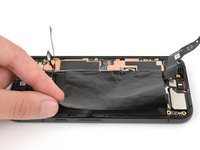
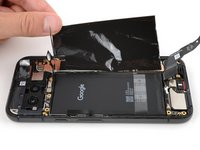
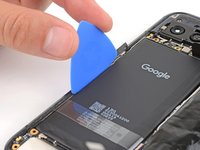
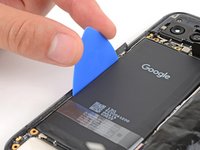
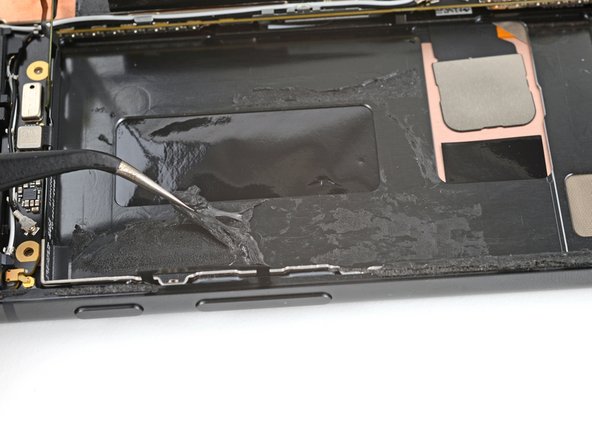
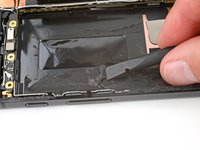
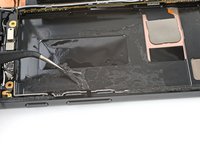
スパッジャーの平らな方の先を使って、古い接着剤の端を擦って丸めて、ピンセットで掴むのに十分な大きさにします。
-
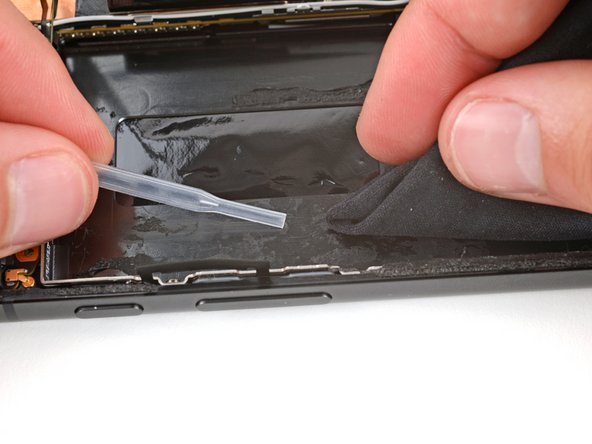
ピンセットや指を使って古い接着剤をフレームから剥がして取り除きます。
-
高純度(90%以上)のイソプロピルアルコールを数滴、残っている接着剤に塗布してから、無塵布やマイクロファイバークロスで拭き取ります。
-


組み立て直す際は、この手順から作業を始めて上記の手順と逆の順番で作業を進めて下さい。
本ガイドの作業が完了したら新しく取り付けたバッテリーのキャリブレーションを行なって下さい。
内蔵のPixel診断ツールで機能診断を行うには、 こちらの文書(英語)を参照して下さい。(訳註:本項翻訳時点では、本ツールを米国外で使用する方法はメーカーからの公式発表がないので注意して下さい)
発生した電子機器廃棄物については、地方自治体などの指示に従って適切に処理して下さい。
修理が上手くいきませんでしたか?基本的なトラブルシューティングを試したり、アンサーフォーラムで助けを求めたりしてみましょう。
2 の人々がこのガイドを完成させました。

