メインコンテンツにスキップ
Blink Video Doorbell Lens Replacement

Blink Video Doorbell Lens Replacement

Kayla Crai

Kayla Crai とその他 4 人の作成者

最終更新日: January 15, 2025

15 - 20 分
中レベル
おすすめの学生による修理ガイド

The Blink Video Doorbell is a doorbell to provide extra security to your residence by giving you an accessible view whenever necessary. The lens is an essential part of the device’s camera. It allows you to view images with sharpness, composition; therefore, determining image quality. Refer to the troubleshooting page if there are issues with the camera which could be connected to causes such as battery failure, software failure, and frozen screen. If you need to take out the lens, use this guide to remove and replace the lens.

必要な工具と部品

ツール

もっと見る

これらのリンクを通じて購入すると、iFixit は手数料を得ます。
  1. Blink Video Doorbell Lens Replacement, Battery: 手順 1、 3の画像 1 Blink Video Doorbell Lens Replacement, Battery: 手順 1、 3の画像 2 Blink Video Doorbell Lens Replacement, Battery: 手順 1、 3の画像 3
    • Push the opening key into the small opening with the two gray buttons on the bottom of the device.

    • The device will click off the mount.

    • Push the device up from the mount and slide it off.

  2. Blink Video Doorbell Lens Replacement: 手順 2、 3の画像 1 Blink Video Doorbell Lens Replacement: 手順 2、 3の画像 2 Blink Video Doorbell Lens Replacement: 手順 2、 3の画像 3
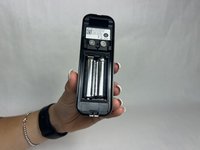
    • Use your finger to slide the gray tab, located near the bottom of the device, upwards.

    • Remove the battery cover.

  3. Blink Video Doorbell Lens Replacement: 手順 3、 3の画像 1 Blink Video Doorbell Lens Replacement: 手順 3、 3の画像 2 Blink Video Doorbell Lens Replacement: 手順 3、 3の画像 3
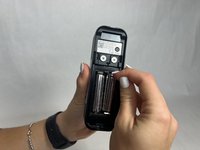
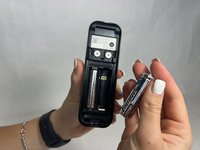
    • Remove the right battery by pushing the positive end down and pulling the battery out toward yourself.

    • Repeat the procedure for the left battery.

    • Do not mix used and new batteries or batteries of different types (for example, lithium and alkaline batteries).

  4. Blink Video Doorbell Lens Replacement, Back Panel: 手順 4、 3の画像 1 Blink Video Doorbell Lens Replacement, Back Panel: 手順 4、 3の画像 2 Blink Video Doorbell Lens Replacement, Back Panel: 手順 4、 3の画像 3
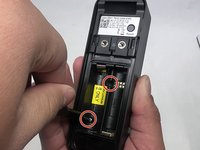
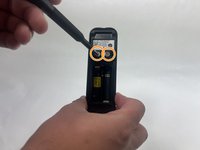
    • Remove the two 6 mm screws in the battery compartment using a JIS #1 screwdriver.

    • Remove the two 7 mm screws above the battery compartment using a JIS #1 screwdriver.

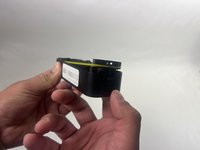
    • Starting from the bottom of the device, pry the back plate away from the rest of the doorbell.

  5. Blink Video Doorbell Lens Replacement, Lens: 手順 5、 3の画像 1 Blink Video Doorbell Lens Replacement, Lens: 手順 5、 3の画像 2 Blink Video Doorbell Lens Replacement, Lens: 手順 5、 3の画像 3
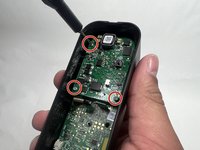
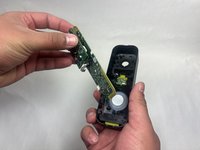
    • Remove the three 6 mm screws from the upper part of the motherboard using a JIS #1 screwdriver.

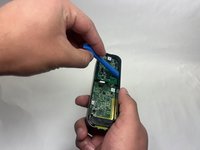
    • Use an opening tool to release the motherboard from the device.

  6. Blink Video Doorbell Lens Replacement: 手順 6、 2の画像 1 Blink Video Doorbell Lens Replacement: 手順 6、 2の画像 2
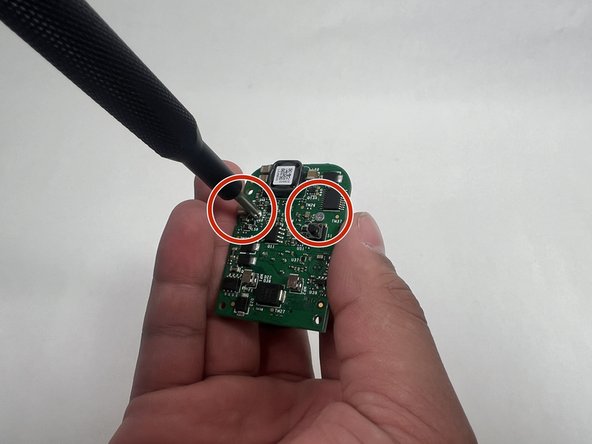
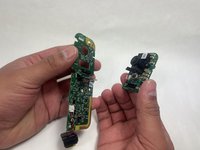
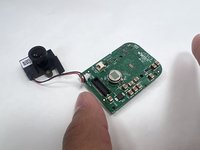
    • Carefully lift up the small daughterboard which contains the camera.

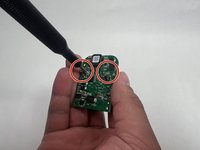
    • Remove two 5 mm screws from the back of the camera using a Phillips #0 screwdriver.

  7. Blink Video Doorbell Lens Replacement: 手順 7、 2の画像 1 Blink Video Doorbell Lens Replacement: 手順 7、 2の画像 2
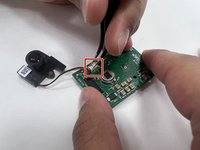
    • Use tweezers to detach the white connector from the adapter on the motherboard.

    • Remove the lens.

終わりに

To reassemble your device, follow these instructions in reverse order.

作成者

4人の作成者と共同で作成されました。

Kayla Crai

メンバー登録日: 10/18/24

495 ポイント

4のガイドは作成済み

チーム

UMass Dartmouth, Team 1-1, Konn Fall 2024 UMass Dartmouth, Team 1-1, Konn Fall 2024人のメンバー

UMASSD-KONN-F24S1G1

4 メンバー

5のガイドは作成済み

1 Guide Comment

Is it available to purchase the lens

William - 返信

コメントを追加

統計データ:

過去 24時間: 4

過去 7 日: 32

過去 30 日: 124

今までの合計 399