Acer Aspire 5742 Heat Sink/Thermal Paste Replacement
はじめに
手順 1 に進むThis is a difficult guide so make sure you are completely prepared before doing it. Note that thorough removal and cleansing of the old heatsink paste and correct application of the new are vital, otherwise you are likely to make matters worse. Always eliminate a clogged fan or cooling vanes as a cause of overheating before replacing the heatsink paste.
Use of an anti-static wrist wrap is highly recommended. Take care not to use too much force especially for the zero insertion force ribbon cables.
-
-
Move the battery catch to the "unlocked" position.
-
Pull back the second spring-loaded battery catch until the battery pops up.
-
Remove the battery.
-
-
-
Turn the notebook around to face you.
-
There are two Phillips #00 screws securing the cover panel to the rest of the notebook. Remove these screws.
-
-
-
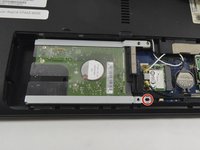
Unscrew the Phillips #00 screw which retains the hard drive in place.
-
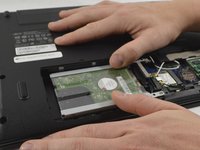
Gently slide the hard drive to the left in order to disengage the SATA connectors.
-
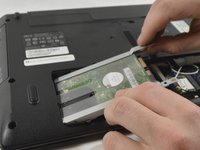
Lift the drive out of the notebook.
-
-
-
-
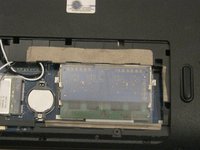
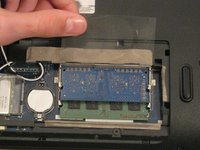
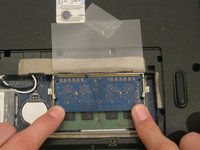
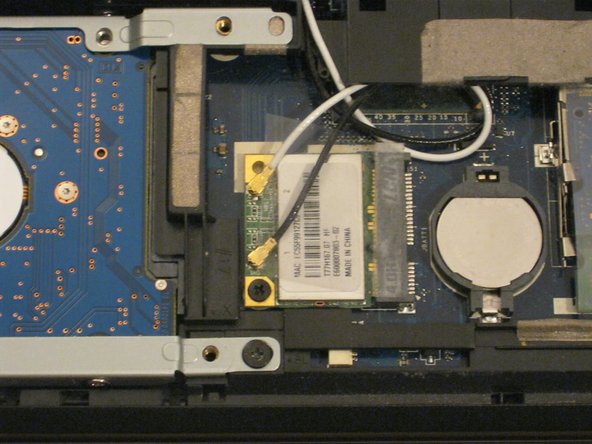
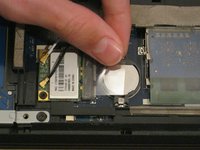
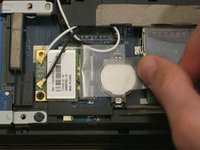
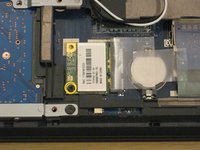
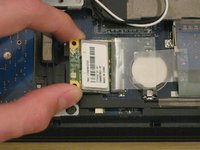
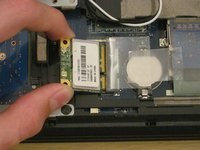
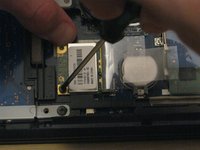
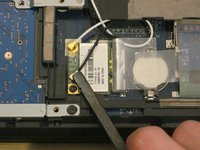
The WLAN card is protected by a transparent cellophane cover.
-
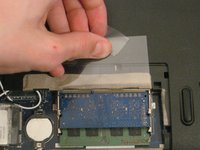
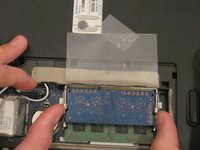
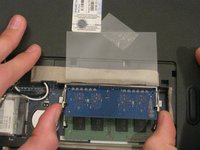
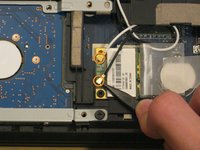
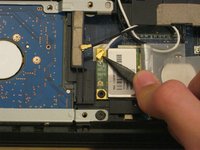
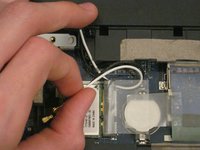
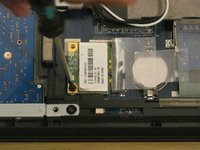
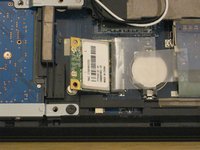
Lift this cover away from the WLAN card. It will not come free from the WLAN card socket.
-
-
-
Unfold the laptop so that you are looking at the keyboard.
-
At the top right of the keyboard you will notice two clips above the 'Del' and 'End' keys.
-
Using your spudger, press these clips in to unlock the keyboard from the laptop
-
Slide the spudger along the top of the keyboard until the keyboard is able to easily be lifted up out of the laptop
-
-
-
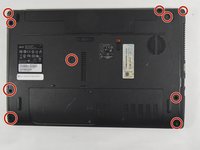
Remove the 10 Phillips #0 screws on the bottom cover.
-
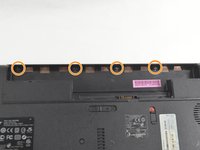
Remove the 4 Phillips #00 screws from under the battery.
-
-
-
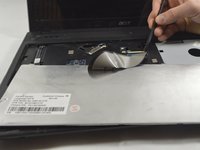
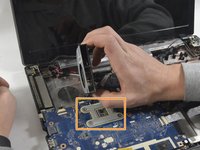
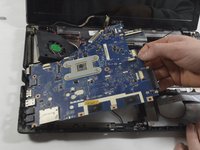
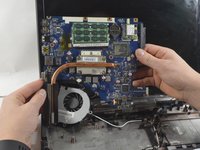
Rotate the motherboard to the right and lay it down so that the copper heatsink is facing up and parallel with the bottom of the monitor.
-
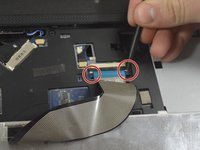
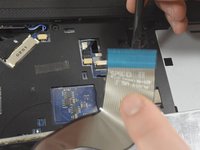
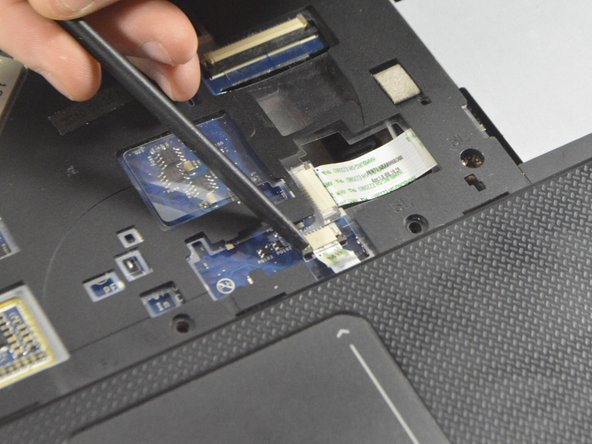
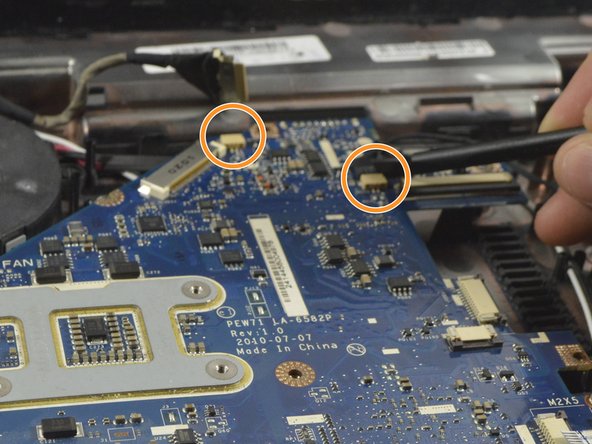
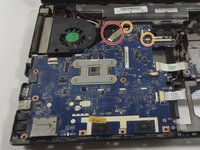
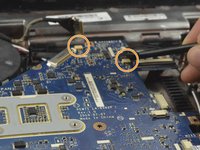
In this position the last cable to the motherboard can be disconnected using the spudger to push each end out until loose enough to pull the cable completely out.
-
The motherboard can now be completely removed from the laptop enclosure.
-
-
-
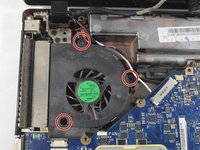
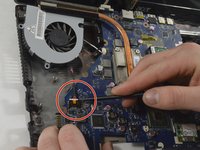
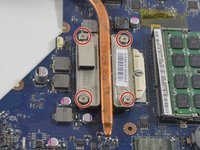
Remove the 4 Phillips #0 screws from the heat sink.
-
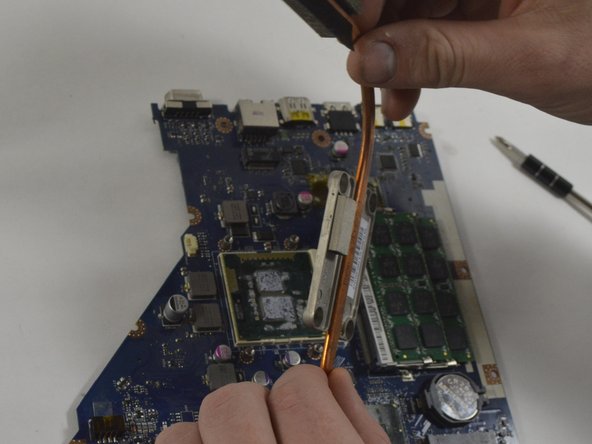
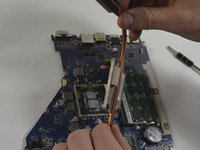
The heat sink can now be removed from the motherboard and CPU.
-
Follow this great guide to re-apply your thermal paste- 放熱グリスの塗布方法
-
To reassemble your device, follow these instructions in reverse order.
To reassemble your device, follow these instructions in reverse order.
3 の人々がこのガイドを完成させました。


