メインコンテンツにスキップ

Procédure d'ouverture

注意:あなたは必要条件ガイドを編集しています。あなたが行なう変更は、この手順を含む全ての9個のガイドに反映されます。

英語
フランス語

手順 7を翻訳中

手順7
Opening Procedure, Lift the display slightly: 手順 0、 3の画像 1 Opening Procedure, Lift the display slightly: 手順 0、 3の画像 2 Opening Procedure, Lift the display slightly: 手順 0、 3の画像 3
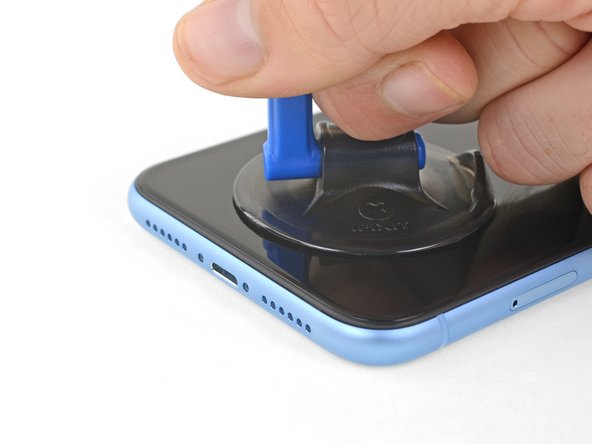
Lift the display slightly
  • Pull up on the suction cup with firm, constant pressure to create a slight gap between the front panel and rear case.

  • Insert an opening pick under the screen and the plastic bezel, not the screen itself.

  • The watertight adhesive holding the display in place is very strong; creating this initial gap takes a significant amount of force. If you're having a hard time opening a gap, apply more heat, and gently rock the screen up and down to weaken the adhesive until you create enough of a gap to insert your tool.

Tirez sur la ventouse de façon ferme et constante pour ouvrir un léger interstice entre le panneau frontal et la coque arrière.

Insérez un médiator dans l'interstice sous l'écran et le joint en plastique, pas dans l'écran lui-même.

L'adhésif étanche maintenant l'écran en place est très résistant, créer ce premier interstice demande donc de la force. Si vous avez du mal à le faire, refaites chauffer l'iPhone et bougez délicatement l'écran de bas en haut pour faire céder l'adhésif, jusqu'à ce que vous réussissiez à insérer votre outil.

クリエイティブコモンズのオープンソース著作権のもと、あなたの投稿は著作権の対象となります