この翻訳は、ソースガイドの最新の更新を反映していない可能性があります。 翻訳の更新に協力してください。 または ソースガイドを参照してください。
はじめに
必要な工具と部品
ビデオの概要
-
-
ディスプレイガラスにひび割れがある場合、修理作業中の怪我を防ぐため、ガラス表面にテープを貼って破損箇所が広がらないようにします。
-
iPhoneの画面上に透明テープを貼り、表面全体を覆います。
-
-
-
iSclackのレバーを閉め吸盤カップを開きます。
-
吸盤カップの間にiPhoneを挟みプラスチックの溝に本体の下部を差し込みます。
-
上部の吸盤カップはホームボタンより上に接着させてください。
-
iSclackのレバーを開いて吸盤を閉じます。iPhoneの両面、中心部に吸盤カップをしっかりと押し当てます。
-
-
-
iPhoneを両手でしっかりと持ち、吸盤を引き離すようにiSclackの持ち手を閉めていきます。するとフロントパネルが背面ケースから持ちあがってきます。
-
iSclackはiPhoneを安全に開口できるようにデザインされていますが、ホームボタンケーブルにダメージを与える場合があります。
-
次の3つの手順をスキップして手順8まで進んでください。
-
-
-
iPhone を片手でしっかりと抑えながら、吸盤カップを少しずつ引き上げて、本体背面ケースからフロントパネルのホームボタン端を引き離していきます。
-
吸盤カップを上に持ち上げながら、プラスチック製の開口ツールで、ゆっくりと背面ケースの端からフロントパネルアセンブリを引き離します。
-
-
-
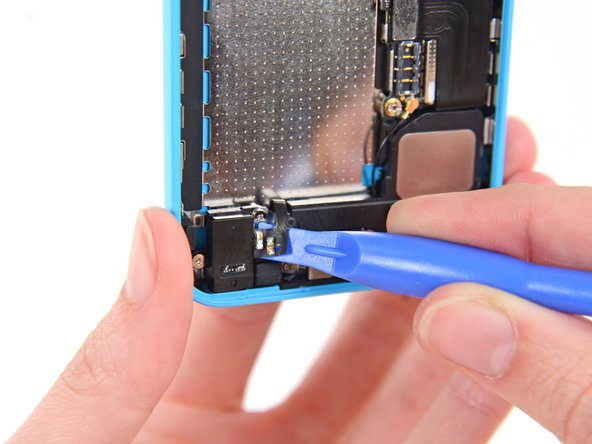
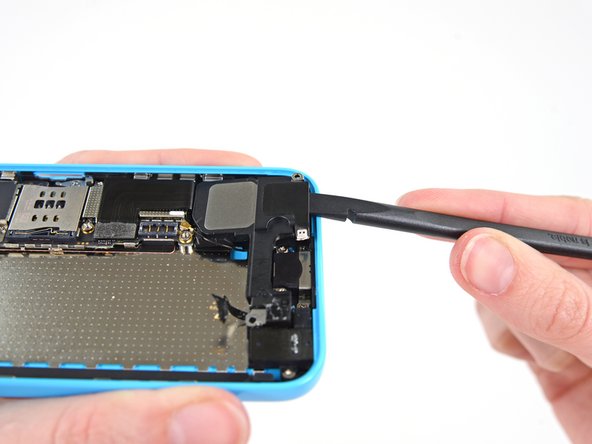
フロントパネルのホームボタン端を持ち上げて開き、本体上部付近のコネクターにアクセスします。
-
ディスプレイを約90度の角度で開き、作業中邪魔にならないよう、後ろに衝立を設置して固定します。
-
緊急の際は、衝立として未開封の飲料缶をご利用できます。
-
作業中、ディスプレイをしっかりと固定するためにゴムで留めてください。ディスプレイケーブルに余剰な力が加わるのを防いでくれます。
-
-
-
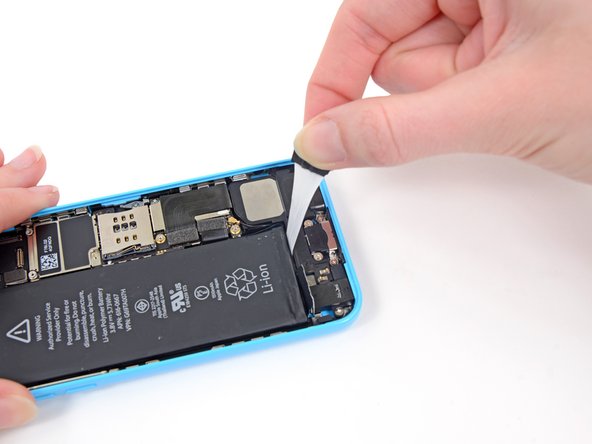
スパッジャーの平面側先端もしくは清潔な爪先で、ロジックボードのソケットからバッテリコネクターをこじ開けて外します。
-
ロジックボードのソケットをこじ開けるのではなく、バッテリコネクタのみをこじ開けるように十分注意してください。ロジックボードのソケットや基板をこじ開けると、ソケットが破壊されたり、基板上の近くの部品が破損したりすることがあります。
-
-
-
-
バッテリーの下に90%以上の高濃度イソプロピルアルコールを数滴垂らして、接着剤の周辺に注入して、接着力を弱めます。高濃度イソプロピルアルコールは溶剤として、残留物を残さず乾燥させるので、iPhoneを傷つけることはありません。
-
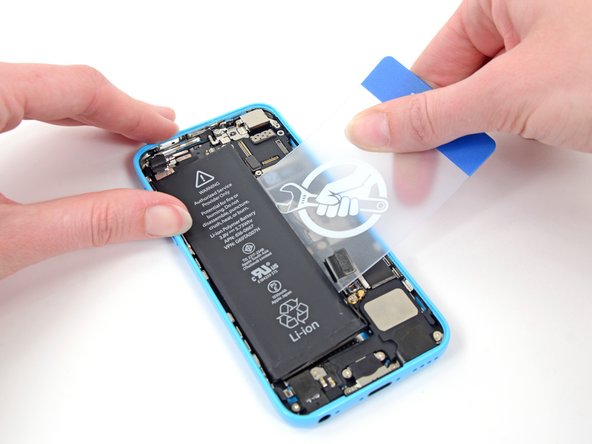
ロジックボードに近い側のバッテリーの下にプラスチックカードを慎重に差し込みます。
-
バッテリーの上部から下部に向かってプラスチックカードをスライドし、背面ケースの端に向かって押し込みます。
-
-
-
それでもバッテリーがケースに固着していて外れない場合は、 iOpenerを温める手順に従うか、ドライヤーを使ってリアケースにバッテリーを固定している接着剤を加熱してください。
-
iOpenerをカメラの右側端に沿って載せます。iPhone裏側とiOpenerの間の接触をよくするため、表面を拭き取ってください。
-
iOpenerバッテリーを取り出す前に約90秒間、このバッグを載せてください。
-
ヒートガンやヘアドライヤーを使用する場合は、iPhoneの裏側に熱をあて、若干熱くて触れない程度まで温めます。
-


デバイスを再組み立てする際は、これらの手順を逆の順番に従って作業を進めてください。
デバイスを再組み立てする際は、これらの手順を逆の順番に従って作業を進めてください。
147 の人々がこのガイドを完成させました。
以下の翻訳者の皆さんにお礼を申し上げます:
93%

Midori Doiさんは世界中で修理する私たちを助けてくれています! あなたも貢献してみませんか?
翻訳を始める ›

22 件のコメント
I fix it. Tomorrow I was got my packet from ifixit.com with lightning assembly and today my iPhone 5c can charge again.
And I would like to tell you several words about a process:
1. Thanks Ifixit for the tools - pentalope screwdriver and a magnet mat - it was great
2. All was simple with a step by step instructions on site.
3. IMPORTANT!!!! Unnecessary to remove a battery before the Lightning assembly replace - replacement possible without it)))
4. Don't forget to remove a rubber head from an old microphone - new hasn't such part.
5. Don't forget to lay an antenna cable properly when install a speaker back.
6. All the parts are very small - a magnifying glass required)))
7. I was made it for 1 hour )))
THOSE CHANGING JUST THE DOCK CONNECTOR!
Important! Steps 14, 15, and 19 through 28 are totally unnecessary. The SIM card is fine where it is, and the battery does not need to be removed to access everything. I would recommend disconnecting the battery connector while working, however.
Also, be careful with the little antenna where it connects to the dock connector flex. Mine broke off and had to be resoldered, but I bought the part on eBay.
Thanks for your feedback! We went ahead and removed the SIM card steps. It may be helpful to remove the battery in order to get enough clearance to separate the Lightning cable assembly from the rear case, but folks are certainly welcome to skip those steps if they are comfortable doing so. :)
It is certainly not necessary to remove the battery in order to do this repair. I do not recommend following those steps.
kaniggit49 - 返信