
はじめに
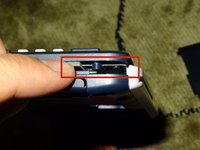
手順 1 に進むThis tutorial is to replace the charging female connector to the calculator. Replacing the power connector should be a last resort method! If you have issues with the calculator not charging, try replacing the battery first or getting a new cable and power supply. If you cannot transfer data, be sure your cable isn’t power-only.
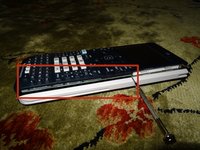
Warning: The disassembly steps are different for the Nspire CX II (CAS)!

-
-
-
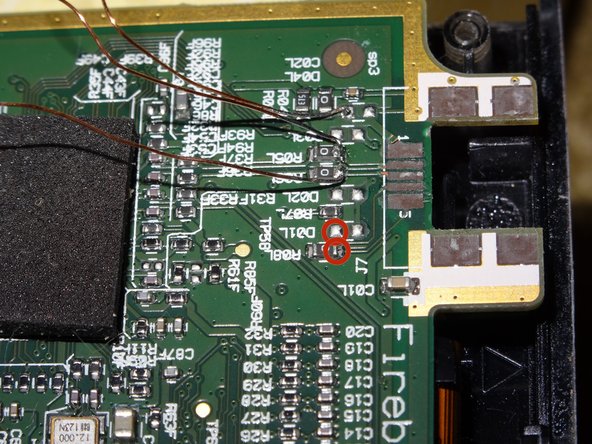
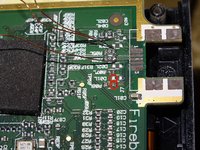
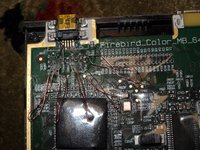
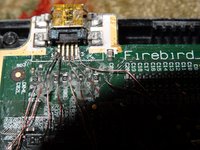
Use enameled wire or other types of coated wire.
-
Pre-tin the leads so solder sticks more easily onto the copper. Do this by adding solder to tip of soldering iron, then rubbing across one of the ends of the replacement wire.
-
Do this to both sides of all the wires, tin both the front and back each single end. The tin does not automatically flow to both sides, therefore tediously tin the front, then back of one side of wire.
-


To reassemble your device, follow these instructions in reverse order.
To reassemble your device, follow these instructions in reverse order.
3 の人々がこのガイドを完成させました。
8 件のコメント
Hi, nice layout and very clear thank you. Do you know where one can buy this usb charge port please??
That moment your recognize your colleague’s dog in the last photo.
P.S. You can buy spare mini USB ports from sites like Amazon or Ebay.
Hello, I was going to follow this guide, but I cannot find a 1mm clutch bit can you send me a link or tell me where to go to find one. Thank you.
I used an appropriately sized flathead from a electronics repair kit I owned. I also was not able to locate a suitable bit. I thought a tiny spanner ( 2 prongs) bit would do, but alas…
My most recent set had the flathead in (was also doing an imac repair and needed a larger variety of pentalobes):
https://www.amazon.com/Vastar-Magnetic-P...
It’s every bit as cheap as it looks, but since those blasted pentalobes die with each attempt on a repair pretty much, I am not looking for fancy. Stupid Apple.
Hello all. I was able to complete this guide successfully however please do not solder like the Author did. I was able to get data working as well. The steps to getting the calculator open were awesome but after that please do not follow. I also found a small flathead will work for taking off the “clutch” screws. I was able to get a USB-C connector working with data transfer. I used insulated cables not thin strands of copper which have a high likely hood of shorting and no need to tape over anything. Also for those solders going to the bridge connectors, you can actually remove those bridge resistors as they are 0 ohms. Effectively doing nothing but acting as a bridge between pads. Texas Instruments must use this same PCB design for multiple things.