メインコンテンツにスキップ

Texas Instruments TI-Nspire CX Power Connector Replacement

英語
日本語

手順 9を翻訳中

手順9
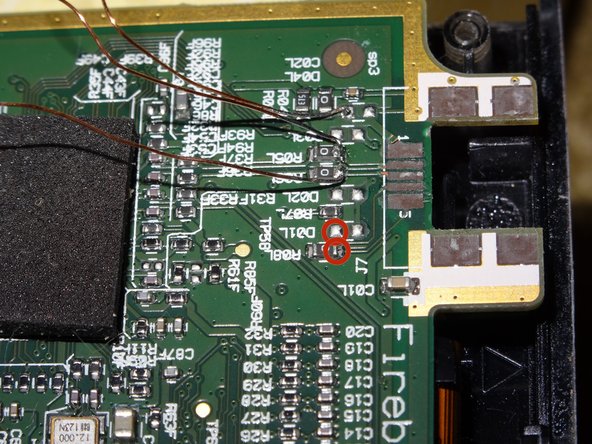
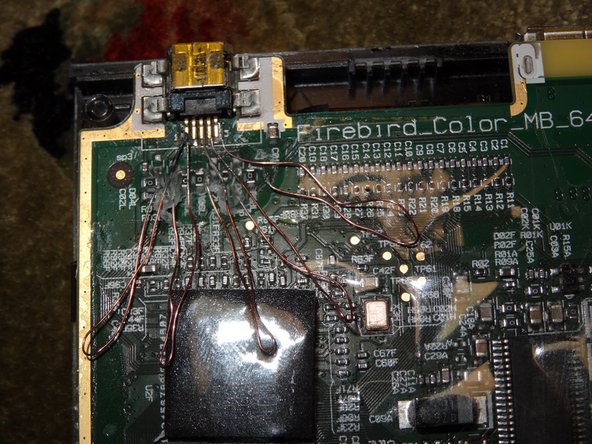
Texas Instruments TI-Nspire CX Power Connector Replacement: 手順 0、 3の画像 1 Texas Instruments TI-Nspire CX Power Connector Replacement: 手順 0、 3の画像 2 Texas Instruments TI-Nspire CX Power Connector Replacement: 手順 0、 3の画像 3
  • Use enameled wire or other types of coated wire.

  • Do NOT use bare copper wire. Although it is used in this tutorial, bare wire can short and permanently brick the calculator.

  • Pre-tin the leads so solder sticks more easily onto the copper. Do this by adding solder to tip of soldering iron, then rubbing across one of the ends of the replacement wire.

  • Do this to both sides of all the wires, tin both the front and back each single end. The tin does not automatically flow to both sides, therefore tediously tin the front, then back of one side of wire.

  • A steady hand helps with soldering to the PCB.

ここに翻訳を挿入する

ここに翻訳を挿入する

ここに翻訳を挿入する

ここに翻訳を挿入する

ここに翻訳を挿入する

クリエイティブコモンズのオープンソース著作権のもと、あなたの投稿は著作権の対象となります