
Sony WH-1000XM4 スイベルの交換

はじめに
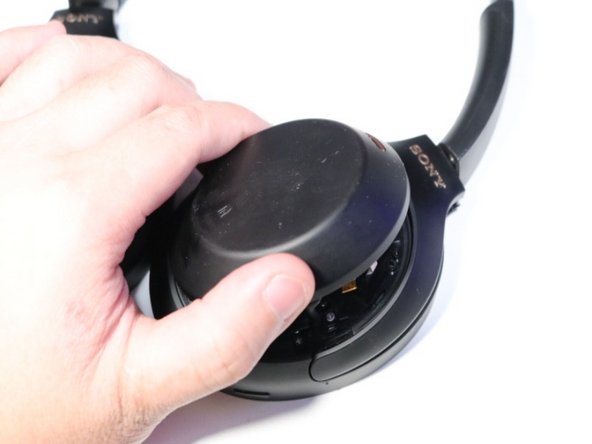
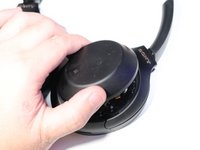
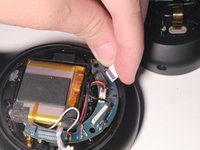
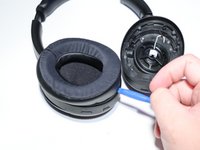
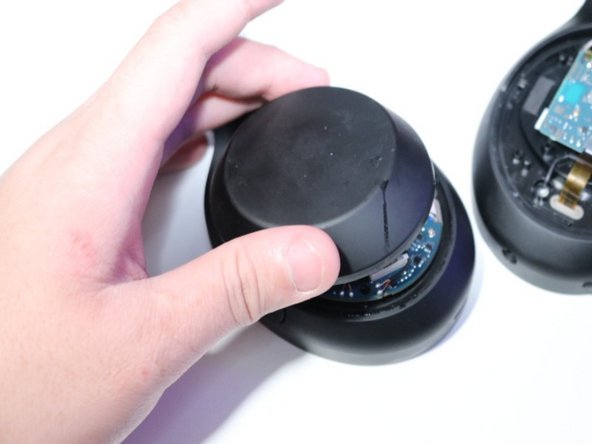
手順 1 に進むSony WH-1000XM4 のイヤーマフが装着できなくなった場合は、ヘッドホンのスイベルが壊れているため、交換が必要です。 このガイドでは、Sony WH-1000XM4のヘッドホンスイベルの交換方法をご紹介します。 作業を始める前に、ヘッドホンの電源を切り、外部電源から外してください。
右側と左側の手順は分かれており、左側は手順13 にジャンプし、右側は手順1‐12と共通の手順19‐25に従います。


-
-
-
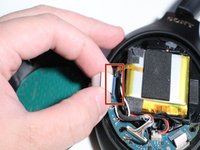
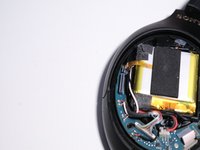
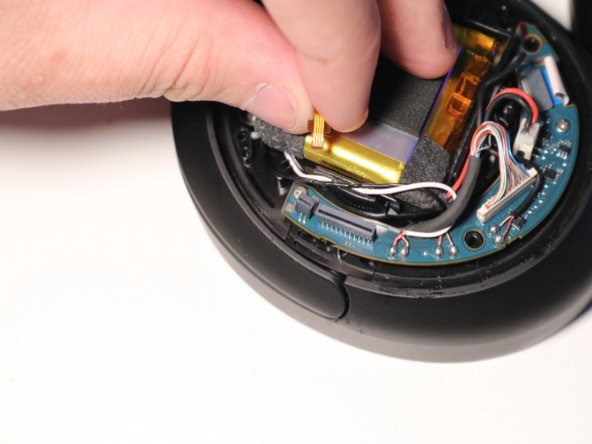
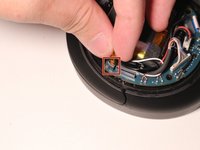
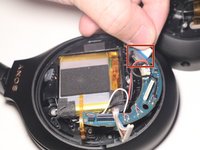
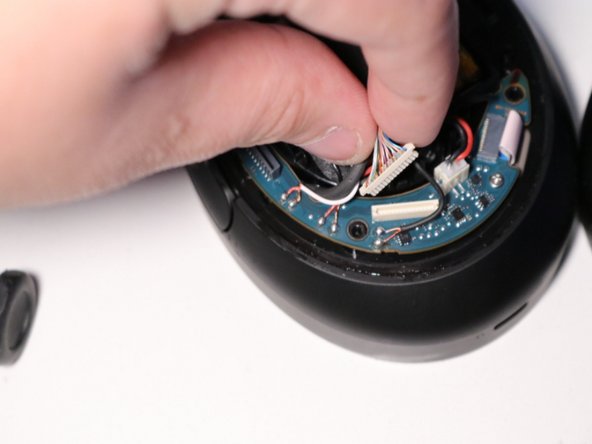
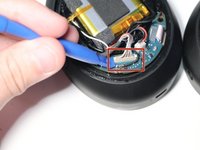
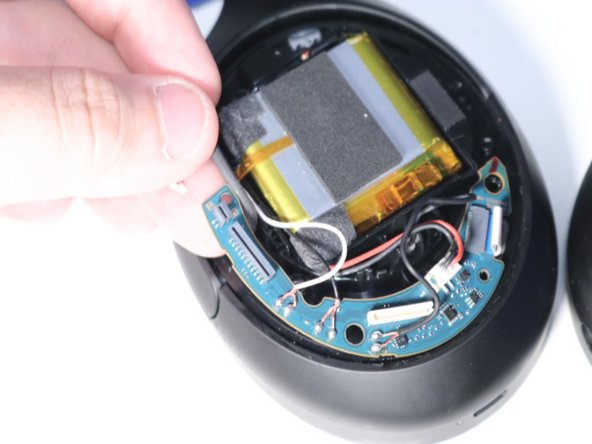
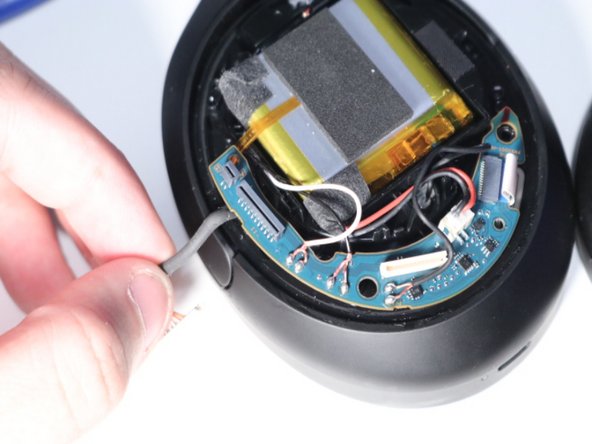
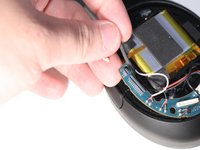
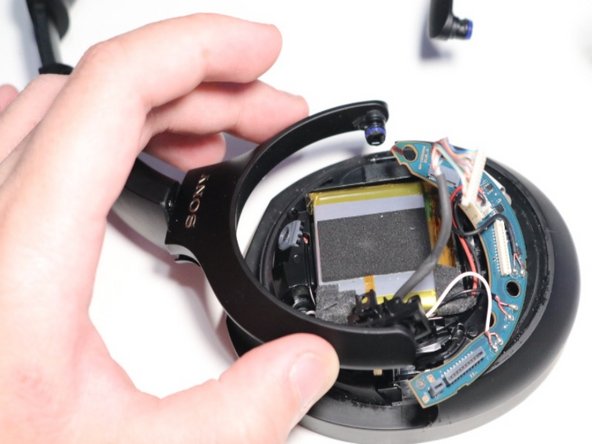
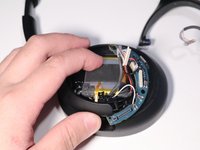
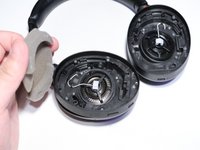
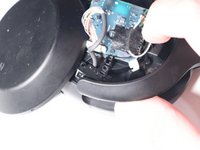
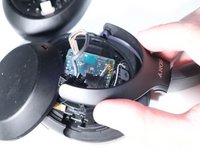
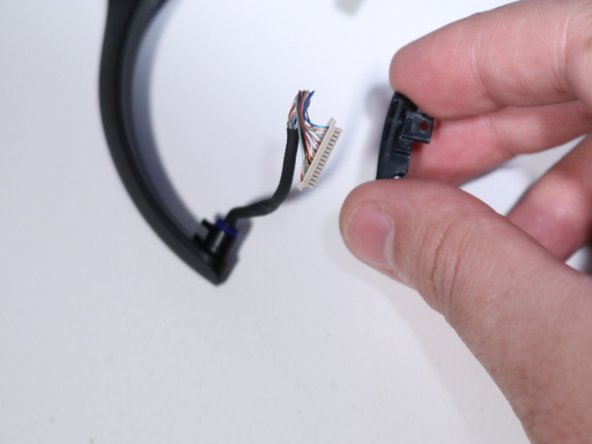
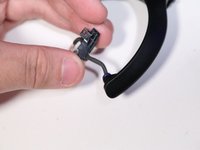
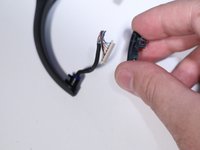
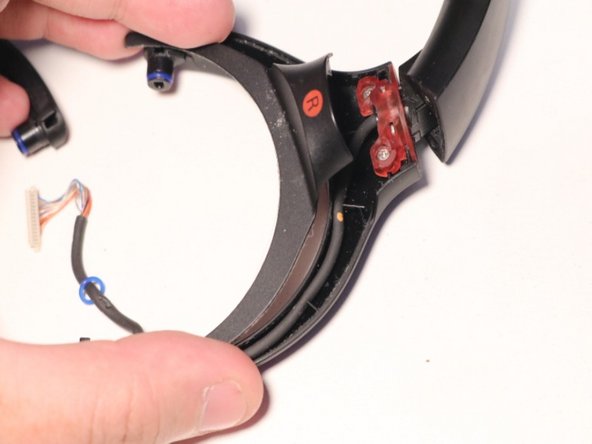
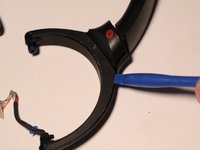
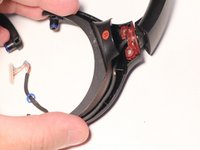
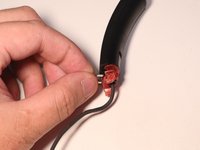
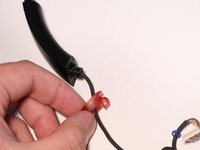
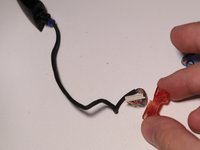
古いスイベルを外します。
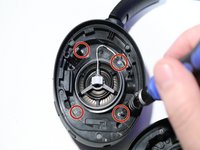
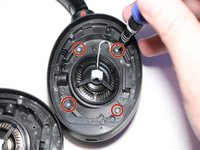
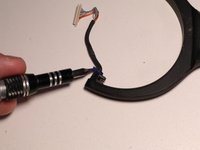
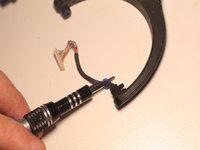
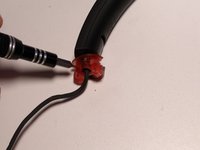
I am in a similar situation to Winfred. The metal bit and some (broken) black plastic fell out when mine broke. I still have the metal bit and after dismantling, I can see the broken plastic is just the little hinge swivel highlighted in this guide (and not the larger hinge swivel arm, or the upper headband assembly). I think the vast majority of cases will be the same.
Every single piece is available for almost nothing on alibaba (including the metal bit, in case you lost that). There are also plenty of photos there, which I found useful.
-


デバイスを再度組み立てるには、以下の手順を逆の順序で行ってください。
デバイスを再度組み立てるには、以下の手順を逆の順序で行ってください。
11 の人々がこのガイドを完成させました。
以下の翻訳者の皆さんにお礼を申し上げます:
100%

Midori Doiさんは世界中で修理する私たちを助けてくれています! あなたも貢献してみませんか?
翻訳を始める ›
チーム

CSU Los Angeles, Team 4-13, Kershman Fall 2023 CSU Los Angeles, Team 4-13, Kershman Fall 2023人のメンバー
CSULA-KERSHMAN-F23S4G13
1 メンバー
5のガイドは作成済み
10 件のコメント
Here are a few suggestions:
1) Do a google search for 'sony headphones wh1000xm4 replacement plastics'
2) SONY Replacement Parts Website (what they offer) I found at this site.
3) Joe's SONY WH-1000XM4 Repair Parts I found at this site.
- The individual part you needed is offered along with a replacement metal clip.⏎
4) Check eBay - Currently (2/9/24) I see the part you need along with the two piece that attaches from the swivel joint to the speaker for about $11.99 USD
I hear a creaking sound on my left earcup and have tried everything to remove it (tape, lube, opening the sides up) but to no avail. Should I do this guide and check if the creaking is in the hinge part? Thanks.
ok, got it all off!.....how do i put on a replacement?
i got the headphone part off of encompass (sony's official part store)
wish there was a "how to put it all back together" part to this guide.
Hi Liz! It's easy to miss and I almost did. Look at the very end of the instructions and it says to go in reverse back through to put it together again. Don't give up as they say and save your $350 pair of headphones. I hope I helped! I'm going to try if they respond to tell me if in my case my phones are not repairable. I wish there was a way to contact the instructor direct.
Winfred -
Does Sony fix it? I don't trust myself doing all of that. I suppose if they do they charge a big fee, right? Has anyone gone that route, asking Sony to fix it? Such an expensive pair of headphones and mine broke very easily. I use them every day and always handle with care. Such cheap plastic but I like the performance. So now as backup I'm using my 1975 still in perfect condition Pioneer SE-20A headphones that will last another 50 or so years because the swivel and padded structure is all stainless steal. I also have to think... no such thing as noise cancelling headphones in those days, but a very expensive pair of headphones are rendered useless breaking like this. Some basic should-be product construction designs are sadly of the past. Planned obsolescence by Sony.
I hope you see this note as I need to fix my headphones ASAP. What a great series of excellent photos and visual instructions, plus a tools list and easy to buy! I haven't tried it yet but I'm hoping you see my note as I use my xm-4's every day. I'm holding on buying all the tools and part until you let me know if in my case my xm-4's are repairable or not. Too bad such expensive headphones break so easily. I'm low budget and your instructions give me confidence to repair this! THANK YOU!!
I hope others see this, but I repaired my Sony xm-4's today with two pieces of the semi-hard plastic I cut off of a plastic piece I found. I cut the pieces about 1/4 inch wide and 2 inches long. I pulled hard as I wound the tape and being careful not to get tape where the phone cup closely externally fits into the two prong armature they pivot horizontally on. There was no answer to my previous comments so I needing my phones did that an hour ago and so far it works. I'll have to figure out some kind of carrying case now as they won't fit into the original case because the cup now taped won't pivot on the vertical axis. The original padding makes up, with my anatomy, for the cup not pivoting. I'm also going to buy the much more comfortable "Wicked" brand of pad that is breathable and thicker
https://www.amazon.com/WC-Cushions-Repla...
I just might make a double layer cardboard box cut to fit and carry them in that. My reason is no answers about if the black plastic pieces and "U" shaped steel part that fell out in my case means they are not repairable per the instructions given here. Any advice is appreciated very much. I hope I helped in some small way.