はじめに
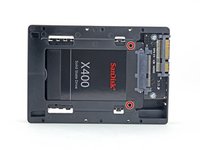
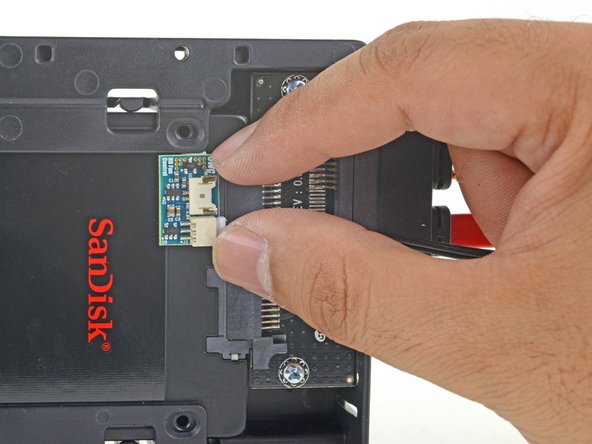
このガイドを使って、SSDによるiMacのハードドライブをアップグレードしましょう。このガイドには、Macのファンが正確なスピードで稼働できるようSSDの温度センサーを取り付ける方法も含まれています。
必須条件のみのガイド。2012-2017 iMac用の温度センサーを含むSSDのアップグレード。
必要な工具と部品
-
-
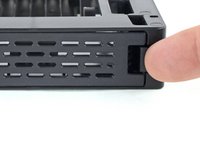
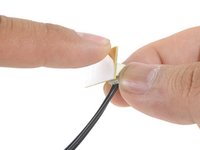
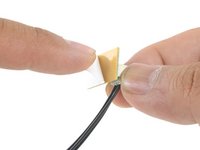
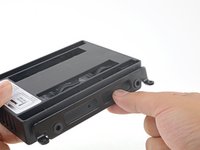
囲んでいるエンクロージャ(筐体)の前面プレートの掛け金を指で押し下げます。 掛け金を押し下げたまま、プレートを開きます。
-
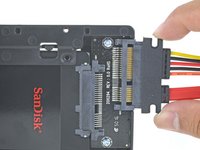
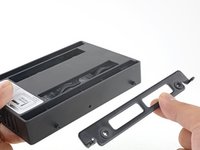
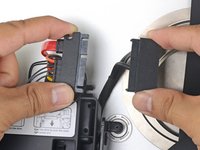
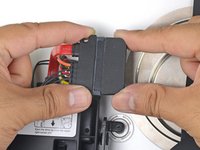
前面プレートを取り外します。
-
-


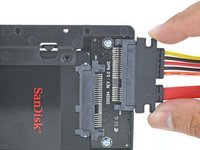


デバイスを再組み立てするには、これらのインストラクションを逆の順番に従って作業を進めてください。
12 の人々がこのガイドを完成させました。
以下の翻訳者の皆さんにお礼を申し上げます:
100%

これらの翻訳者の方々は世界を修理する私たちのサポートをしてくれています。 あなたも貢献してみませんか?
翻訳を始める ›


3件のガイドコメント
I love the guide~ it is super easy to follow. My computer is not recognizing the disk and I can’t figure out why. I feel like I missed something in reassembly. Any suggestions? Common errors?
Julie Cain - 返信
Hi Julie!
Was the new drive formatted before you installed it? You can try to boot the iMac in recovery mode and reinstall the OS from there. If that doesn’t work, please post your question on our Answers forum and someone may be able to help you out!
when doing internet recovery First run the disk utility and Format it using mac journal, then continue to install the new disk will be visible.
SreckoVuka - 返信