メインコンテンツにスキップ

Protocol TerraCopter EVO Drone Motor Replacement

必要な工具と部品

  1. Protocol TerraCopter EVO Drone Motor Replacement, Drone Motor: 手順 1、 1の画像 1
    • Orientate the drone to where the black side of the drone face upwards.

    • On the bottom side of the drone, remove the twenty-two 5mm Phillips #1 screws holding the black frame to the body.

    • There is one screw under the rear light. Pry the opaque cover to access the last screw.

  2. Protocol TerraCopter EVO Drone Motor Replacement: 手順 2、 1の画像 1
    • The plastic frames are subject to cracking.

    • Wires run through both frames.

    • Pry the white body away from the black frame.

  3. Protocol TerraCopter EVO Drone Motor Replacement: 手順 3、 1の画像 1
    • Gently pry the motor from it's socket.

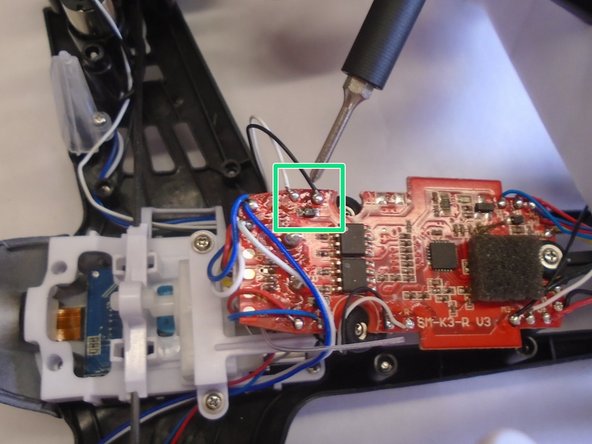
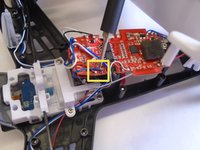
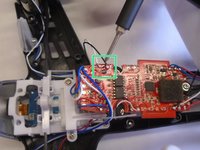
  4. Protocol TerraCopter EVO Drone Motor Replacement: 手順 4、 2の画像 1 Protocol TerraCopter EVO Drone Motor Replacement: 手順 4、 2の画像 2
    • Locate these solder points of the leads on the motherboard.

    • From the front of the drone, the left motor has red and blue leads.

    • From the front of the drone, the right motor has white and black leads.

    • Remove the leads from their points on the motherboard with a soldering iron, respective to each motor.

    • Check out our How to Solder and Desolder Connections guide if you are unfamiliar with soldering practices.

終わりに

To reassemble your device, follow these instructions in reverse order.

ある他の人がこのガイドを完成しました。

作成者

2人の作成者と共同で作成されました。

Derek Vande

メンバー登録日: 10/03/19

244 ポイント

2のガイドは作成済み

0 件のコメント

コメントを追加

統計データ:

過去 24時間: 0

過去 7 日: 0

過去 30 日: 3

今までの合計 202