はじめに
ハンダ付けなしでできる修理はたくさんありますが、ジョイスティック、ヘッドホンバッテリー、振動モーターなど、ハンダ付けされている部品を交換する必要がある場合もあります。ハンダ付けを学ぶことで、楽しい電子工作の世界が広がります。難しそうに聞こえるかもしれませんが、始めるのは簡単です!
このガイドでは、基本的なはんだ付けのスキルと、以下の具体的な手順を説明します。
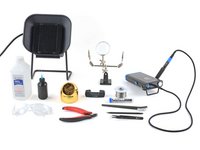
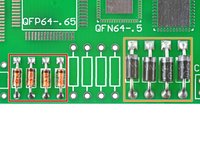
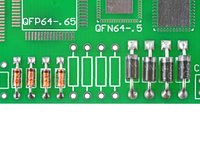
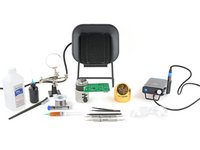
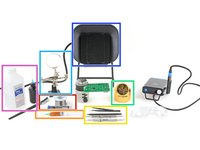
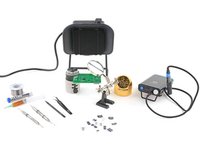
必要な工具と部品
-
-
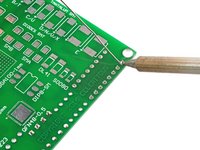
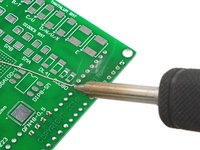
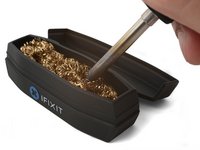
万力、クランプ、または「お助けツール」。2本のワイヤーを接合する場合は、当社のはんだ付けスプリントが最適なツールです。
-
安全保護ゴーグル(メガネは目を保護しますが、はんだが飛び散るとメガネが破損します)
-
ロジン・コアはんだワイヤー(有鉛または鉛フリー)
-
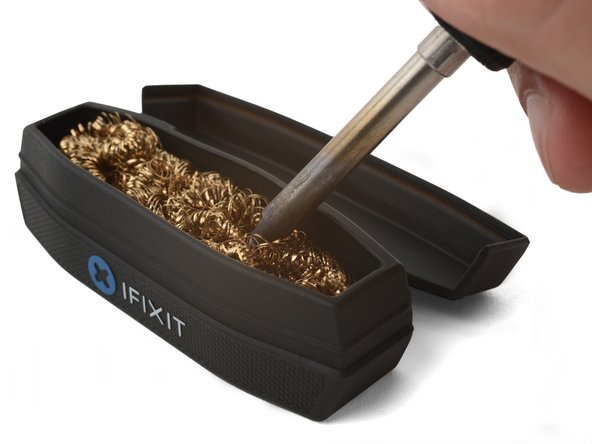
こて先洗浄用具(濡れたスポンジまたは真鍮線)
-
排煙ダクト(屋内で作業する場合)
-
高濃度(90%以上)のイソプロピルアルコールと柔らかい毛のブラシ(歯ブラシのようなもの)
-
スパッジャー、ピンセット、フラッシュカッター
-
-
-
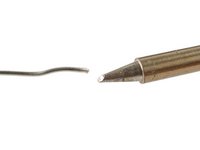
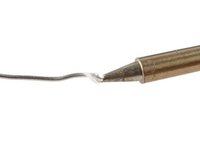
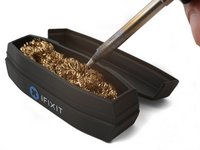
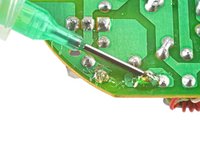
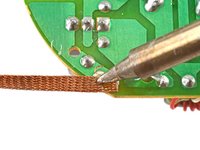
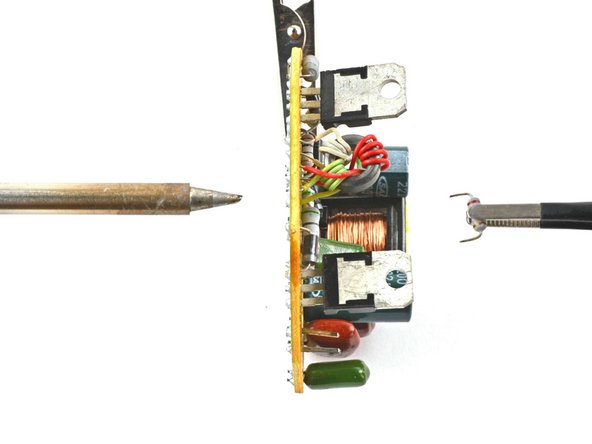
この手順で使用する道具:Solder Wick Braid$4.99
-
はんだ芯(別名:はんだ吸い取りブレード )と/もしくは、はんだ吸い取りポンプ
-
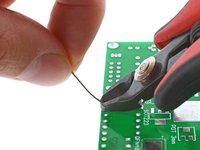
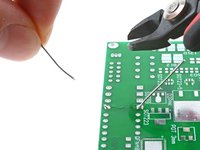
スパッジャー、ピンセットと/もしくはペンチ(頑固な部品をほぐすのに役立つ)
-
-
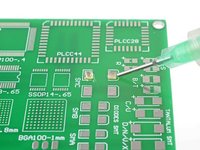
この手順で使用する道具:Tack Flux SMD291 no clean 5cc ROHS$13.99
-
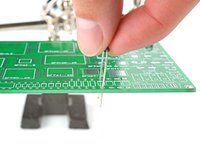
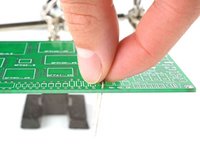
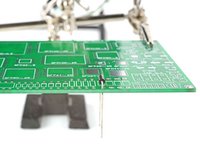
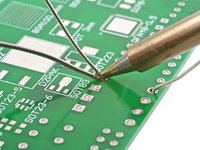
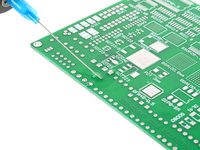
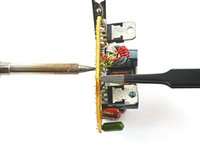
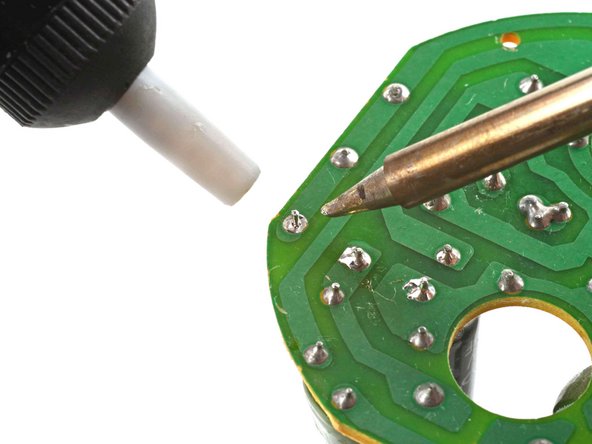
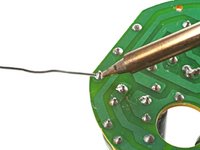
はんだ接合部に フラックスを塗ります。
-
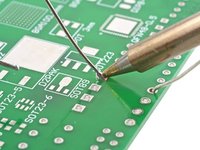
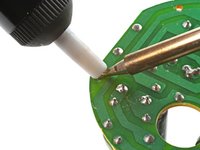
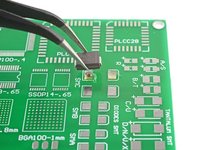
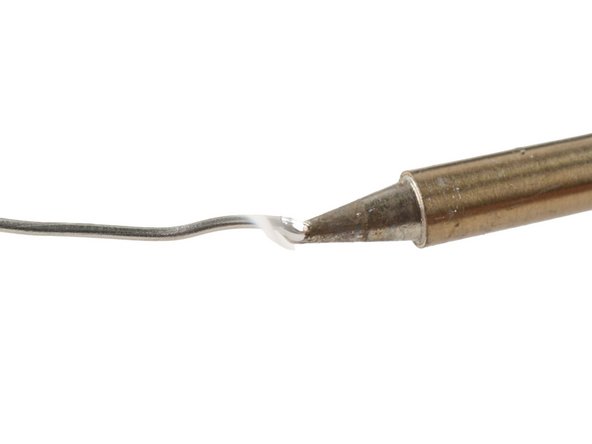
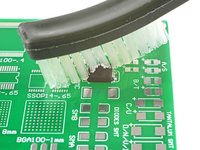
ハンダ芯のきれいな部分をハンダ接合部の上に置きます。
-
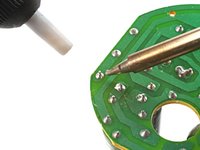
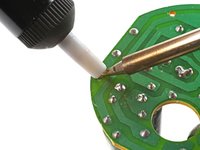
はんだごての先端を芯に2~3秒間しっかりと押し当てます。芯を十分に熱くし、芯の下のはんだを溶かすようにします。
-
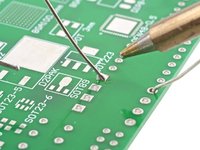
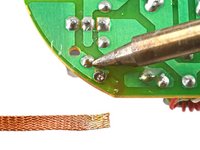
はんだが芯に浸透してきたら、新しい部分が接合部に触れるように芯をスライドさせます。芯の色が銅色から銀色に変われば、浸透していることがわかります。
-
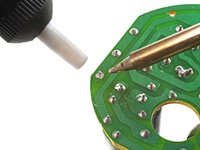
はんだの大部分が芯にしみ込んだら、芯を持ち上げて、芯を接合部分から離します。
-
-
-
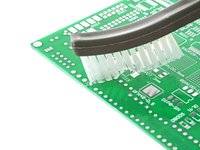
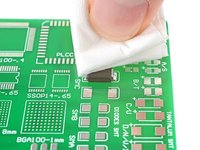
はんだ接合部にイソプロピルアルコールを塗布し、毛先の柔らかいブラシでこすり、フラックスの残留物を取り除きます。
-
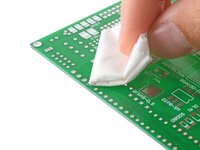
糸くずの出ないクロスではんだ接合部を拭き、フラックスとアルコールの残留物を染み込ませます。
-
-
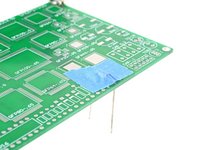
この手順で使用する道具:Polyimide Tape$9.99
-
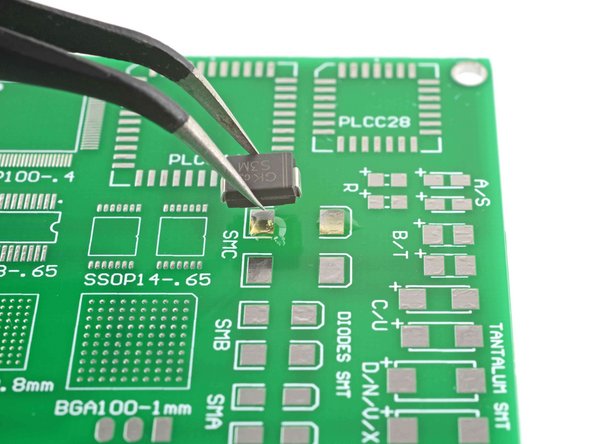
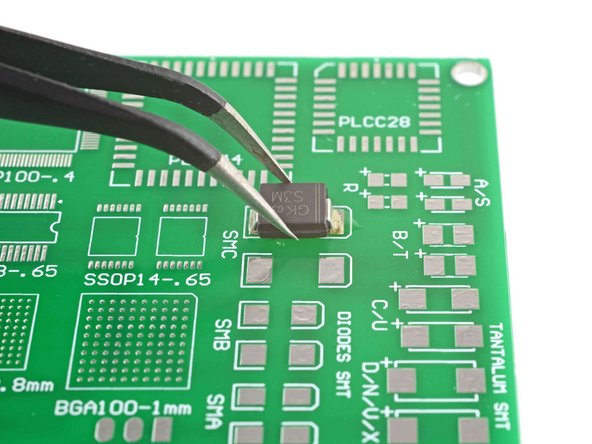
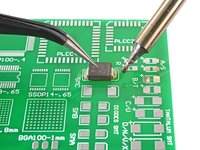
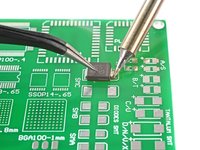
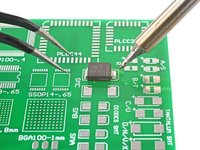
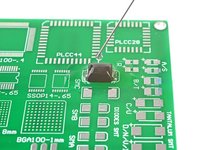
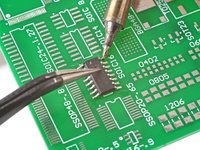
部品を所定の位置に固定し、コーナーのリードをはんだ付けして固定します。
-
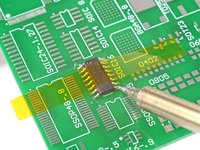
あるいは、ポリイミドテープを使って部品を基板に固定し、コーナーリードをはんだ付けする方法もあります。
-


はんだ付け入門ガイドの完成、おめでとうございます!貴重で多彩なスキルをマスターする第一歩を踏み出しました。基本を身につけた後は、様々な電子製品プロジェクトや修理に取り組むことができます。習うより慣れろですから、どんどん試して、テクニックを磨いてください。
はんだ付けに関する詳しい情報はこちらをクリックしてください。
486 の人々がこのガイドを完成させました。
以下の翻訳者の皆さんにお礼を申し上げます:
100%


これらの翻訳者の方々は世界を修理する私たちのサポートをしてくれています。 あなたも貢献してみませんか?
翻訳を始める ›

チーム

36件のガイドコメント
TIP: Another method which works well for clearing solder from holes (especially on repairs like AC Jacks on laptops) is to use compressed air to clear melted solder from holes. A quick blast with a duster can works well (I have even used a drink straw in a pinch and blown out with a blast of air from mouth). Heat the solder until it liquefies, put the duster straw right above the solder and quickly hit the melted solder with an air blast to instantly clear the hole of solder. This works well on very small holes as melted solder does not always push out cleanly with metal tools. You have to be quick with the air blast because the solder re-hardens rapidly.
just be careful doing this lol, flying molten solder can and will burn you or other components.
Logixal -
Flying solder might also get into places you don't want it. Making shorts and other unwanted connections of which you don't know where they are, so it can give you a very hard time finding them.
This is not IPC standards but for the ghetto approach, it will get the job done. I solder in manufacture settings, run my own shop. This is wrong to a degree but will do. If ifixit would like tips from ILLFIXIT then your more then welcome!
Tony Stark - 返信