この翻訳は、ソースガイドの最新の更新を反映していない可能性があります。 翻訳の更新に協力してください。 または ソースガイドを参照してください。
はじめに
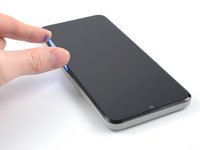
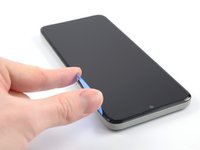
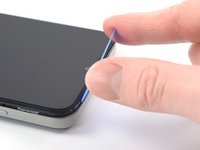
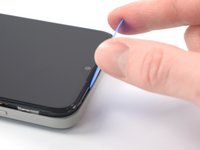
この修理ガイドを参照して、Nokia G22の壊れたスクリーンを交換します。
このガイドは純正のNokia G22スクリーンアセンブリー用に書かれてた修理ガイドです。 アセンブリは、スクリーンとミッドフレームが一体となった部品で構成されています。この修理を始める前に、部品が正しいことを確認してください。
ご注意: この作業ではデバイスの内部パーツ全体を新しいスクリーンアセンブリに移植しなければなりません。
安全のため、ラップトップを解体する前にバッテリー残量を25%以下に放電してください。これにより、修理中に誤ってバッテリーを損傷した場合、熱に伴う危険な事故の発生リスクを軽減することができます。バッテリーが膨張している場合は、 適切な方法で処理を行ってください。
必要な工具と部品
-
-
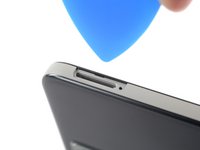
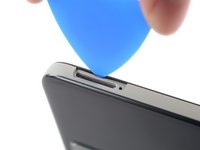
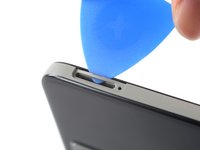
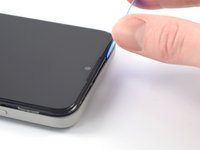
SIM取り出しツール、ビット、またはまっすぐに伸ばしたペーパークリップを、デバイス左上端にあるSIMカードトレイの小さな穴に挿入します。
-
しっかりと押し込んで、トレイを取り出します。
-
-
-
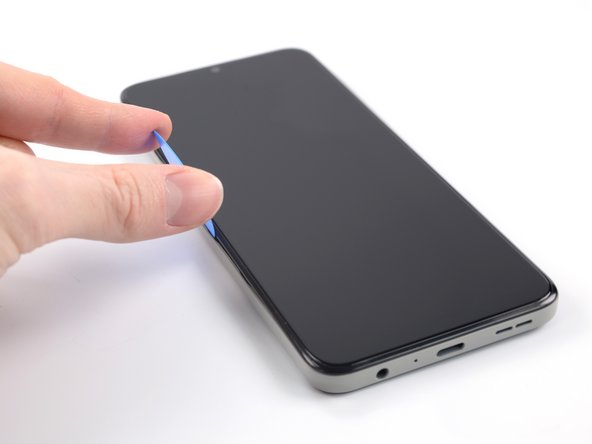
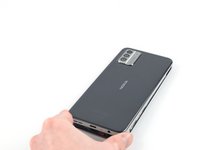
オープニングピックを、バックカバーとスクリーンアセンブリの間に、鋭利な下向き角度で配置します。
-
オープニングピックをデバイス左端にスライドさせ、プラスチッククリップを外します。
-
-
-
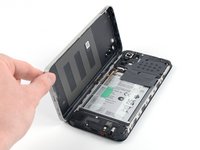
スパッダーの平面側を使って、コネクターをソケットからまっすぐ上にこじ開けて。指紋リーダーを外します。
-
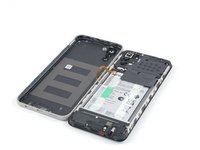
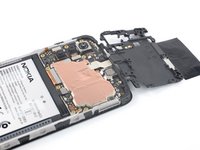
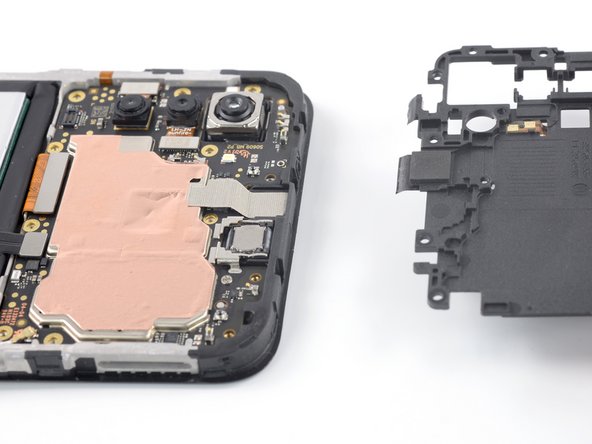
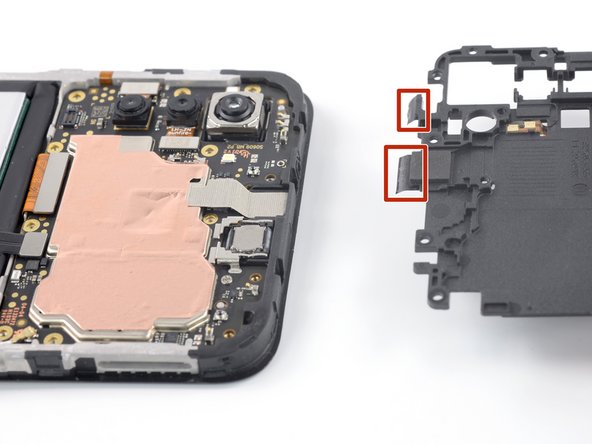
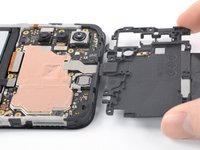
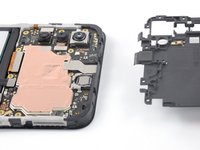
バックカバーを外します。
-
-
-
-
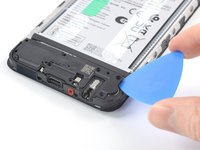
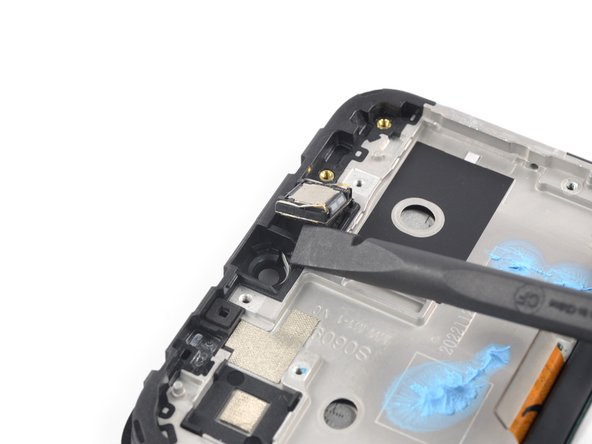
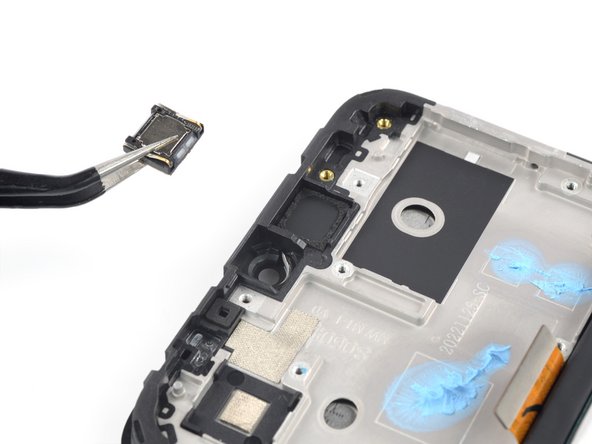
ラウドスピーカーの右端の下に沿ってオープニングピックを差し込みます。
-
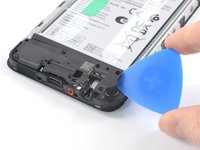
オープニングピックをひねりながら、固定しているプラスチックからラウドスピーカーを外します。
-
-
-
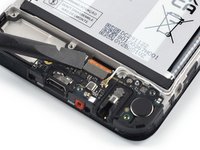
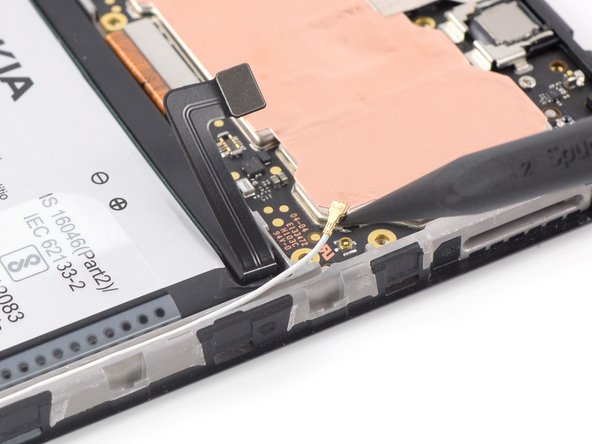
スパッジャーの平面側先端を充電ポートアセンブリの上部端の下に差し込みます。
-
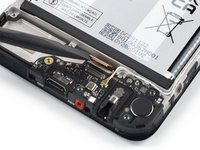
スパッジャーをひねりながら、指で摘める程度まで充電ポートアセンブリをこじ開けます。
-
-
-
充電ポートアセンブリを取り出します。
Müsste hier nicht noch das (Antennen?-)Kabel von der Ladeanschluss-Baugruppe getrennt werden? In Schritt 25 ist es bereits entfernt, wird aber nicht erwähnt.
Haebbaerrt - 返信
Hallo Haebbaerrt, danke für deine Anmerkung! Die Ladeanschluss-Baugruppe wird beim Tausch der Displayeinheit übertragen. Wir empfehlen, das Kabel mit der Ladeanschluss-Baugruppe verbunden zu lassen, da dies die Positionierung des Kabels beim Wiedereinbau erleichtert.
-
-
この手順で使用する道具:Tesa 61395 Tape$5.99
-
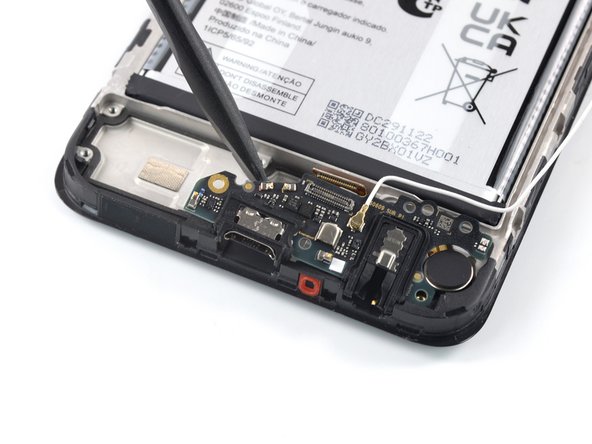
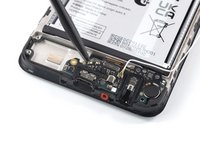
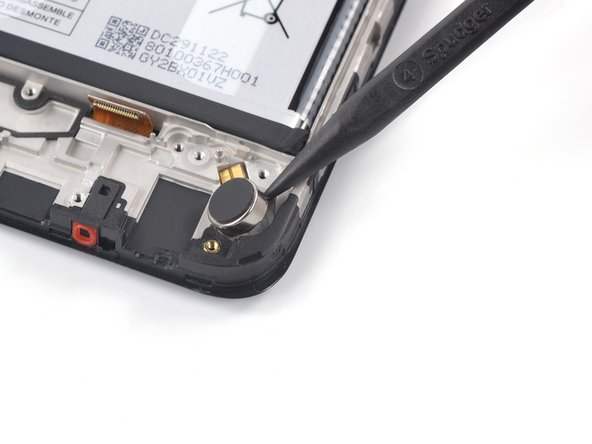
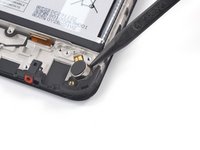
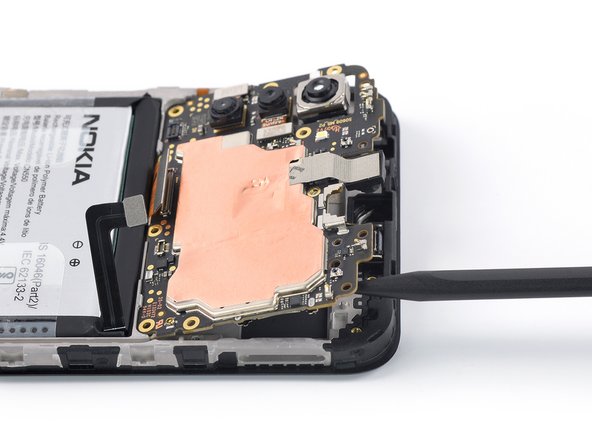
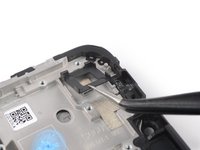
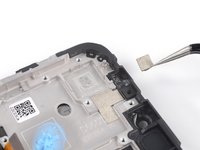
振動モーターの右側上部にある小さな凹みに、スパッジャーの先端部分を差し込みます。
-
スパッジャーをテコのように上に回して、振動モーターを下に固定されている接着剤からこじ開けます。
-
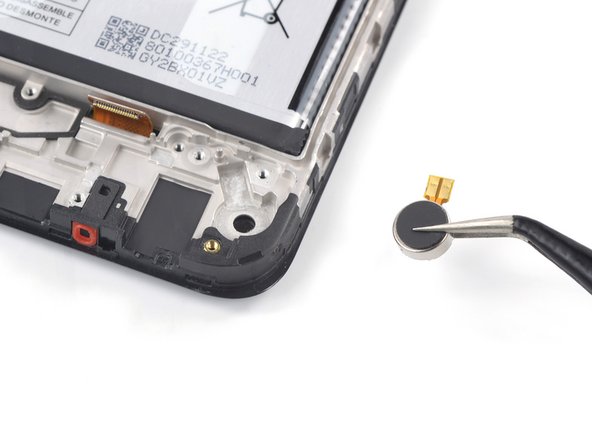
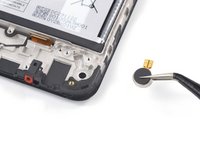
ピンセットか指で、振動モーターを取り外します。
Je spudger gaat hierbij kapot, het plastic puntje is niet sterk genoeg om de trilmotor los te krijgen (bij een 1 jaar oude telefoon), een metalen stuk gereedschap is nodig. je zou voorzichtig de pincet kunnen gebruiken (niet verbuigen!) op dezelfde manier.
-
-
-
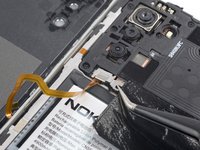
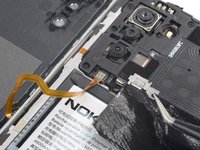
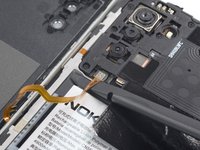
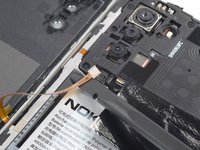
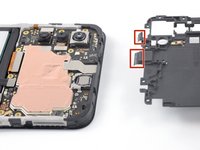
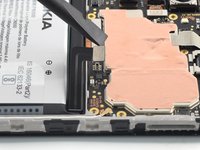
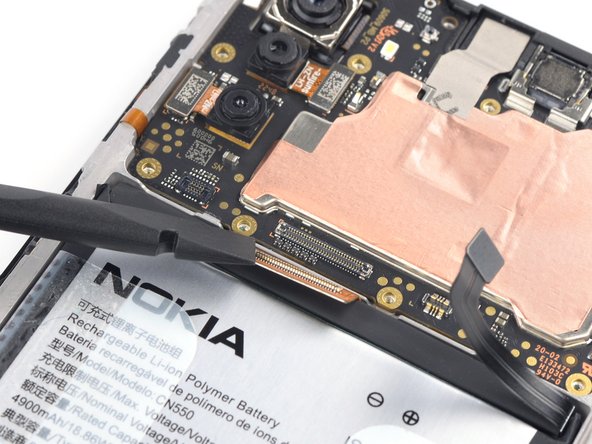
スパッジャーの平面側先端を使って、ソケットからディスプレイケーブルのコネクタを上向きにこじ開けて、接続を外します。
Bij het opnieuw monteren van een nieuw scherm, kan deze kabel te lang zijn, enige druk is nodig om de connector op zijn plek te houden. Het kan handig zijn de batterij pas te plaatsen als deze connector netjes op zijn plek zit. m.a.w. deze handleiding in omgekeerde volgorde volgen voor assemblage moet je stap 37-35 even overslaan tot stap 15
-
-
-
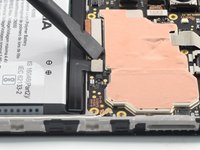
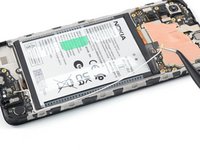
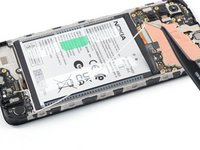
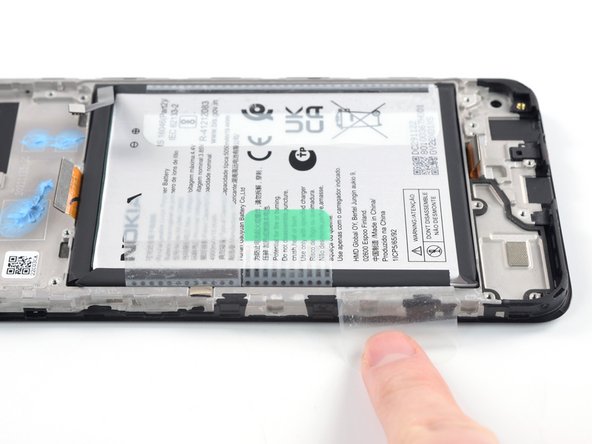
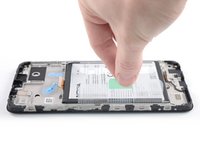
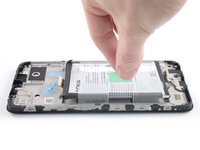
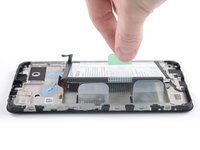
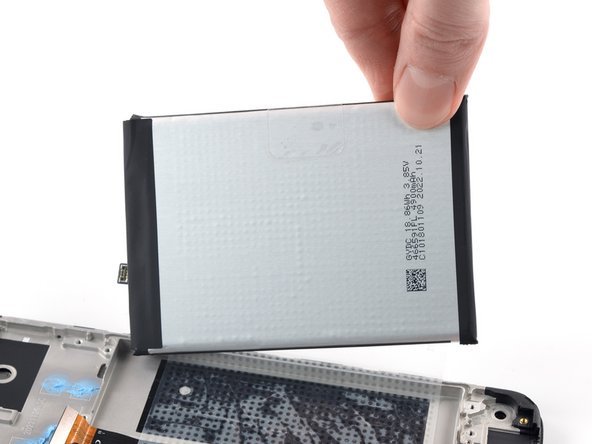
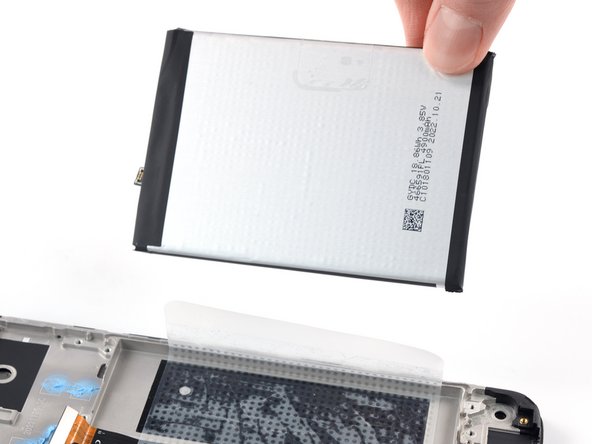
指でバッテリー中央にあるグリーンのプルタブを剥がして、バッテリーから引き抜きます。
-
片方の手でデバイスを押さえ、もう片方の手で中央の緑色のプルタブをゆっくり確実に持ち上げて、接着剤を切り離します。
-
頑固なバッテリー接着剤でお困りの場合は、"Nokia スマートフォンサポート "にご連絡ください。
-
-
-
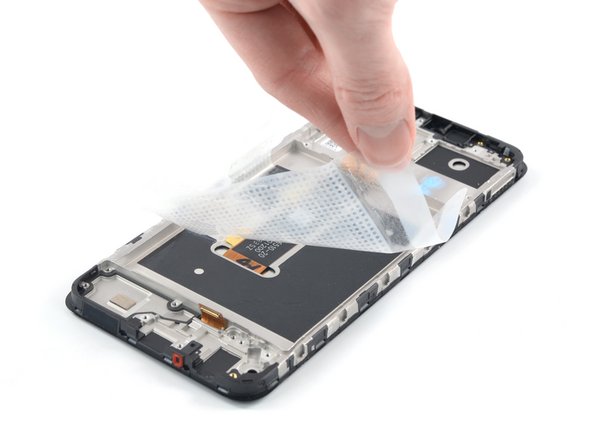
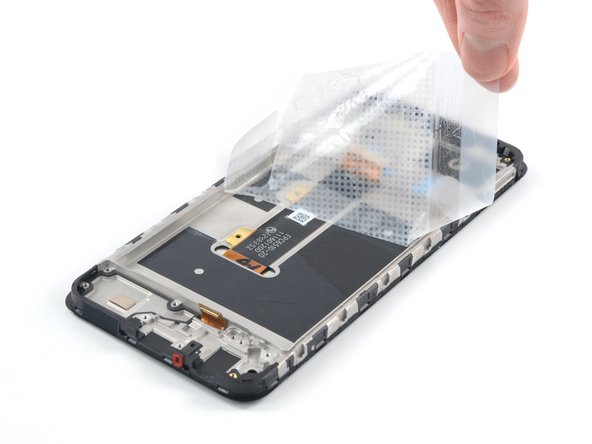
残っている粘着フィルムの右下端を摘みます。
-
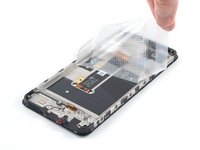
デバイス上部側に向けて一定の力でフィルムを引っ張り、これを剥がします。
-
バッテリーに接着フィルムを再装着します。
-
バッテリーの下端(接着剤のない方の端)を凹部の下端に位置合わせします。
-
バッテリーをしっかりと下に押し込んで固定させます。
LET OP! in omgekeerde volgorde volgen voor assemblage moet je stap 38-35 (plaatsen batterij) even overslaan tot stap 15
-
-
-
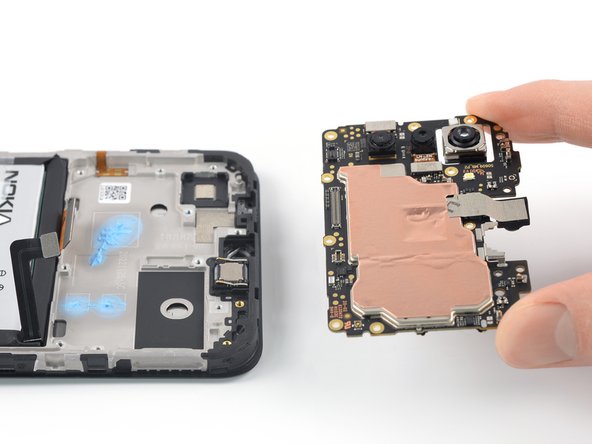
スクリーンアセンブリのみが残ります。
LET OP! in omgekeerde volgorde volgen voor assemblage moet je stap 38-35 (plaatsen batterij) even overslaan tot stap 15
How do you remove the screen from casing.
Hi Chris Agius,
This guide is written for the genuine Nokia G22 screen assembly. The assembly consists of the screen and midframe together as one part, so you don't need to remove the screen from the midframe, but instead transfer parts to a new screen assembly.
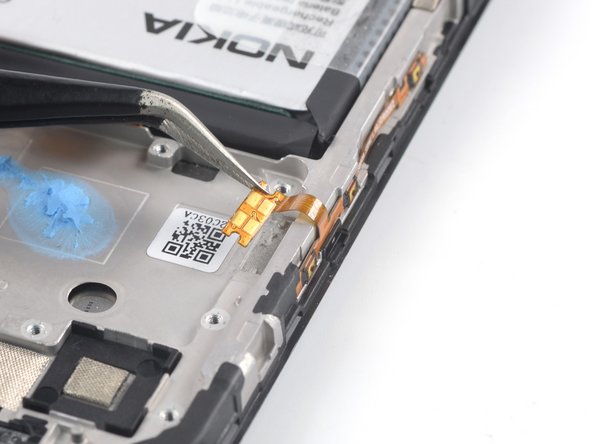
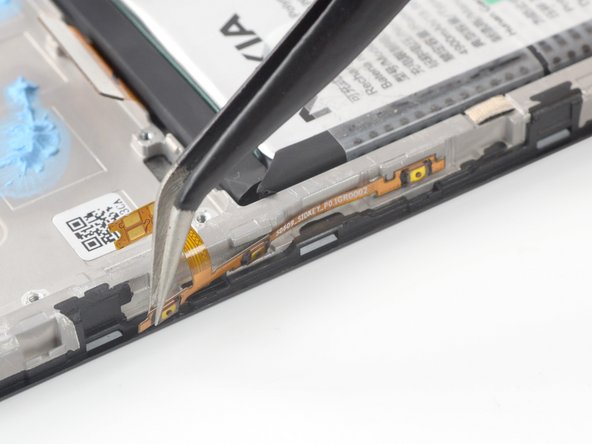
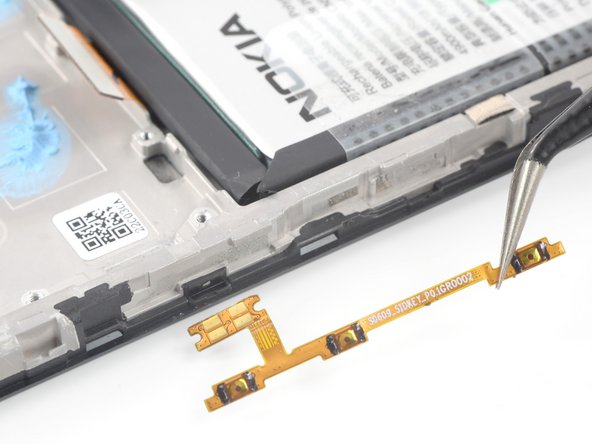
be aware: I got a replacement part where the button strip was missing and it's very hard to get it off the old screen intact. also, this step is missing from the tutorial
Hi fipster,
The genuine replacement part offered by iFixit should include the button strip. If you bought the part from us and didn't receive a part including the buttons, please contact eustore@ifixit.com for EU orders or support@ifixit.com for Non-EU orders to get it sorted out.
-
デバイスを再組み立てするには、これらのインストラクションを逆の順番に従って作業を進めてください。
e-wasteを処理する場合は、認可済みリサイクルセンターR2を通じて廃棄してください。
修理がうまく進みませんか?ベーシックなトラブルシューティングを試してみるか、Nokia G22のアンサーコミュニティを参照してください。
デバイスを再組み立てするには、これらのインストラクションを逆の順番に従って作業を進めてください。
e-wasteを処理する場合は、認可済みリサイクルセンターR2を通じて廃棄してください。
修理がうまく進みませんか?ベーシックなトラブルシューティングを試してみるか、Nokia G22のアンサーコミュニティを参照してください。
13 の人々がこのガイドを完成させました。
以下の翻訳者の皆さんにお礼を申し上げます:
70%
Midori Doiさんは世界中で修理する私たちを助けてくれています! あなたも貢献してみませんか?
翻訳を始める ›
12 件のコメント
Vous marquez "Il est possible de remplacer uniquement l'écran, mais cela nécessite une procédure différente". Pouvez-vous svp me donner le lien pour changer juste l'écran ?
Merci !
Bonjour Emilie,
Nous ne proposons malheureusement pas de guide pour le changement d'écran seul. La procédure est plus complexe et potentiellement plus risquée car la séparation du châssis et de l'écran nécessite une certaine dextérité. Il y a toujours plusieurs possibilités de réparation mais nous recommandons plutôt d'opter pour cet écran complet fournit par Nokia, et donc de suivre les instructions du tuto ci-dessus.
Bonne journée,
Sandra
Bonjour,
Les étapes 30 et 31 ne sont pas nécessaire, l'écran neuf est livré avec la connectique neuve.
Les étapes 33 et 34 ne sont pas nécessaire, le support caméra et la mousse sont fournis neuf avec le kit et l'autocollant neuf.
Idem étape 38, le film plastique est fournis dans le kit, il faut mettre le film neuf sur l'écran avant de replacer la batterie.
Sinon, super tutoriel, le remplacement se fait sans soucis avec le kit d'outillage.
Bonjour Antoine,
Merci de votre remarque ! Même si ces étapes ne sont effectivement pas indispensables comme vous l'avez souligné, nous avons préféré les conserver afin d'être le plus précis possible et pour que les utilisateurs n'oublient pas d'installer ces pièces lors du remontage !
À bientôt,
Sandra
As someone who has never replaced a screen for a mobile phone before, this guide was incredibly helpful.
I would recommend a pen and some paper to mark down what steps you have taken so far and an organised as well as a labelled area for screws as they are very tiny and easy to lose.
19/10 I'd be confident to follow this guide again!
If you are replacing the screen and frame, be aware that many replacement screen/frame parts do not have the buttons for power and volume. These are an extra £10ish. Unfortunately, to fit them you have to remove the motherboard again.
Hi MPS,
The genuine replacement part offered by iFixit should include the buttons. If you bought the part from us and didn't receive a part including the buttons, please contact eustore@ifixit.com for EU orders or support@ifixit.com for Non-EU orders to get it sorted out.
These very clear instructions helped me fix a G22, thank you to the authors. This phone is surprisingly easy to repair, other manufacturers could learn a thing or two here. It took me around 75 minutes to do the job.
I strongly recommend to buy the screen kit, it contains the complete set for only a few euros more than the screen itself. You will need a replacement battery sticker foil for step 36 anyway, which costs a few euros itself. It is easy to break the original sticker, a new one can be easily placed on the original battery.
With these excellent instructions, repair tools, reading glasses and some patience, the screen replacement was indeed doable and now the phone is as good as new ... after all, the phone was only a month old when its screen was smashed against the pavement ;)
The ability to repair such vulnerable components is a very welcomed development in consumer electronics.
Desweiteren wird das Ersatzdisplay ohne Tasten-Flexleitung geliefert. Diese sollte auch vom alten Display übernommen werden.
Womit diese dann verklebt werden soll wurde leider auch nicht mitgeteilt.
Anleitung bitte vervollständigen!
Vielen Dank!
Hallo jenskönig,
Das Original-Ersatzteil aus dem iFixit Store sollte mit bereits vorinstallierten Tasten kommen. Falls du das Ersatzteil bei uns bestellt hast und dies nicht der Fall war, kontaktiere bitte unser Team unter eustore@ifixit.com, damit wir dir weiterhelfen können!


