
Nintendo DSi XL Upper Case Replacement

はじめに
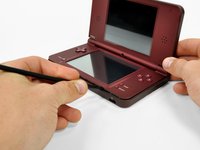
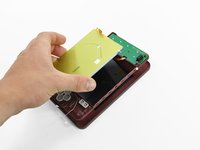
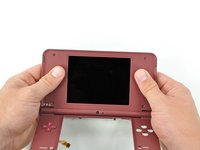
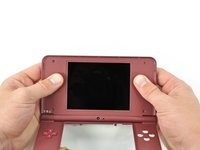
手順 1 に進むCustomize the color of your DSi XL by replacing the upper case.
必要な工具と部品
パーツ

ツール


もっと見る
-
-
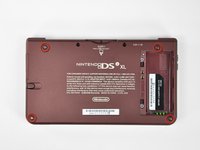
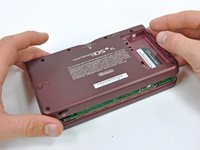
Remove the two Phillips screws securing the battery cover to the back of the handheld console.
-
Lift the battery cover off the back of the DSi XL.
-
-
-
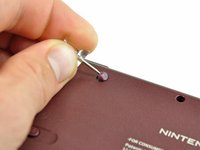
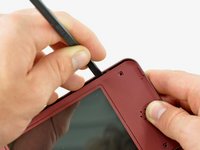
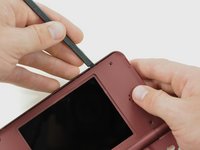
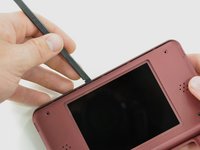
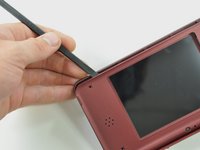
Remove the four rubber screw covers on the lower case by prying them up with a push pin.
-
-
-
-
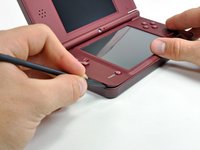
With the console still upside-down, open the DSi XL slightly.
-
Push the lower display away from the upper case.
-
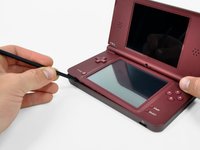
Remove the lower display from the DSi XL.
-
-
-
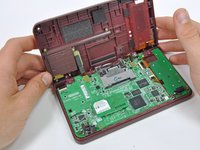
Turn the DSi XL over and open the display.
-
Use a pushpin to remove the four plastic screw covers on the front bezel.
-
-
-
Remove the Phillips screw holding the metal securing bracket in place.
-
Lift the metal bracket off the camera.
-
-
-
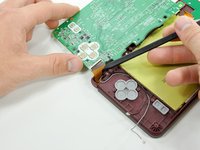
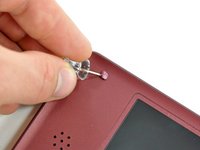
Lift the Wi-Fi antenna off the front display bezel.
-
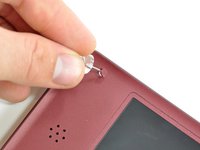
De-route the Wi-Fi antenna cable from its grooves at the bottom of the front display bezel.
-
-
-
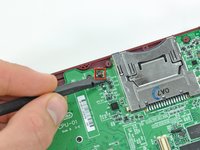
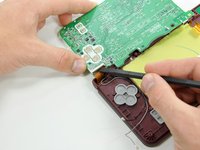
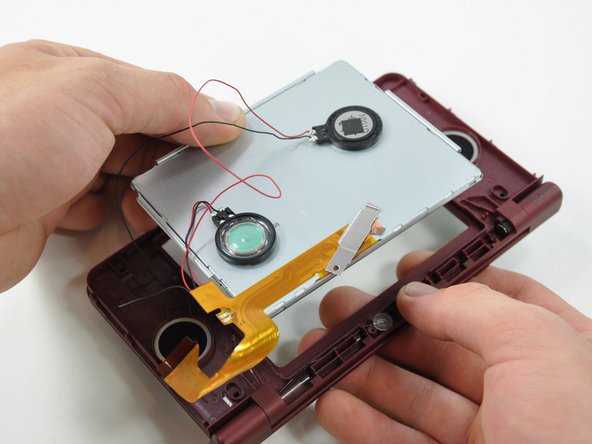
Lift both of the speakers from their seats on the front display bezel.
-
-
-
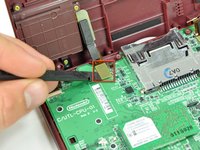
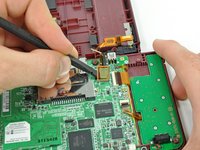
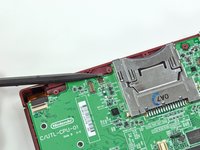
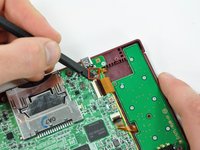
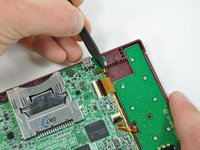
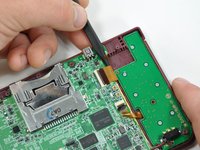
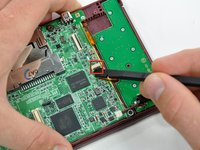
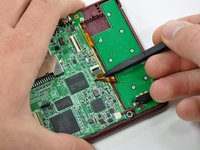
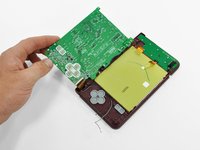
Remove the seven 2.5 mm silver screws securing the power board to the upper case.
-
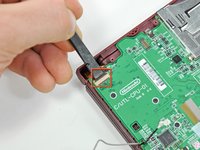
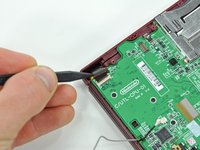
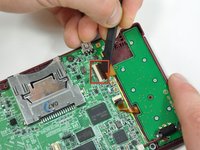
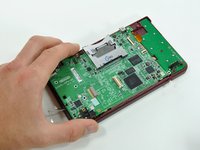
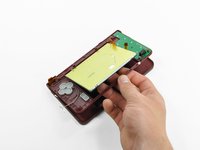
Lift the power board off the upper case.
-


To reassemble your device, follow these instructions in reverse order.
To reassemble your device, follow these instructions in reverse order.
3 の人々がこのガイドを完成させました。

