
MSI MS-1782 Motherboard Replacement

はじめに
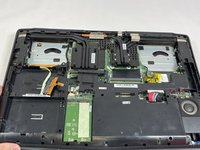
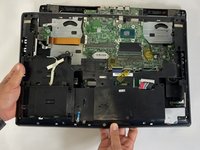
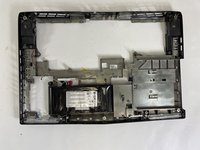
手順 1 に進むThis guide will cover the replacement of the motherboard in the MSI MS-1782 laptop. This part of the laptop is responsible for connecting all the processes of the MSI MS-1782. Check out the troubleshooting page if your laptop is having charging related issues.
When working on the laptop make sure to disconnect the battery first. Also be sure to disconnect all the ribbon cables before removing the motherboard. There are separate daughterboards for various I/O and those have to be disconnected for removal as well. Lastly the display cable is the most fragile so be extra careful with that one.


-
-
Remove five 6.6 mm screws from the edges of the bottom cover using a JIS #1 screwdriver.
-
Remove one 5.6 mm screw from the center of the bottom cover using a JIS #1 screwdriver.
-
-
-
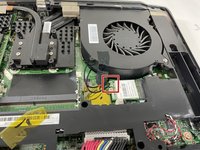
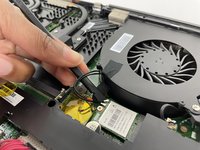
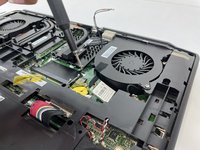
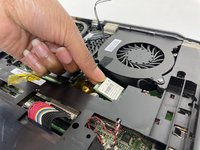
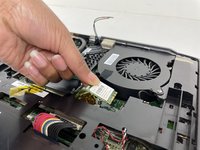
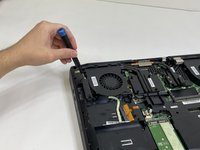
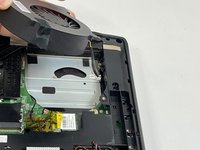
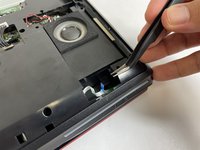
Use the flat end of a spudger to detach the two antenna cables from the Wi-Fi card.
-
-
-
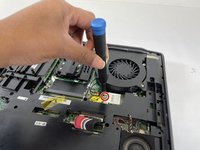
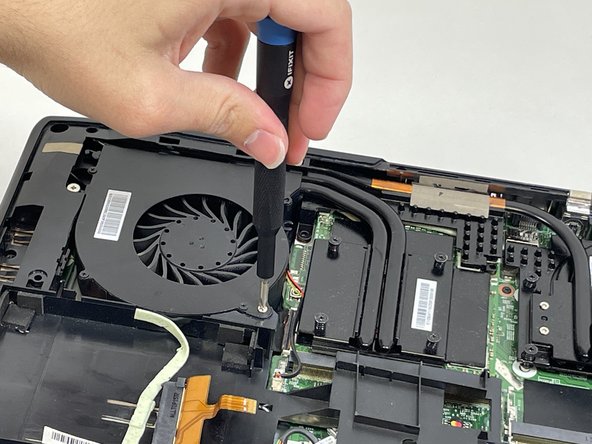
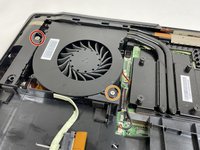
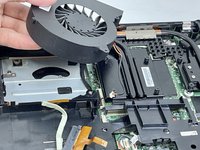
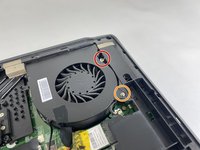
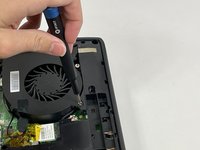
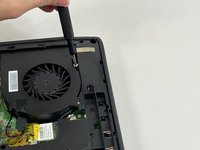
Loosen the captive screw on the left side of the left fan using a JIS #2 screwdriver.
-
Remove the 5.1 mm screw on the right side of the left fan using a JIS #2 screwdriver.
-
-
-
-
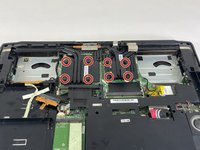
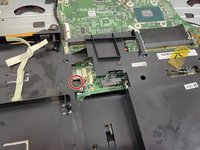
Remove the four 5.5 mm screws holding the battery frame in place using a JIS #1 screwdriver.
-
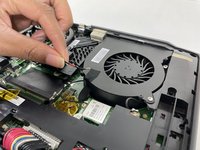
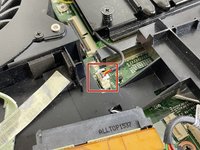
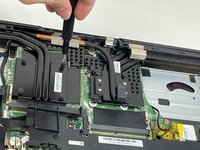
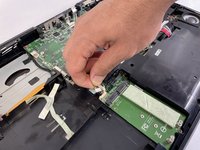
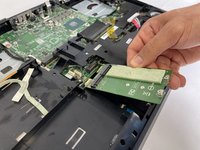
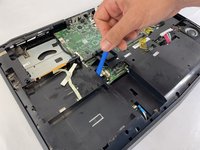
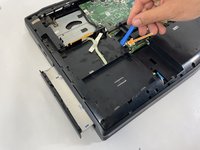
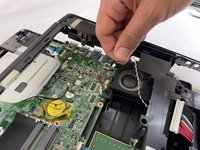
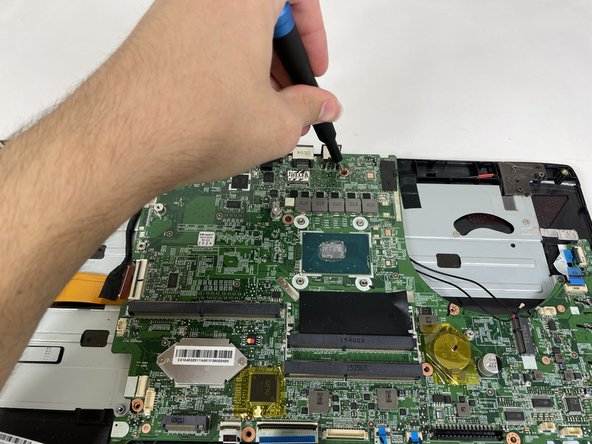
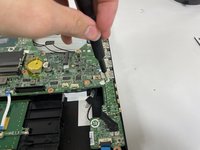
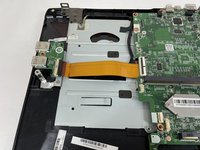
Gently disconnect the cable connecting the M.2 caddy to the motherboard.
-
-
-
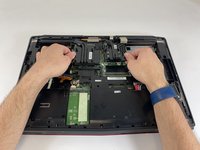
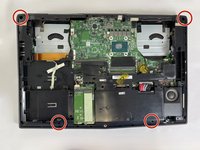
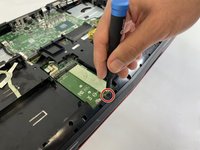
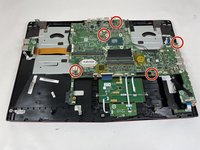
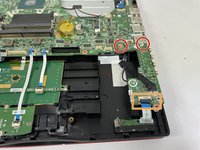
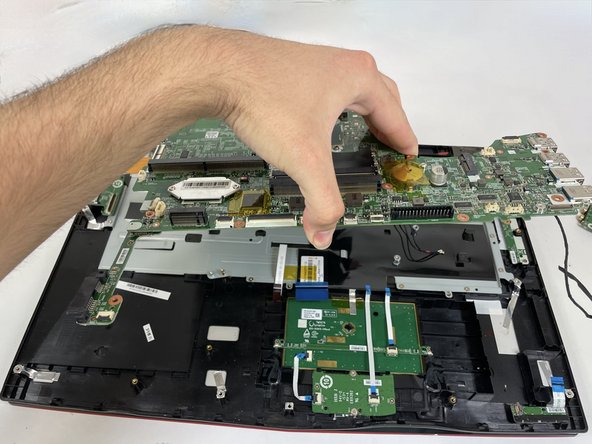
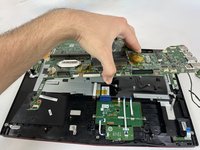
Remove the five 5.6 mm screws holding the motherboard in place using a JIS #1 screwdriver.
-
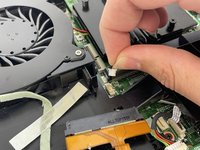
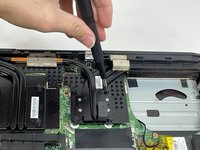
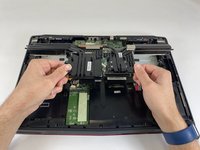
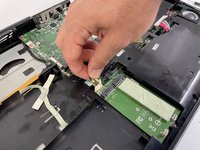
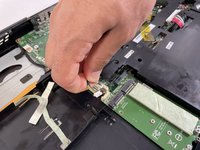
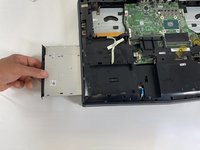
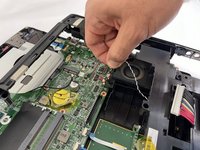
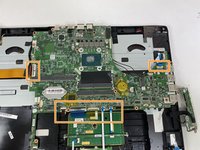
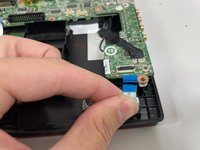
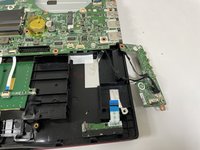
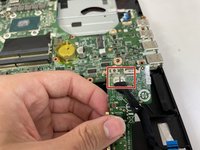
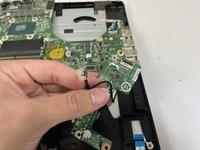
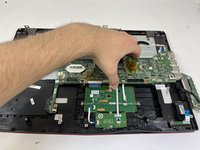
Disconnect the display, keyboard, trackpad, and USB daughterboard ribbon connectors from the motherboard.
-


To reassemble your device, follow these instructions in reverse order.
To reassemble your device, follow these instructions in reverse order.

チーム

University of New Orleans, Team 4-4, McDonald Spring 2023 University of New Orleans, Team 4-4, McDonald Spring 2023人のメンバー
UNO-MCDONALD-S23S4G4
3 メンバー
7のガイドは作成済み