はじめに
このガイドを使用して、ロジクール Logitech MX MX Keys マウスのバッテリーを交換してください。
リチウムイオンバッテリーの寿命には限りがあります。キーボードがすぐに切れてしまい、充電が保てなくなったら、バッテリー交換の時期かもしれません。
可能であれば、このガイドに従ってください。MX Keysキーボードのバッテリーは比較的小さいですが、充電されたバッテリーは、誤って曲がったり、穴が開いたりすると、安全上の問題が生じる可能性があります。
バッテリーが膨張しているように見える場合は、[[What to do with a swollen battery|取り扱いに注意してください。]
必要な工具と部品
-
-
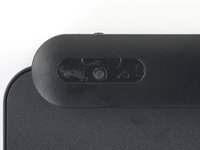
キーボードの電源スイッチをOFFの位置にスライドさせます。
-
キーボードからすべてのケーブルを抜きます。
-
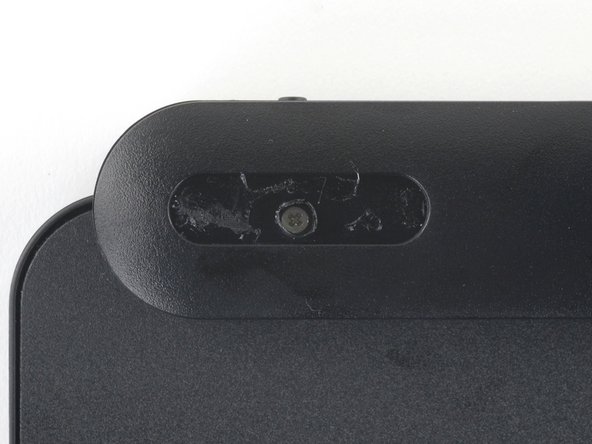
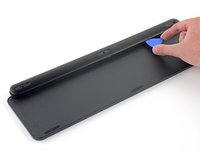
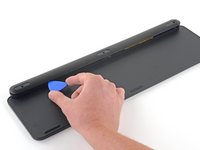
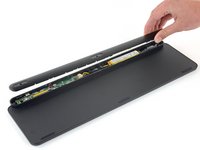
汚れていない清潔な作業台の上に、フットが上になるようにキーボードを置きます。
-
-
この手順で使用する道具:Tesa 61395 Tape$2.99
-
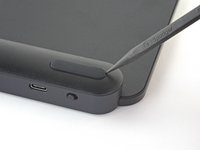
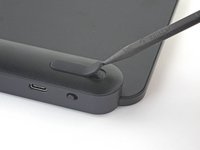
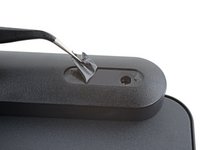
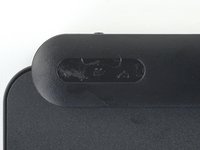
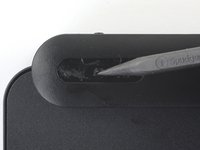
ツル首タイプのピンセットを使って、フットのくぼみからプラスチックフィルムをすべて剥がして取り除きます。
-
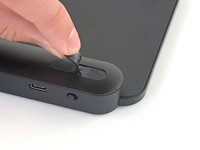
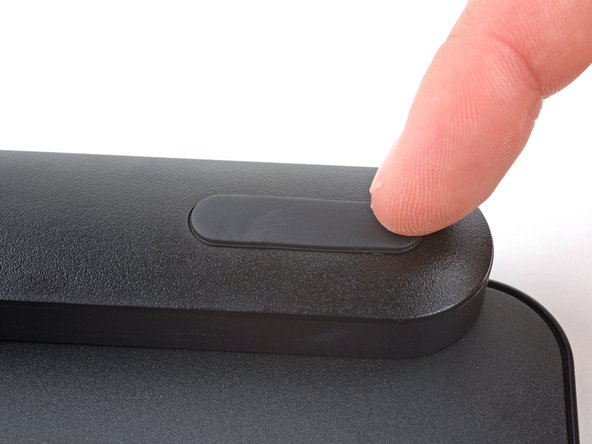
新しいフットを取り付ける場合は、ライナーを剥がして、しっかりと所定の位置に押し込みます。
-
フットを再利用する場合は、両面テープでフットを固定します。
-
-
-
-
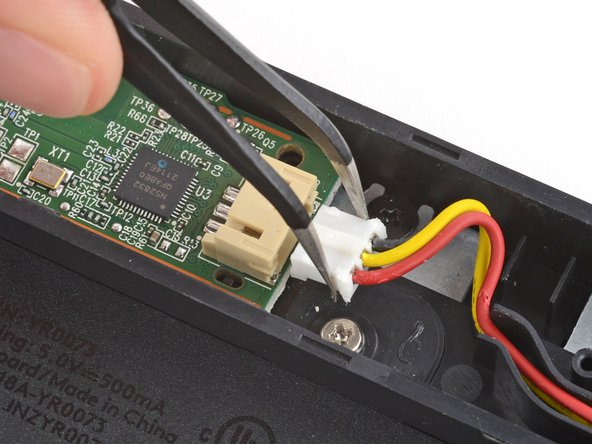
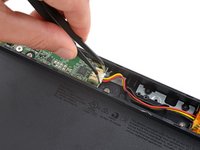
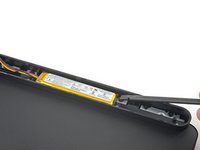
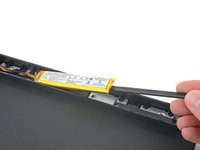
角度のついたピンセットを使ってバッテリーのコネクターをしっかりと握り、ソケットからまっすぐスライドさせます。
-
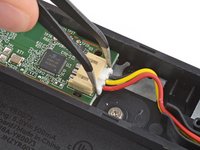
コネクタをソケットに差し込み、中央のプラスチックが盛り上がっている側を上に向けます。
-
コネクターがソケットに完全に収まるまで、スパッジャーの平面部分でコネクタの端を押し込みます。
-
-
この手順で使用する道具:Tesa 61395 Tape$5.99
-
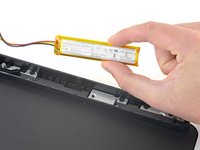
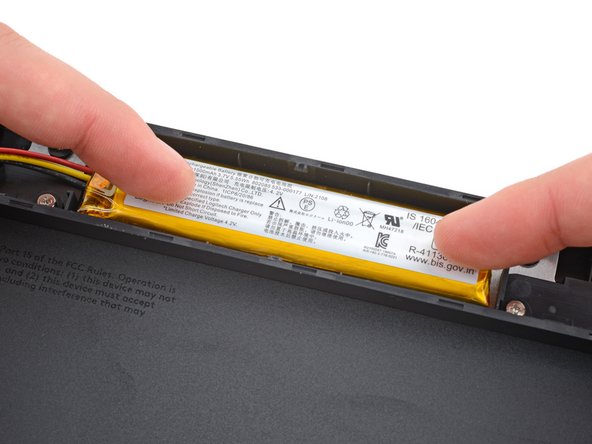
バッテリーの凹部から古い接着剤の残留物を取り除きます。
-
交換用バッテリーにテープがあらかじめ取り付けられていない場合は、バッテリーの凹部に両面テープを貼り付けます(バッテリーに直接貼り付けないでください)。
-
交換用バッテリーにあらかじめ接着剤が付いている場合は、プラスチック製のライナーを剥がします。
-


デバイスを再組み立てするには、これらのインストラクションを逆の順番に従って作業を進めてください。
e-wasteを処理する場合は、認可済みリサイクルセンターR2を通じて廃棄してください。
修理がうまく進みませんか?ベーシックなトラブルシューティングを試してみるか、アンサーコミュニティを参照してください
デバイスを再組み立てするには、これらのインストラクションを逆の順番に従って作業を進めてください。
e-wasteを処理する場合は、認可済みリサイクルセンターR2を通じて廃棄してください。
修理がうまく進みませんか?ベーシックなトラブルシューティングを試してみるか、アンサーコミュニティを参照してください
25 の人々がこのガイドを完成させました。
以下の翻訳者の皆さんにお礼を申し上げます:
100%

Midori Doiさんは世界中で修理する私たちを助けてくれています! あなたも貢献してみませんか?
翻訳を始める ›


13 件のコメント
这只是理论。实际上,电池可持续使用 3 年。
Though @timo is technically correct with his calculations, I use this keyboard so often that after only eight months, the battery needs to be recharged about once every two days. Time to replace it! Such calculations can never account for usability. I use the backlight feature constantly which I'm sure is why my battery degraded as quickly as it did.
Yes I agree with you. Ever since Logi PC SW failed to control the auto-backlit function, my MX Keys just lights up every second. The battery status went poor after using it like 11 months.
Found this item on ebay as a replacement battery. Voltage, capacity, and dimensions are on spec, but it will require some soldering to move the connector to the replacement battery. I recommend clipping off the original connector closer to the battery to leave some slack for future replacements. Always use heat shrink to protect those solder connections and prevent shorting out the battery.
The above article no longer exists. Use google and search for 'YR0073'.
Thanks for the info about the replacement battery. Unfortunatly mine has 3 cables, Black Yellow red, don't know what the yellow is doing. Maybe has to do with charging?
Here's one I found after googling this:
Logitech MX-KEY R-41136824 1500
我的mini也出现了电池充满只有50%的情况,但是拆开准备换电池的时候发现重新插拔后,电池恢复了可以充到100%的情况,而且mini注意电池规则是802062,比mxkeys小一号
Wondering if we can install a larger battery? Seems there are enough space to mod it and insert a thick battery. Has anyone tried?
All this mess adds up to just one thing: manufacturer has made it so 99% of the public won't want to go through the time and expense of replacing the battery and will simply go out and purchase another keyboard. Planned obsolescence. It's wholly disingenuous to say on one hand that customers are supposed to realize that the lifetime of the battery is limited, then in the same breath, tell them that they have to have the money, tools, skills, and patience to replace self-same battery, when a simple pop-out compartment would have sufficed.
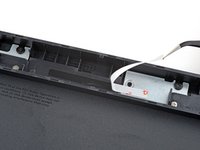
Unfortunately, while removing the back cover 4 of the clips broke, because the plastic where the clips go in is so thin, but that's not mentioned in the guide. I tried to remove the back cover slowly by dragging along the edge the iFixit clips, but that wasn't enough to remove the cover. Maybe a part of that guide can change to make sure the back cover is removed safely without braking the keyboard's clips since they are so thin and easy to break.