はじめに
This guide will help you tear down and replace a broken LCD on a Lenovo X130e laptop. Step by step you will breakdown the machine until you have successfully replace the broken LCD.
必要な工具と部品
-
-
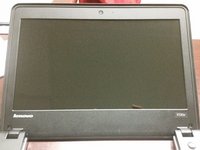
Before ordering a new LCD, determine if the old one is cracked or damaged. If it is damaged, power off the machine and remove the battery.
-
-
-
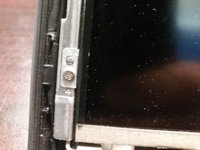
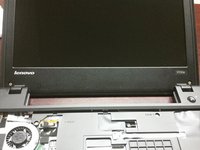
Unscrew two screws on the LCD bezel. There is one screw per side. Use a Phillps #1 screwdriver to do this.
-
Once the screws are out, use a pry tool to remove the LCD bezel. Work your way around the LCD bezel to remove it.
-
-
-
-
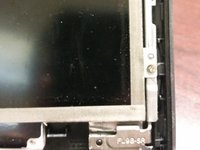
Remove the 4 screws holding the LCD in. There are two per side. Use a Phillps #0 screwdriver to do this.
-
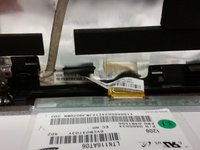
Once the screws are out, pry the broken LCD to expose the LVDS cable. Once you have LVDS cable access, loosen the tape holding it in.
-
Set the broken LCD aside for recycling.
-
-
-
Get the new LCD. Inspect it for damage before installation.
-
Reconnect the LVDS cable to the new LCD. Push the tape down after it is plugged in. Note: The tape on the cable will be worn. Replace the tape if you are concerned the cable will fall out.
-
Screw the LCD into the LCD housing. Use the 4 screws previously removed before.
-
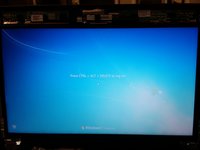
Power on the laptop to test the new LCD. If it works, snap the bezel back onto the laptop. Finish reassembling the laptop.
-
-
-
When the new LCD is tested and is confirmed good, put the bezel back on.
-
Line the bezel up with the LCD housing. Once you align it, snap it back onto the system. After snapping it back on, screw the bezel in with the 2 screws that were previously removed.
-
Replace the laptop's battery.
-


Hope this guide will help repair or troubleshoot any problems with monitor on a lenovo based machine.
4 の人々がこのガイドを完成させました。