
Lenovo Tab 2 A10-70 LCD/Digitizer Replacement
はじめに
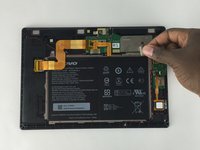
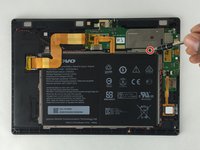
手順 1 に進むIn order to remove the tablet screen, removal of the battery and motherboard is necessary.


-
-
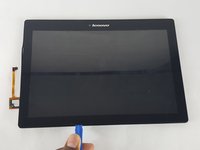
Use a plastic opening tool to pry open the back cover of the tablet.
-
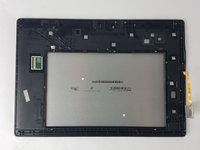
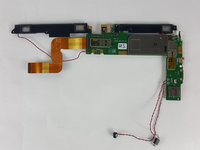
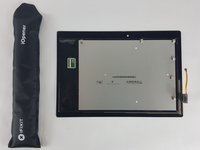
The second picture shows the tablet with the back removed.
-
-
-
-
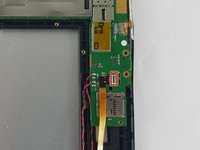
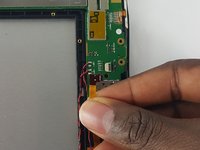
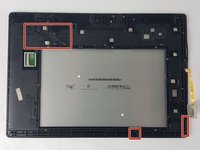
Remove the following screws using the Phillips 000 drill bit.
-
Eleven 4 mm screws
-


To reassemble your device, follow these instructions in reverse order.
To reassemble your device, follow these instructions in reverse order.
17 の人々がこのガイドを完成させました。
チーム

USF Tampa, Team 12-6, Eyestone Spring 2016 USF Tampa, Team 12-6, Eyestone Spring 2016人のメンバー
USFT-EYESTONE-S16S12G6
4 メンバー
10のガイドは作成済み
6 件のコメント
how did you keep the digitizer intact?my problem is the lcd screen and I bought only that.too scared to start without knowing how to keep the digitizer intact as it would take weeks before I could replace it.also wondering how to replace the lcd and only that.could you help me please?
Hans Sorensen ,Norway
project_81 - 返信
In my personal opinion, this guide have a bunch of steps that aren't necessary. I just replaced a cracked one. And I just removed the battery for security purposes since I was going to use heat. But you don't have to remove the mother board or anything else, just disconnect the digitizer flex and then start prying on front. That's it.
Joel Perez - 返信
https://youtu.be/etxKSTK3Gno?t=8m19s
Is that black tape important? I wasn't lucky and it was torn.
How do you calibrate the digitizer afterwards?
Step 11 talks about using a Phillips 000 drill bit, rather than screwdriver, to remove the screws.