
HP EliteBook 840 G7 keyboard Replacement
25分
中レベル
コミュニティメンバーによる寄稿ガイド
アーカイブされたガイド
このガイドは将来的な使用のためにのみ保存されてます。ご自身の修理作業には更新バージョンをご利用ください。
はじめに
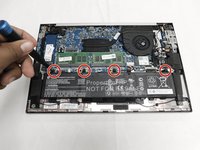
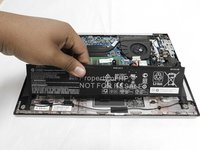
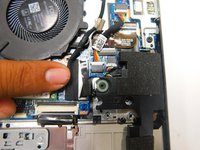
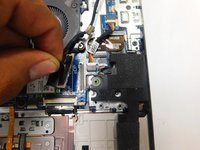
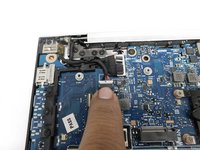
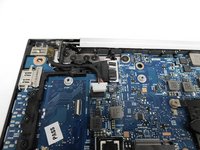
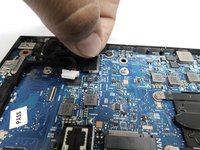
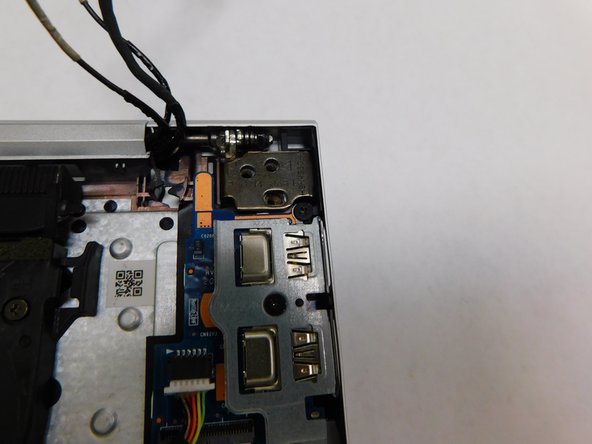
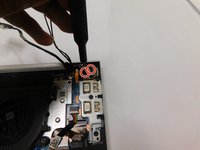
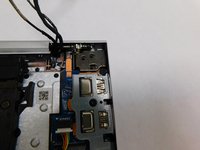
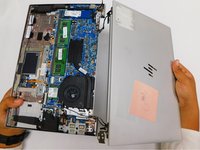
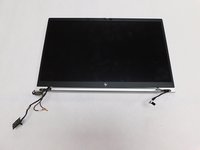
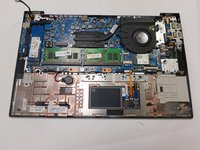
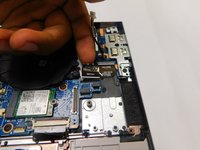
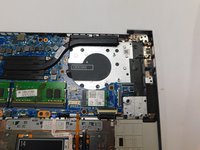
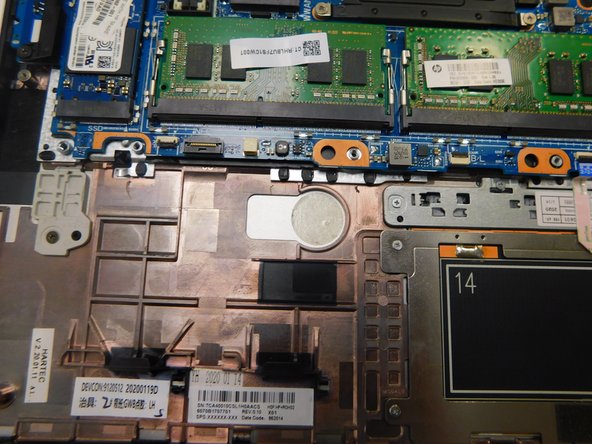
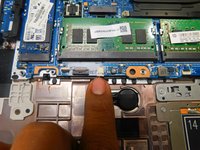
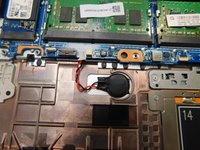
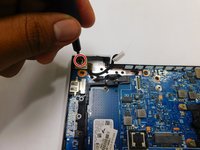
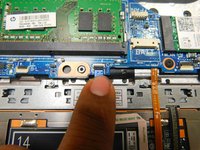
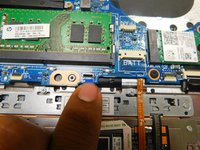
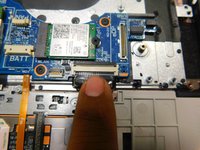
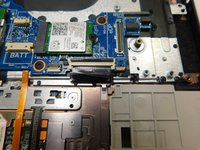
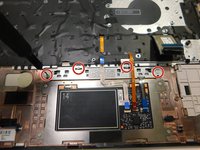
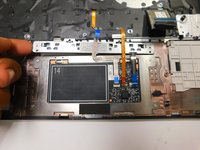
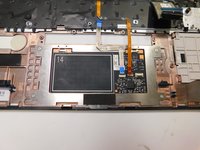
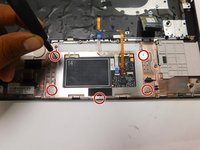
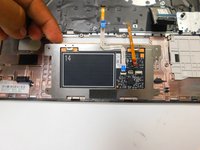
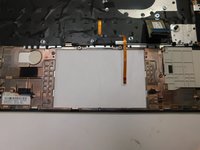
手順 1 に進むUse this guide to replace the keyboard on a HP EliteBook 840 G7


終わりに
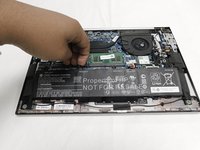
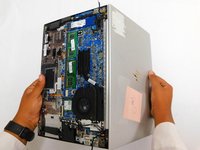
To reassemble your device, follow these instructions in reverse order.
7 の人々がこのガイドを完成させました。
Gear Up For Future Repairs
Shop all


チーム

Gateway, Team 1-1, Pee Spring 2022 Gateway, Team 1-1, Pee Spring 2022人のメンバー
GCC-PEE-S22S1G1
4 メンバー
15のガイドは作成済み
4件のガイドコメント
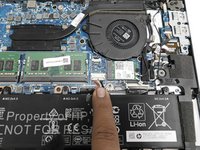
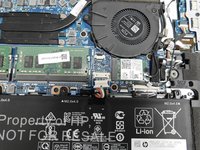
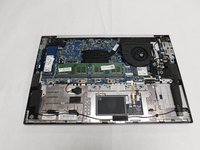
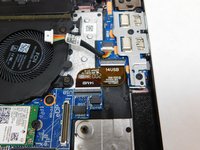
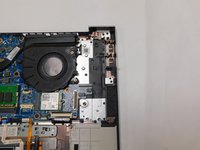
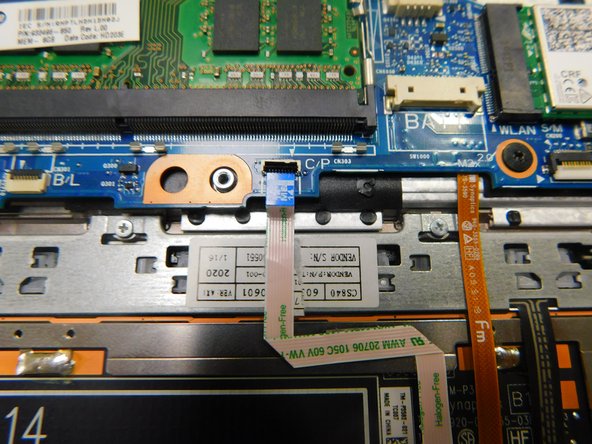
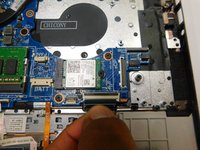
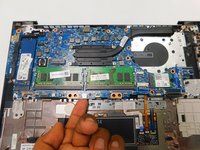
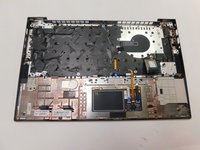
the keyboard is part of the top shell and is rivetted in, you need to replace the whole part
Recommended parts are wrong