はじめに
この修理ガイドは iFixit スタッフによって作成されたものであり、Google によって承認されていません。 修復ガイドの詳細については、こちらをご覧ください。
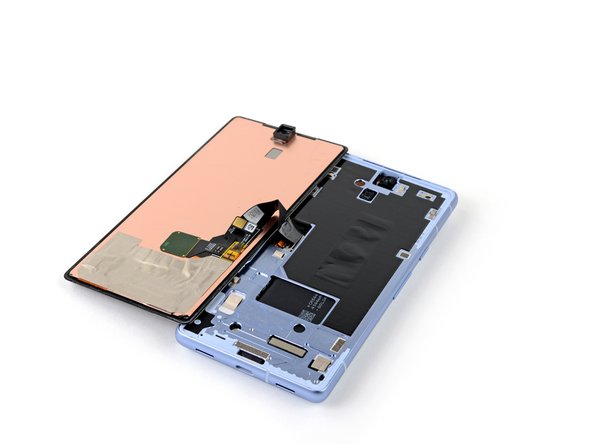
このガイドに従って、Google Pixel 7a の壊れた画面や故障した画面を取り外したり、交換したりしてください。
画面の指紋認証センサーを"キャリブレート"する手順については、こちらのガイドを参照して下さい。
iFixitストアで取扱のある、Google 純正の交換用画面には、指紋リーダーがすでに取り付けられています。
サードパーティで購入した交換用の画面に指紋リーダーがプリインストールされていない場合は、元の指紋リーダーを新しい画面に移植して、機能を維持するために"キャリブレート"する必要があります。
(注意:この段落の内容は英語原文通りですが、上記ガイドには「センサーをスクリーンごと交換した場合にキャリブレーションを行う必要がある」と書かれていますので注意して下さい。)
この修理を完了するには、交換用のスクリーン接着剤が必要です。
注意: 修理を行うと、携帯電話の耐水性が損なわれる可能性があります。 修理後の耐水性の維持は、接着剤の再塗布の程度に依存します。
必要な工具と部品
-
-
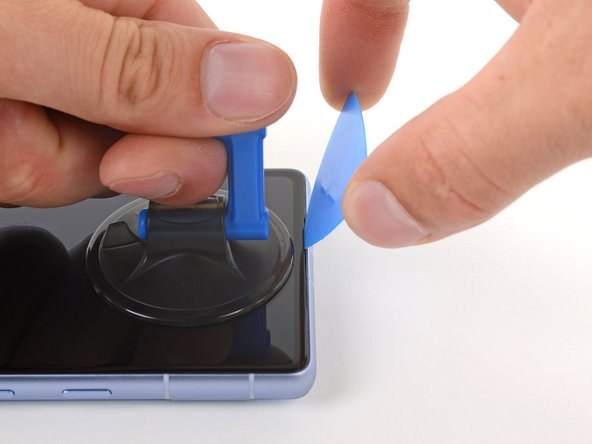
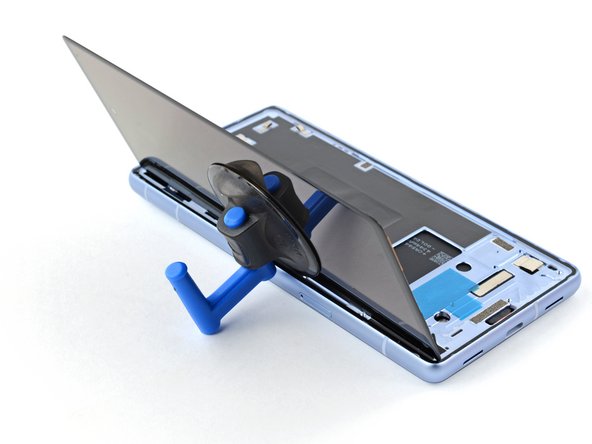
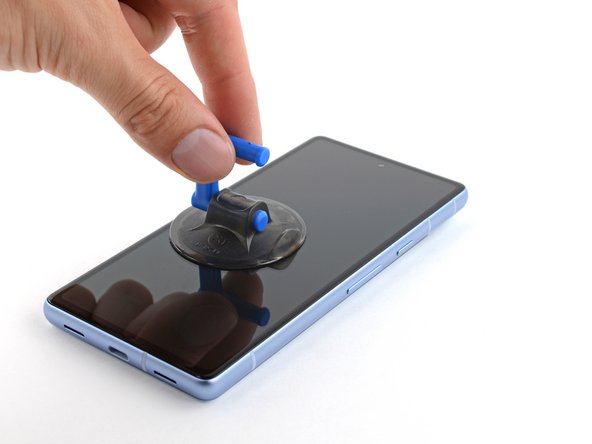
スクリーンの上端中央に吸盤を当てます。
-
強く安定した力で吸引ハンドルを引き上げます。
-
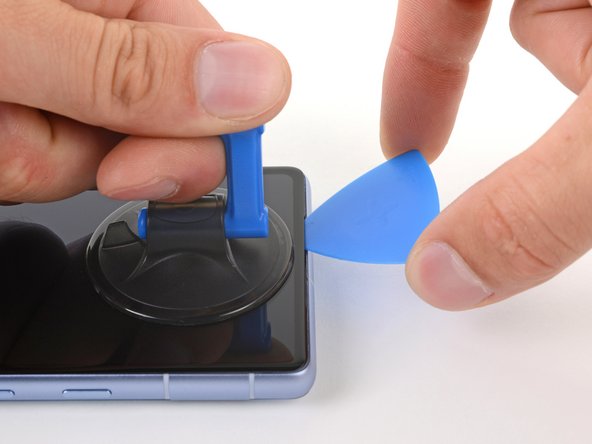
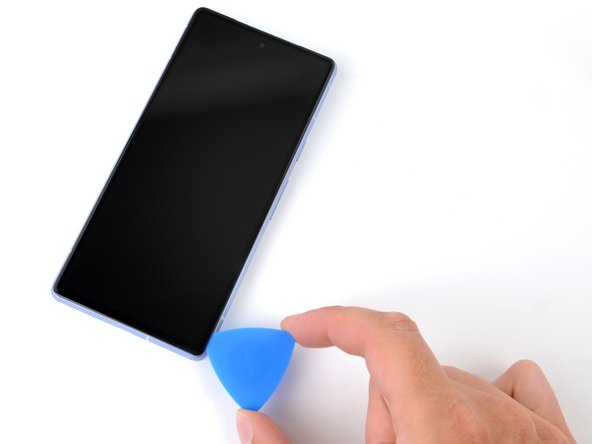
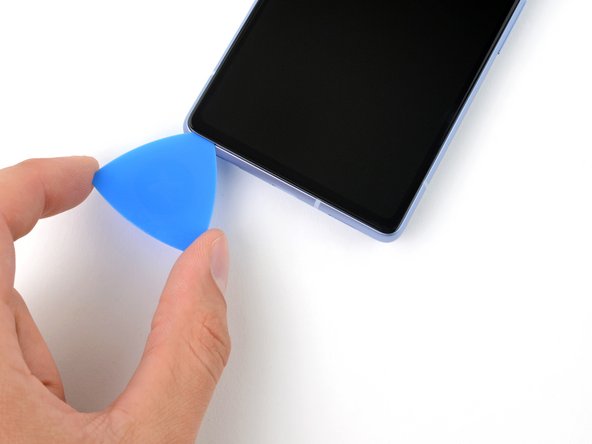
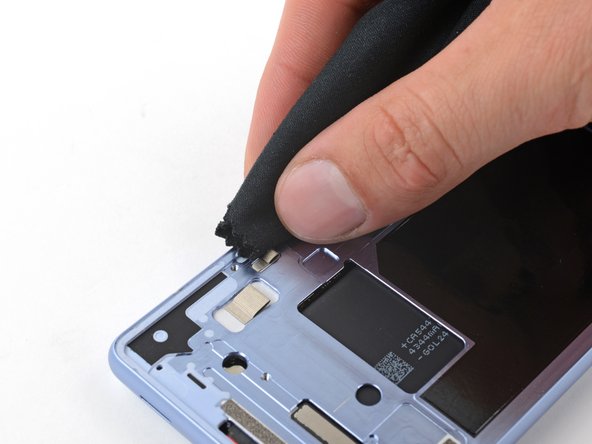
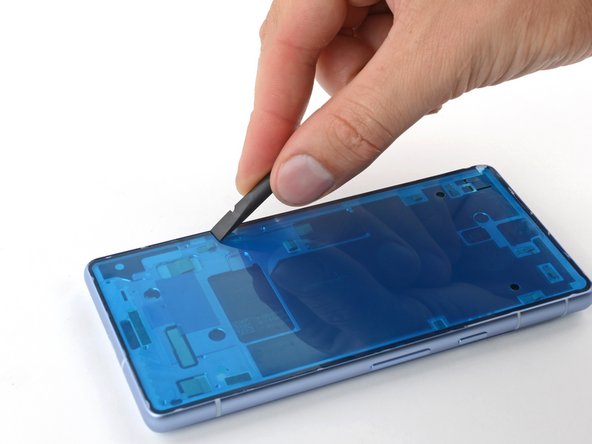
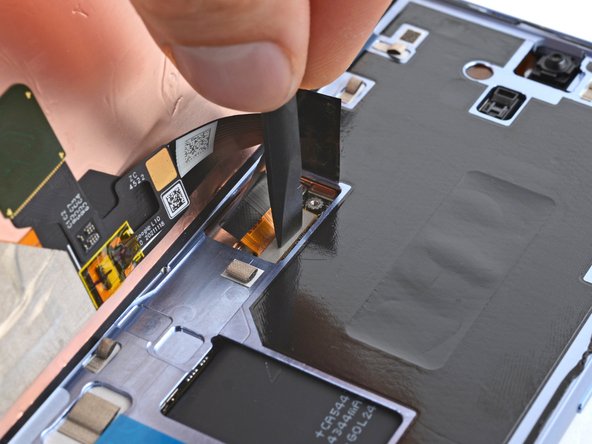
イヤーピーススピーカーの切り欠きの左側に、開口ピックの先端を差し込みます。
-
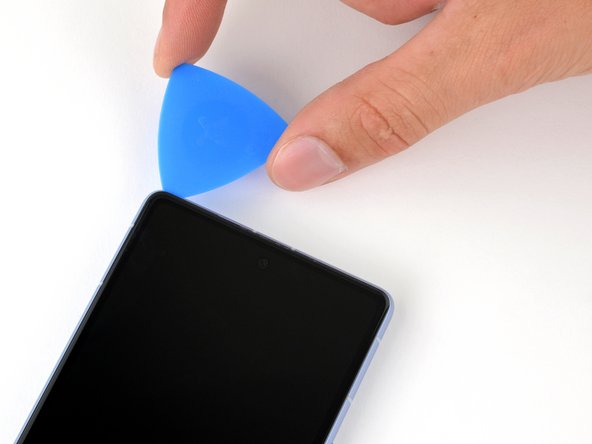
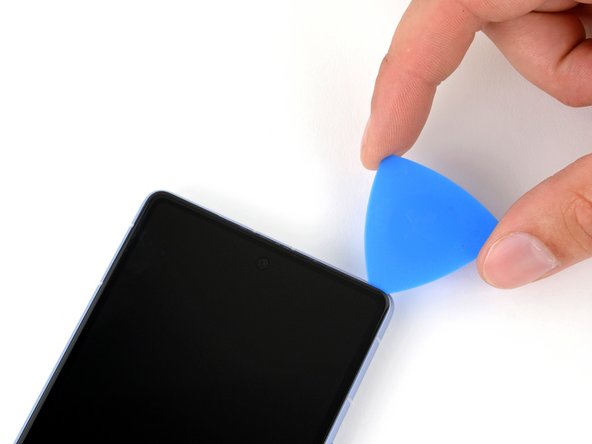
ピックをしっかりと切り込みに押し込み、ガラスの下に滑り込むまでスクリーンに対して水平に下ろします。
-
-
-
-
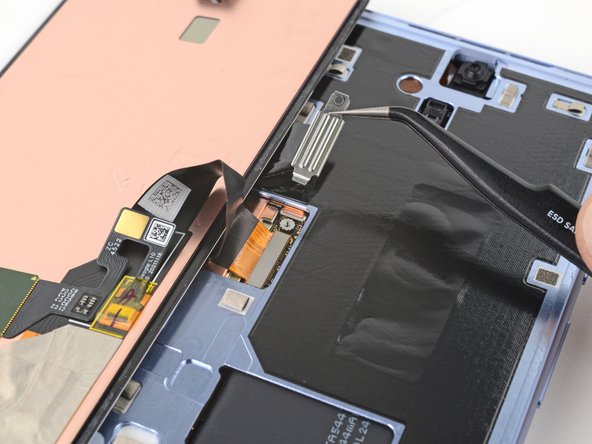
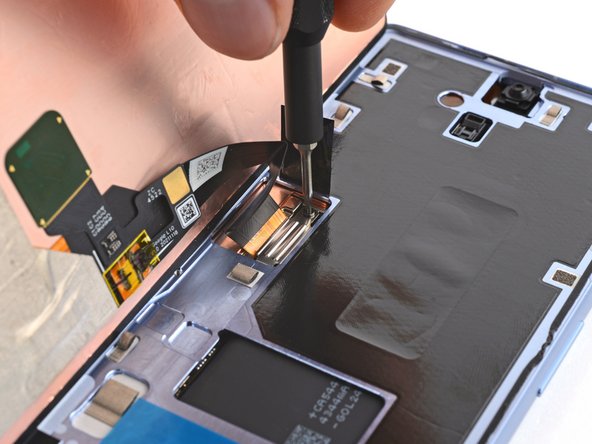
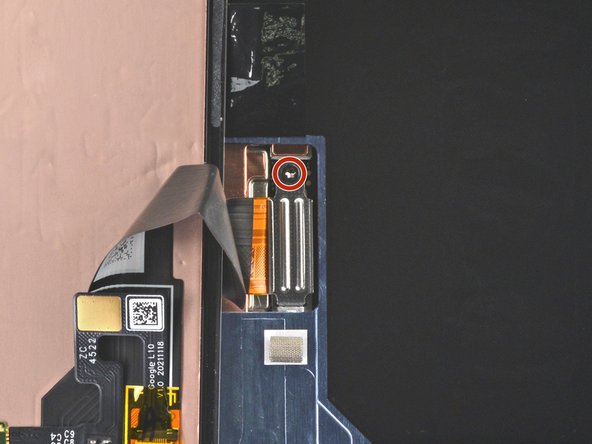
T3 トルクスドライバを使用して、スクリーンコネクタカバーを固定している 2 mm の 3IP トルクスプラスネジを 1 本取り外してください。
-
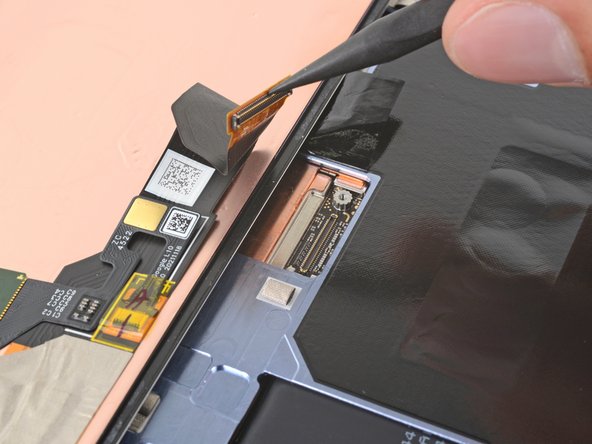
カバーを外します。
-
-
-
-
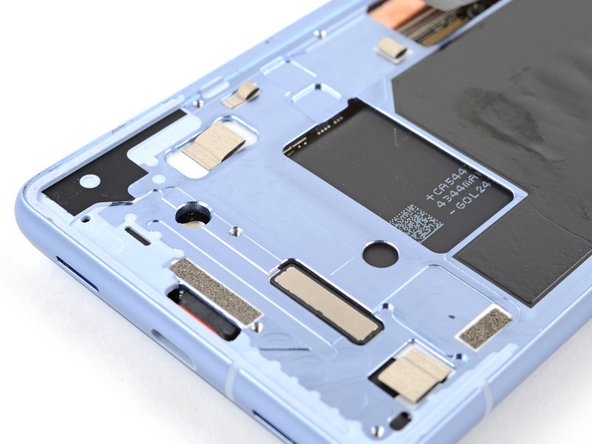
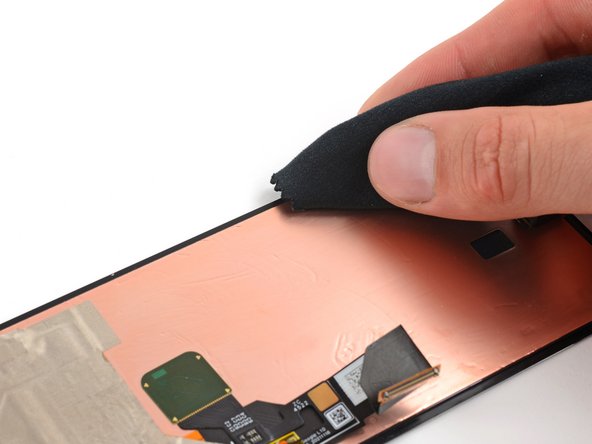
スポイトか注射器を使い、高濃度のイソプロピルアルコール(90%以上)をフレームの周囲に数滴垂らします。
-
糸くずの出ない布やマイクロファイバークロスで拭き取ります。
-
-
-
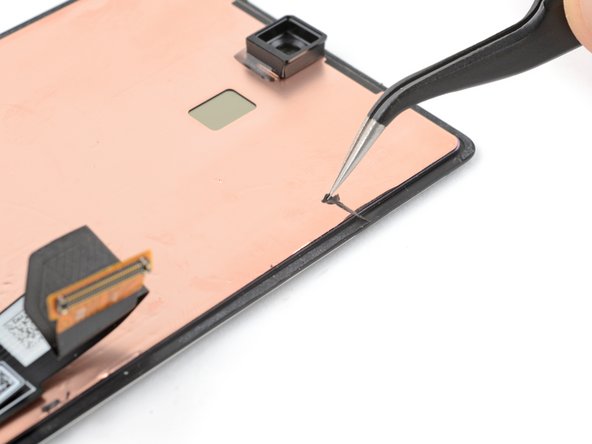
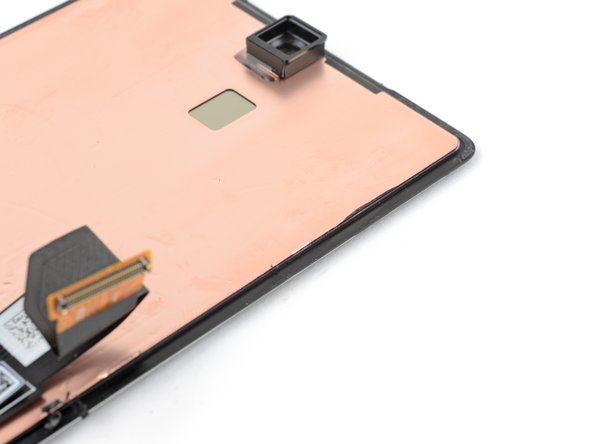
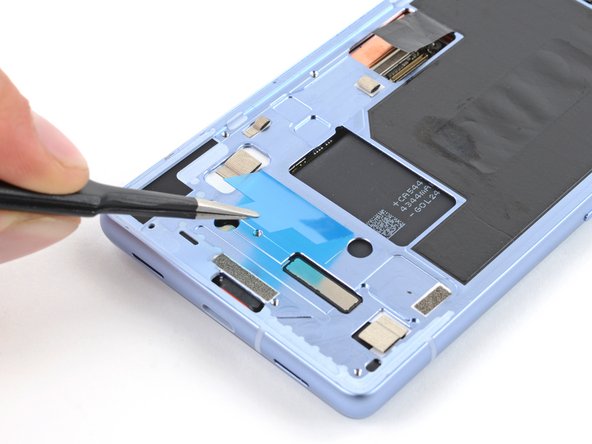
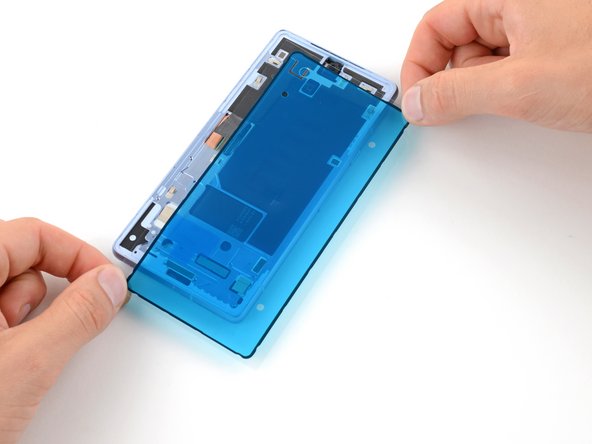
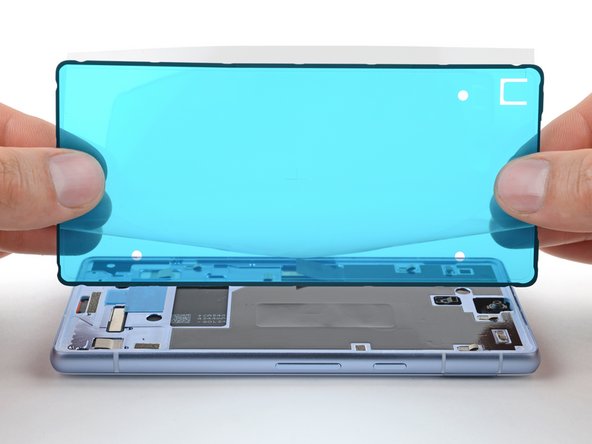
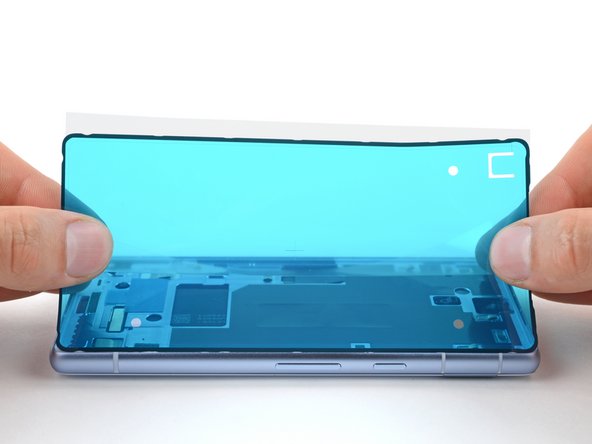
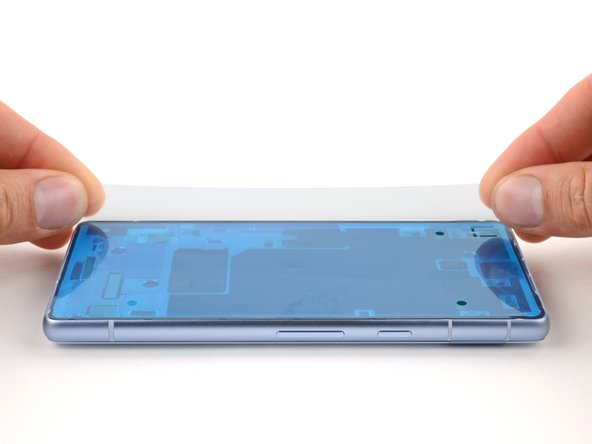
スクリーン用の接着剤の正方形のライナーにある小さな四角形の部分を剥がします。
-
古い接着剤と同じ位置、バッテリーの切り欠きのすぐ下のフレームに接着剤を装着します。
-


ディスプレイの指紋リーダーをキャリブレートするには、Google の Pixel Update および Software Repair Tool を使用します。
電子廃棄物を R2 または e-Stewards 認定リサイクル業者 に持ち込んでください。
Pixelのオンデバイス診断ツールで診断をする場合は、こちらのドキュメント(英語)を参照して下さい(注意:本項追記時点では、Pixel診断ツールは日本国内では使用できません)。
修理が予定通りに進まなかったのですか? ベーシックなトラブルシューティングを試すか、アンサー コミュニティ に問い合わせてください。
ディスプレイの指紋リーダーをキャリブレートするには、Google の Pixel Update および Software Repair Tool を使用します。
電子廃棄物を R2 または e-Stewards 認定リサイクル業者 に持ち込んでください。
Pixelのオンデバイス診断ツールで診断をする場合は、こちらのドキュメント(英語)を参照して下さい(注意:本項追記時点では、Pixel診断ツールは日本国内では使用できません)。
修理が予定通りに進まなかったのですか? ベーシックなトラブルシューティングを試すか、アンサー コミュニティ に問い合わせてください。
25 の人々がこのガイドを完成させました。
以下の翻訳者の皆さんにお礼を申し上げます:
100%


これらの翻訳者の方々は世界を修理する私たちのサポートをしてくれています。 あなたも貢献してみませんか?
翻訳を始める ›


17 件のコメント
This guide worked well for me and I was able to replace my screen despite it being severely cracked - expect a lot of screen breakage and glass pieces if that's the case! I set everything in a tray to minimize glass fragments going all over.
Once the screen was installed, the wrapper for the iFixit provided screen has a label that says "UDFPS calibration required" with a QR code.
This takes you to a Google site that tells you how to set up fingerprints on your phone. I don't think that link is helpful.
I needed to go to https://pixelrepair.withgoogle.com/udfps where Google has a tool that allows easy updating of the fingerprint sensor software on your phone, which is a requirement after a new screen is installed. Open that site on a computer (PC or Mac, no ChromeOS, no tablets) and follow the instructions, which include connecting your phone via USB cable.
I had trouble with the calibration step. I ended up having to install the Google USB driver. I downloaded it here and followed this guide, using the Windows 10 instructions for Windows 11
The guide worked very well. Although it was very hard to remove the old display (I have two left hands, all thumbs), I was able to exchange it. Thank you very much!
Just replaced my phone 7a screen using the available kit. It was next to impossible to get the old screen off using the heat and pry tools. Would definitely recommend getting their jimmy tool. I ended up shattering the old screen on purpose using a punch tool and peeling the glass off the digitizer and frame. This was easiest for me without ordering another tool. Would NOT recommend doing it this way! The other deviation from these instructions is that the screen replacement version sent to me (10/2023) had the screen adhesive already applied to the screen. Made it much easier to install since there was no human error applying the screen adhesive to the phone frame first then lining up the screen. Definitely an improvement! Overall, took me way too long to complete, closer to 2+ hours due to the issues getting the old screen off. But certainly manageable by any DIYer. Would definitely buy from iFixIt again in the future if needed.
You just described my experience exactly. Busting the old screen was awful but it worked. Without better tools, I can't imagine getting that screen off there!
Jeff -