メインコンテンツにスキップ
Disconnecting the Battery

Disconnecting the Battery

Henry Bryant

Henry Bryant とその他 3 人の作成者

最終更新日: June 27, 2024

10分
中レベル
必要条件のみ
この修理ガイドは、他のガイドの前提条件として使用されます。それ自体は不完全で、単独で使用されることはありません。

This guide will explain how to disconnect the battery from the rest of the Acer Aspire 5 A515-56-347N. This step is essential for all others, as it ensures that no power is supplied to the components being handled. This way, the battery can be unplugged without being fully removed.

Electrostatic discharge (ESD) can irreparably damage the components of your computer. While following this guide, avoid wearing static-prone clothing such as wool or flannel, or working on surfaces such as carpet. Optionally, you may use an ESD bracelet and/or mat to remain grounded throughout the repair process and minimize the risk of ESD damage.

For additional information, you may consult this device's safety guide and user manual (see attachments), or the manufacturer's support page.

必要な工具と部品

ツール

もっと見る

  1. Disconnecting the Battery, Bottom Cover: 手順 1、 2の画像 1 Disconnecting the Battery, Bottom Cover: 手順 1、 2の画像 2
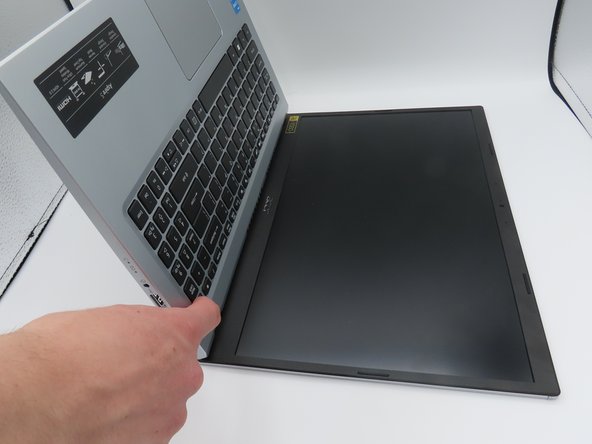
    • Turn the laptop off, and disconnect the power cable.

    • Flip the laptop upside down.

    • Remove the eleven 6.6 mm Phillips #0 screws from the bottom cover.

  2. Disconnecting the Battery: 手順 2、 3の画像 1 Disconnecting the Battery: 手順 2、 3の画像 2 Disconnecting the Battery: 手順 2、 3の画像 3
    • Insert a plastic opening tool into a gap between the case and the bottom cover.

    • Insert blue plastic picks into the gap between the case and the bottom cover, working around the seam.

    • The bottom cover is now loose. Pull it upwards, away from the laptop, and set it aside.

  3. Disconnecting the Battery, Disconnecting the Battery: 手順 3、 3の画像 1 Disconnecting the Battery, Disconnecting the Battery: 手順 3、 3の画像 2 Disconnecting the Battery, Disconnecting the Battery: 手順 3、 3の画像 3
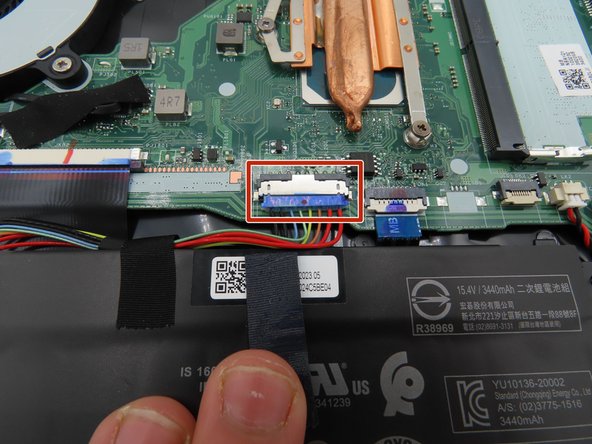
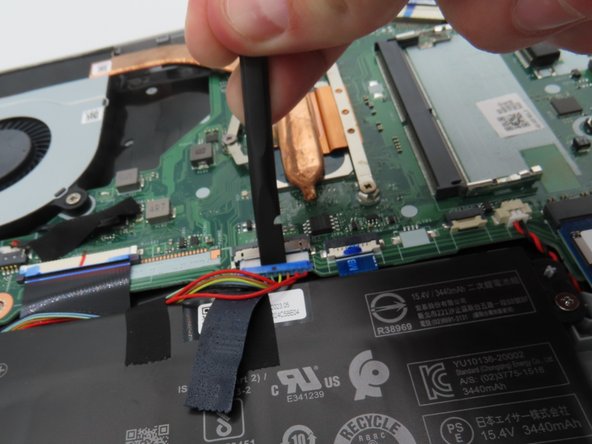
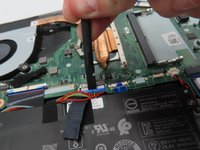
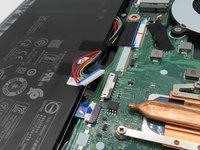
    • Use a plastic spudger to loosen the black tape around the large battery connector on the motherboard.

    • Once loosened, pull back on the tape to remove it from the connector.

    • Use a plastic spudger to pull the battery connector away from the motherboard.

    • Leave the battery unplugged for the following steps.

  4. Disconnecting the Battery: 手順 4、 2の画像 1 Disconnecting the Battery: 手順 4、 2の画像 2
    • Press and hold the laptop's power button for about five seconds to discharge any remaining power in the system.

    • Do not touch any exposed components while carrying out this step or put them in contact with conductive materials.

    • Leave the battery connector unplugged and out of the way for the rest of the time the laptop is open.

終わりに

To reassemble your device, follow these instructions in reverse order.

作成者

3人の作成者と共同で作成されました。

Henry Bryant

メンバー登録日: 02/16/24

325 ポイント

4のガイドは作成済み

チーム

University of Kentucky, Team 1-1, Martin Spring 2024 University of Kentucky, Team 1-1, Martin Spring 2024人のメンバー

UKY-MARTIN-S24S1G1

4 メンバー

6のガイドは作成済み

0 件のコメント

コメントを追加

統計データ:

過去 24時間: 0

過去 7 日: 0

過去 30 日: 0

今までの合計 71