
Dell Vostro 1710 Fan Replacement
はじめに
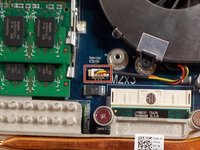
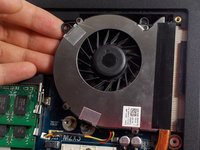
手順 1 に進むThe fan helps the laptop remove the heat it produces and keeps your laptop from overheating. If your computer keeps over heating you will need to replace the fan. This guide will walk you through on how to replace the fan using only a #1 Philips head screwdriver.
必要な工具と部品


To reassemble your device, follow these instructions in reverse order.
To reassemble your device, follow these instructions in reverse order.
ある他の人がこのガイドを完成しました。
チーム

UMass Dartmouth, Team S3-G7, Peak Spring 2018 UMass Dartmouth, Team S3-G7, Peak Spring 2018人のメンバー
UMASSD-PEAK-S18S3G7
3 メンバー
8のガイドは作成済み