はじめに
Use this guide to replace the thermal paste for your Dell Precision T7600 if your CPU is overheating.
The CPU is the main part of the computer, as important as the heart of human. When the heat dissipation capacity is insufficient, the temperature is too high, your computer will become less efficient and less responsive. In severe cases, it may stop working or even shut down automatically.
In the replacement process, you do not need to remove the CPU, you can just add silicon grease (thermal paste) on top of it.
In the step 4 and 5, each tower has four 18mm TONG DIN912 screws, so total is eight screws.
Make sure to power down your device before you begin.
必要な工具と部品
-
-
-
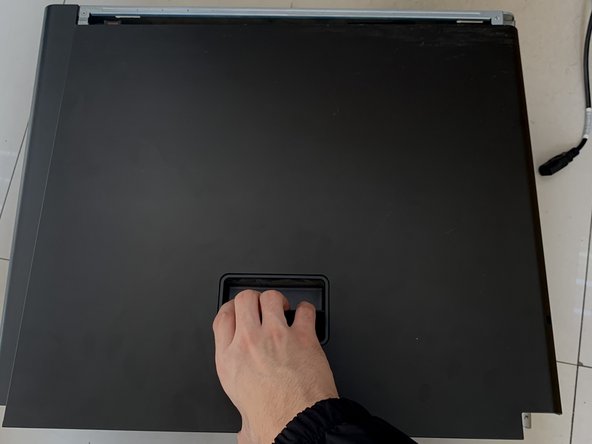
Lift the tower radiator up and off the board to reveal the CPU.
-
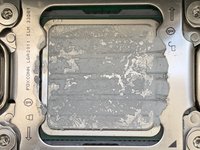
Clean the old thermal paste from the surface of the CPU. You can check out this nifty Thermal Paste Cleaning and Replacement Guide if you need any help!
-
-
-
Squeeze 1 ML of thermal paste onto the clean CPU.
-
Don't worry about spreading the thermal paste around, as the pressure from the radiator should spread the paste evenly. You can check out this nifty Thermal Paste Application Guide if you need any help.
-


To reassemble your device, follow these instructions in reverse order.
ある他の人がこのガイドを完成しました。
チーム

York University, Team F-12, Woodhouse Fall 2021 York University, Team F-12, Woodhouse Fall 2021人のメンバー
YORK-WOODHOUSE-F21SFG12
1 メンバー
2のガイドは作成済み