メインコンテンツにスキップ

Dell Latitude E6530 Hard Drive Replacement

必要な工具と部品

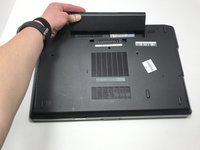
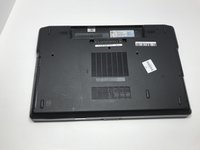
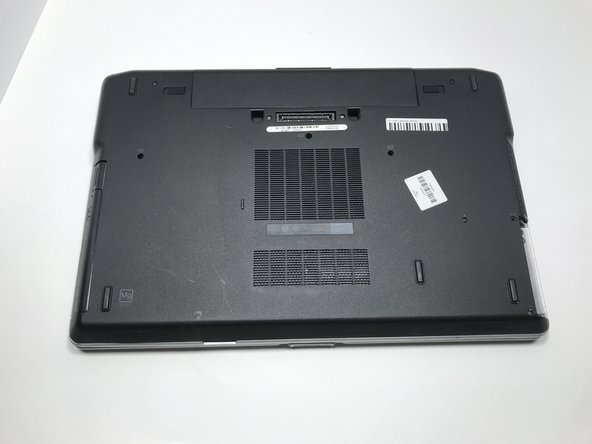
  1. Dell Latitude E6530 Hard Drive Replacement, Battery: 手順 1、 1の画像 1
    • Flip the computer over so that the bottom panel is facing you.

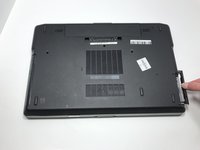
  2. Dell Latitude E6530 Hard Drive Replacement: 手順 2、 2の画像 1 Dell Latitude E6530 Hard Drive Replacement: 手順 2、 2の画像 2
    • Slide the switches away from each other to release the battery.

  3. Dell Latitude E6530 Hard Drive Replacement: 手順 3、 2の画像 1 Dell Latitude E6530 Hard Drive Replacement: 手順 3、 2の画像 2
    • Using your hands, gently remove the battery from the device.

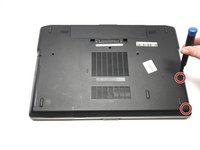
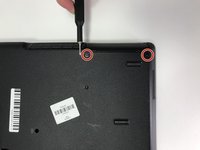
  4. Dell Latitude E6530 Hard Drive Replacement, Hard Drive: 手順 4、 2の画像 1 Dell Latitude E6530 Hard Drive Replacement, Hard Drive: 手順 4、 2の画像 2
    • Using a Phillips #00 screwdriver, unscrew the two screws.

  5. Dell Latitude E6530 Hard Drive Replacement: 手順 5、 2の画像 1 Dell Latitude E6530 Hard Drive Replacement: 手順 5、 2の画像 2
    • Gently remove the hard drive.

  6. Dell Latitude E6530 Hard Drive Replacement: 手順 6、 1の画像 1
    • Undo the Phillips #1 screw keeping the drive in the bracket.

  7. Dell Latitude E6530 Hard Drive Replacement: 手順 7、 1の画像 1
    • Remove the drive from the bracket,

終わりに

To reassemble your device, follow these instructions in reverse order. Refer to the troubleshooting guide and additional links for more information if issue persists.

作成者

4人の作成者と共同で作成されました。

Amelia Jochem

メンバー登録日: 01/16/20

249 ポイント

2のガイドは作成済み

コメント 1 件

There’s a missing step here. There’s another screw you’re supposed to undo to remove the drive.

Ella - 返信

コメントを追加

統計データ:

過去 24時間: 0

過去 7 日: 5

過去 30 日: 21

今までの合計 826