メインコンテンツにスキップ

Dell Latitude E6510 USB Ports Replacement

必要な工具と部品

  1. 注意: 手順 1-3 は、作業進行中としてマークされている ガイド から引用されています。

    Dell Latitude E6510  USB Ports Replacement, Fan: 手順 1、 2の画像 1 Dell Latitude E6510  USB Ports Replacement, Fan: 手順 1、 2の画像 2
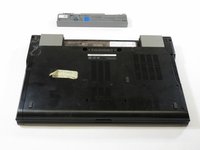
    • Slide the two black clips toward the middle to release battery

  2. Dell Latitude E6510  USB Ports Replacement: 手順 2、 2の画像 1 Dell Latitude E6510  USB Ports Replacement: 手順 2、 2の画像 2
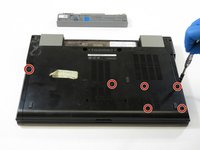
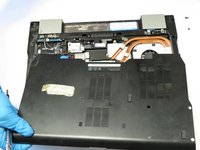
    • Remove the back plate from the back of the device

    • Remove the 6 screws with the J1 screwdriver.

    • once the screws are out, slide back panel towards front of the device and lift up

  3. Dell Latitude E6510  USB Ports Replacement: 手順 3、 3の画像 1 Dell Latitude E6510  USB Ports Replacement: 手順 3、 3の画像 2 Dell Latitude E6510  USB Ports Replacement: 手順 3、 3の画像 3
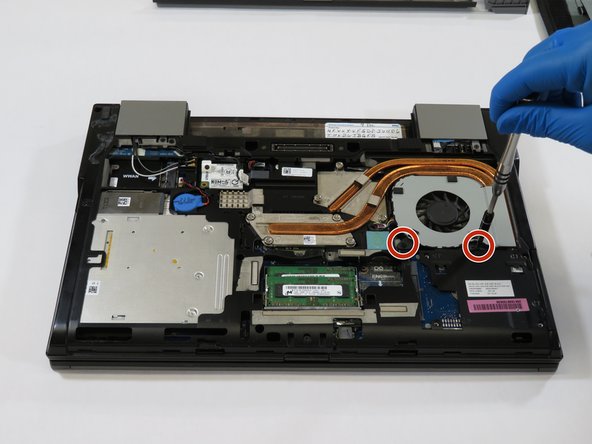
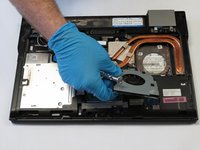
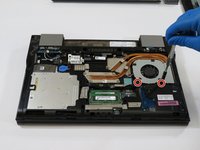
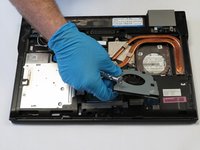
    • Remove two screws holding the fan

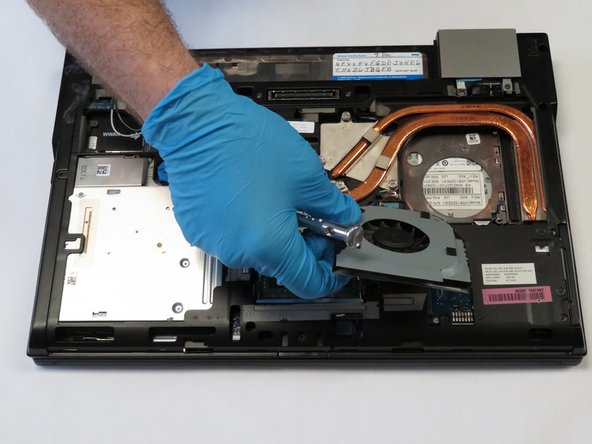
    • Slide from under copper heat sink

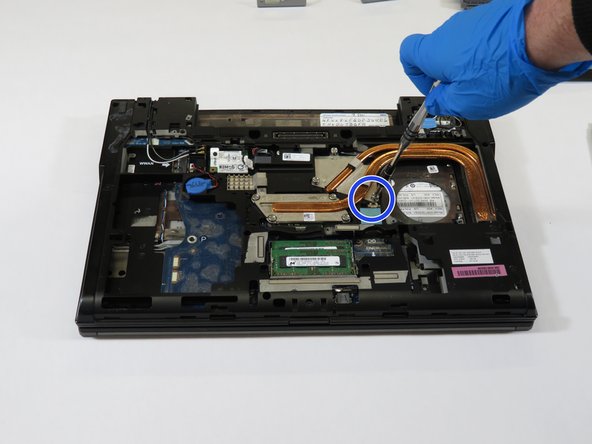
    • Unplug connector and remove

    • To reassemble, follow directions in reverse

  4. Dell Latitude E6510  USB Ports Replacement, USB Ports: 手順 4、 2の画像 1 Dell Latitude E6510  USB Ports Replacement, USB Ports: 手順 4、 2の画像 2
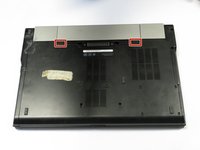
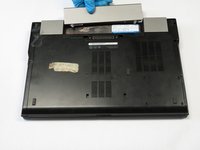
    • Remove the battery

    • Flip the computer so that it is facing downward.

    • Next locate the two black clips as shown in the image.

    • Slide the clips toward the middle in order to release the battery.

  5. Dell Latitude E6510  USB Ports Replacement: 手順 5、 3の画像 1 Dell Latitude E6510  USB Ports Replacement: 手順 5、 3の画像 2 Dell Latitude E6510  USB Ports Replacement: 手順 5、 3の画像 3
    • Remove the back plate from the back of the device.

    • Using the Philips head screwdriver remove the 6 screws marked in red.

    • Next, slide the panel down and then lift up til completely removed.

  6. Dell Latitude E6510  USB Ports Replacement: 手順 6、 3の画像 1 Dell Latitude E6510  USB Ports Replacement: 手順 6、 3の画像 2 Dell Latitude E6510  USB Ports Replacement: 手順 6、 3の画像 3
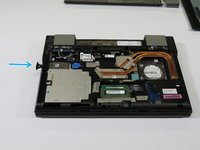
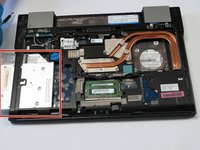
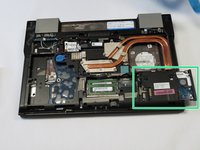
    • Press the button on the side of the optical drive in order to release the pull tab.

    • Next, pull out the optical drive located on the lower left hand side.

    • Locate the hard drive on the lower right hand side and remove it from the computer.

  7. Dell Latitude E6510  USB Ports Replacement: 手順 7、 3の画像 1 Dell Latitude E6510  USB Ports Replacement: 手順 7、 3の画像 2 Dell Latitude E6510  USB Ports Replacement: 手順 7、 3の画像 3
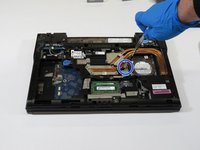
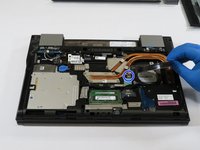
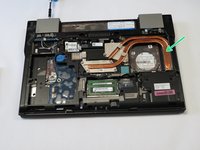
    • Using the Philips head screwdriver unscrew the two screws holding the fan.

    • Next, slide the fan out from under the copper heat sink.

    • Unplug the connector marked in blue and remove the fan.

  8. Dell Latitude E6510  USB Ports Replacement: 手順 8、 2の画像 1 Dell Latitude E6510  USB Ports Replacement: 手順 8、 2の画像 2
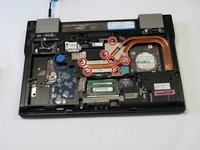
    • Using the Philips head screwdriver unscrew the seven screws holding down the copper heat sink.

    • Lift the heat sink slightly and slide out to remove it.

  9. Dell Latitude E6510  USB Ports Replacement: 手順 9、 3の画像 1 Dell Latitude E6510  USB Ports Replacement: 手順 9、 3の画像 2 Dell Latitude E6510  USB Ports Replacement: 手順 9、 3の画像 3
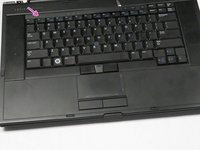
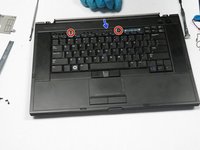
    • Using a spudger remove the volume bar above the keyboard

    • Using the Philips head screwdriver unscrew the two screws near the top of the keyboard.

    • Lift the keyboard membrane slightly by tab, and slide the keyboard towards the screen in order to remove.

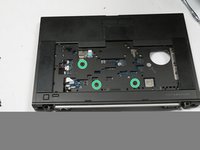
    • Using the Philips head screwdriver unscrew the three screws marked in green.

  10. Dell Latitude E6510  USB Ports Replacement: 手順 10、 1の画像 1
    • Using the Philip head screwdriver unscrew the eight screws holding down the chassis to get to the USB ports.

  11. Dell Latitude E6510  USB Ports Replacement: 手順 11、 1の画像 1
    • Remove the USB port by using a soldering iron to take out the connections on either side of the port.

終わりに

To reassemble your device, follow these instructions in reverse order.

作成者

4人の作成者と共同で作成されました。

Ronald Denardo

メンバー登録日: 02/05/19

157 ポイント

1ガイドが承認済み

0 件のコメント

コメントを追加

統計データ:

過去 24時間: 1

過去 7 日: 2

過去 30 日: 6

今までの合計 1,318