
Dell Chromebook 5190 Speaker Replacement
はじめに
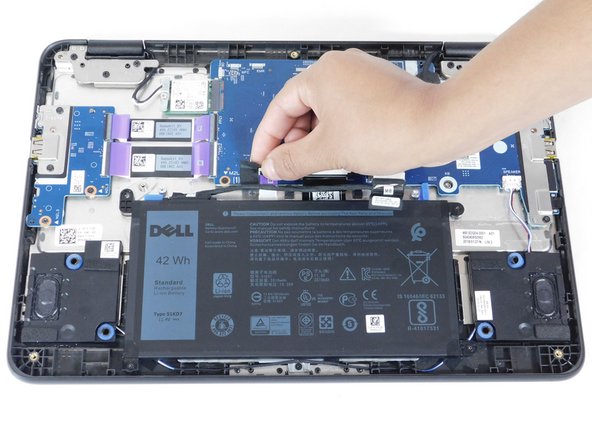
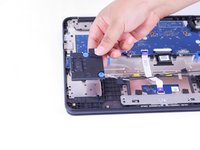
手順 1 に進むThis guide will aid you in replacing your Dell Chromebook 5190 speaker.
The Dell Chromebook 5190 was released alongside its sister model Dell Chromebook 5190 2-in-1. This guide will focus on the 5190 model that lacks a touchscreen.
In order to help you hear your audio clearly, you need functioning speakers. Audio may be distorted for a number of reasons, be sure to check this device's troubleshooting page to check for possible solutions. If you are still experiencing these issues after troubleshooting, you may need to replace your speaker.
必要な工具と部品
パーツ
ツール


もっと見る


To reassemble your device, follow these instructions in reverse order.
To reassemble your device, follow these instructions in reverse order.
チーム

Gateway, Team 1-3, Pee Spring 2022 Gateway, Team 1-3, Pee Spring 2022人のメンバー
GCC-PEE-S22S1G3
3 メンバー
5のガイドは作成済み