メインコンテンツにスキップ

Bicycle Handlebar Tape Replacement

必要な工具と部品

  1. Bicycle Handlebar Tape Replacement, Handlebar Tape: 手順 1、 3の画像 1 Bicycle Handlebar Tape Replacement, Handlebar Tape: 手順 1、 3の画像 2 Bicycle Handlebar Tape Replacement, Handlebar Tape: 手順 1、 3の画像 3
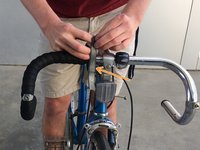
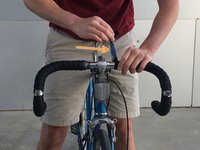
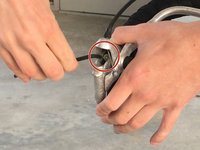
    • Undo the brake cables holding the brake calipers under tension.

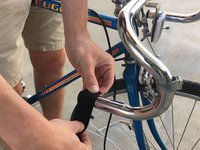
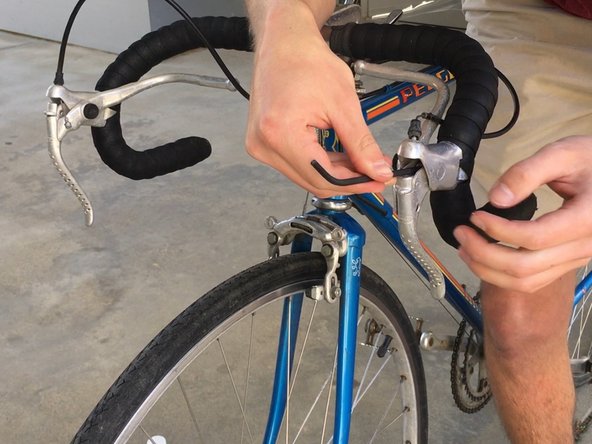
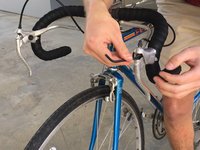
    • Depress the brake/shift levers (brifters) and insert a 5mm Allen key into the internal bolt. This bolt secures the brifters to the handlebar.

    • With the 5mm Allen key, loosen and temporarily remove brifters.

  2. Bicycle Handlebar Tape Replacement: 手順 2、 3の画像 1 Bicycle Handlebar Tape Replacement: 手順 2、 3の画像 2 Bicycle Handlebar Tape Replacement: 手順 2、 3の画像 3
    • Remove the old tape and discard.

    • Pour some rubbing alcohol on the rag and clean any old adhesive residue off the handlebar.

  3. Bicycle Handlebar Tape Replacement: 手順 3、 3の画像 1 Bicycle Handlebar Tape Replacement: 手順 3、 3の画像 2 Bicycle Handlebar Tape Replacement: 手順 3、 3の画像 3
    • Starting on the right side of the handlebar, wrap the new tape around the end in a clockwise direction moving inward.

    • Be sure to wrap the tape tight, but don't pull so hard that it rips!

    • Using the scissors, cut the tape at an angle towards the outside of the bar.

    • Wrap the loose end with either electrical tape or the adhesive piece provided with the handlebar tape (pictured here)

  4. Bicycle Handlebar Tape Replacement: 手順 4、 3の画像 1 Bicycle Handlebar Tape Replacement: 手順 4、 3の画像 2 Bicycle Handlebar Tape Replacement: 手順 4、 3の画像 3
    • On the left side of the handlebar, wrap the tape around the end in a counter-clockwise direction moving inward.

    • Wrap tight, but don't rip!

    • Using the scissors, cut the tape at an angle towards the outside of the bar.

    • Wrap the loose end with either electrical tape or the adhesive piece provided with the handlebar tape (pictured).

  5. Bicycle Handlebar Tape Replacement: 手順 5、 2の画像 1 Bicycle Handlebar Tape Replacement: 手順 5、 2の画像 2
    • Using the 5mm Allen key, reattach and tighten the brifter levers onto the handlebar.

  6. Bicycle Handlebar Tape Replacement: 手順 6、 2の画像 1 Bicycle Handlebar Tape Replacement: 手順 6、 2の画像 2
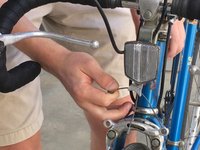
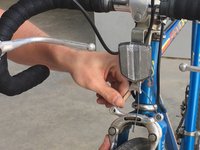
    • Reattach the brake cables to the brifters and brake calipers

    • Depress the brake levers a couple of times to test and confirm that the cables were reinstalled properly before riding.

ゴール

ある他の人がこのガイドを完成しました。

作成者

2人の作成者と共同で作成されました。

Jordan Byrnes

メンバー登録日: 05/05/17

132 ポイント

1ガイドが承認済み

チーム

UC Davis, Team S1-G70, Coad Spring 2017 UC Davis, Team S1-G70, Coad Spring 2017人のメンバー

UCD-COAD-S17S1G70

3 メンバー

1のガイドは作成済み

0 件のコメント

コメントを追加

統計データ:

過去 24時間: 0

過去 7 日: 6

過去 30 日: 12

今までの合計 557