メインコンテンツにスキップ
Acer Nitro 5 AN515-55-53AG Internal Fan Replacement

Acer Nitro 5 AN515-55-53AG Internal Fan Replacement

Jordin Hill

Jordin Hill とその他 5 人の作成者

最終更新日: March 4, 2024

20 - 30 分
中レベル
アクションショット
高画質の画像が必要

The fans inside the Acer Nitro 5 AN515-55-53AG laptop can occasionally get stuck, dusty, or fail completely. Fans are essential to the operation of a graphics card (GPU) or central processor (CPU). They help keep the graphics card operating at a low temperature. The GPU will quickly overheat and shut down if the fans are removed or malfunction. Fixing this is often a matter of some small handiwork to get inside the computer and check the fans for what might be sticking. Use this guide to access the internal GPU/CPU cooling fan. From here, it is possible to unjam, clean, or replace the fan as needed.

必要な工具と部品

これらのリンクを通じて購入すると、iFixit は手数料を得ます。
  1. Acer Nitro 5 AN515-55-53AG Internal Fan Replacement, Fan: 手順 1、 1の画像 1
    • Prior to beginning, be sure to turn off the device and unplug it from the power source.

    • Set the device on a flat surface with the vents facing upwards.

  2. Acer Nitro 5 AN515-55-53AG Internal Fan Replacement: 手順 2、 2の画像 1 Acer Nitro 5 AN515-55-53AG Internal Fan Replacement: 手順 2、 2の画像 2
    • Use your Phillips #0 screwdriver to remove the eleven screws holding down the laptop's bottom cover.

  3. Acer Nitro 5 AN515-55-53AG Internal Fan Replacement: 手順 3、 3の画像 1 Acer Nitro 5 AN515-55-53AG Internal Fan Replacement: 手順 3、 3の画像 2 Acer Nitro 5 AN515-55-53AG Internal Fan Replacement: 手順 3、 3の画像 3
    この手順で使用する道具:
    Plastic Cards
    $2.99
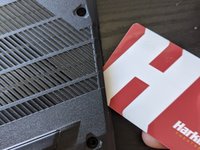
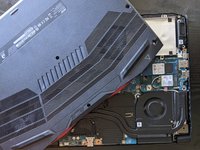
    • Remove the laptop's bottom cover using an opening tool or plastic card.

    • Do not use a metal tool during this process. Doing so would risk damaging both the cover and the electrical components.

    • Be gentle during removal. Do not force the cover off, or it may break.

  4. Acer Nitro 5 AN515-55-53AG Internal Fan Replacement: 手順 4、 2の画像 1 Acer Nitro 5 AN515-55-53AG Internal Fan Replacement: 手順 4、 2の画像 2
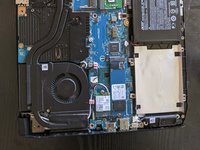
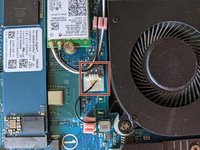
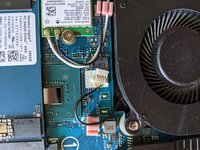
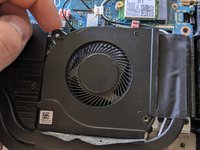
    • Detach the fan's wire connector from the motherboard.

  5. Acer Nitro 5 AN515-55-53AG Internal Fan Replacement: 手順 5、 1の画像 1
    • Peel up the two strips of black tape holding the fan.

    • Do not peel the tape all the way off. Leave the tape attached to the heatsink.

  6. Acer Nitro 5 AN515-55-53AG Internal Fan Replacement: 手順 6、 3の画像 1 Acer Nitro 5 AN515-55-53AG Internal Fan Replacement: 手順 6、 3の画像 2 Acer Nitro 5 AN515-55-53AG Internal Fan Replacement: 手順 6、 3の画像 3
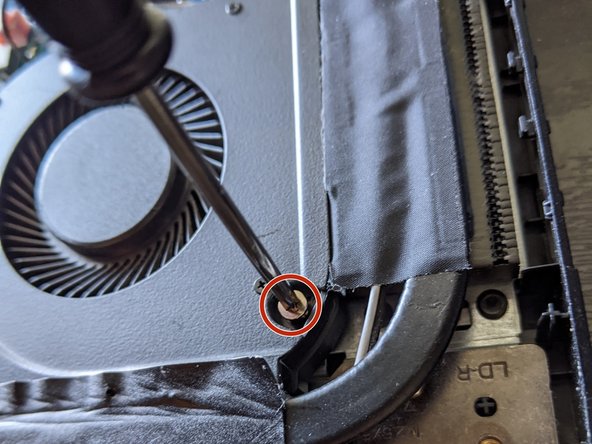
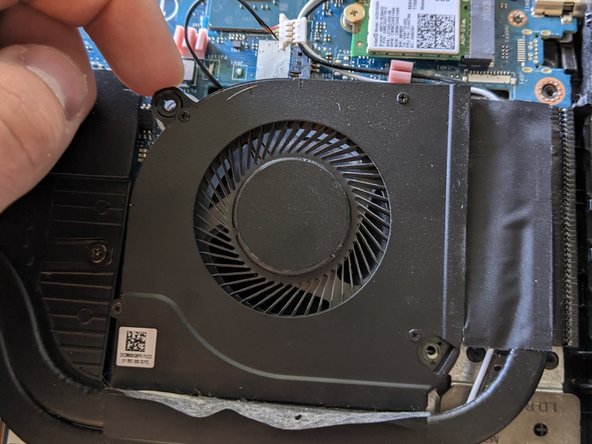
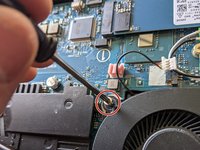
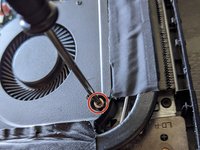
    • Remove the two screws holding the fan in place using a Phillips #0 screwdriver.

    • Remove the old fan by pulling it directly up.

  7. Acer Nitro 5 AN515-55-53AG Internal Fan Replacement: 手順 7、 2の画像 1 Acer Nitro 5 AN515-55-53AG Internal Fan Replacement: 手順 7、 2の画像 2
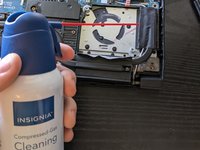
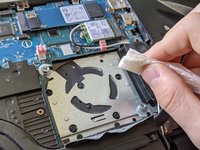
    • While the fan is out, clean the space with a cloth or a can of compressed air. Clean the fan vents and plate of any dust.

終わりに

To reassemble your device, follow these instructions in reverse order.

2 の人々がこのガイドを完成させました。

作成者

5人の作成者と共同で作成されました。

Jordin Hill

メンバー登録日: 02/02/21

175 ポイント

1ガイドが承認済み

コメント 1 件

на an515-55-534c система охлаждения так же разбирается ? или это он и есть ?

Антон Хабаров - 返信

コメントを追加

統計データ:

過去 24時間: 3

過去 7 日: 23

過去 30 日: 97

今までの合計 6,103