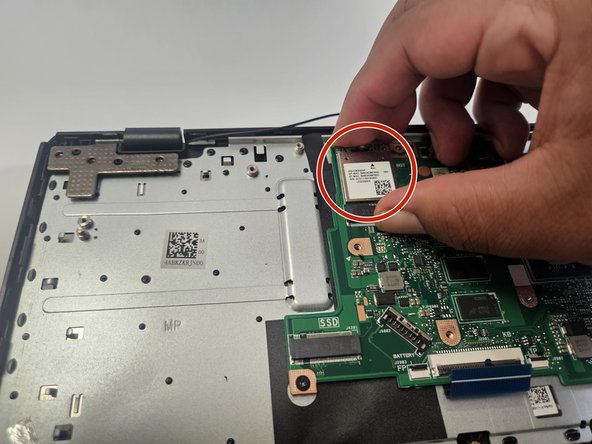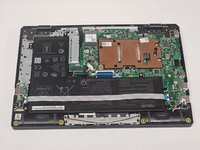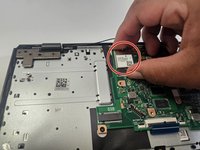
ASUS E210MA-TB.CL464BK Wi-Fi Card Replacement
はじめに
手順 1 に進むIf you're experiencing difficulty connecting to a network, Its possible there is an issue with the wireless card In this guide, we go through the steps of configuration to correctly replace the wireless card. There are different types of wireless cards with different specifications and standards in our case it is a (802.11ac) (Dual band).
-
-
Place the laptop with the bottom side facing up. Have the front (where the touchpad is) facing toward you.
-
Start by removing the ten 7mm screws on the bottom of the laptop using a JIS #00 screwdriver.
-
-
To reassemble your device, follow these instructions in reverse order.
To reassemble your device, follow these instructions in reverse order.


