手順 4を翻訳中
手順4


-
That wasn't so bad! Things are looking up for the 5X as we get our first glimpse at the interior of the phone.
-
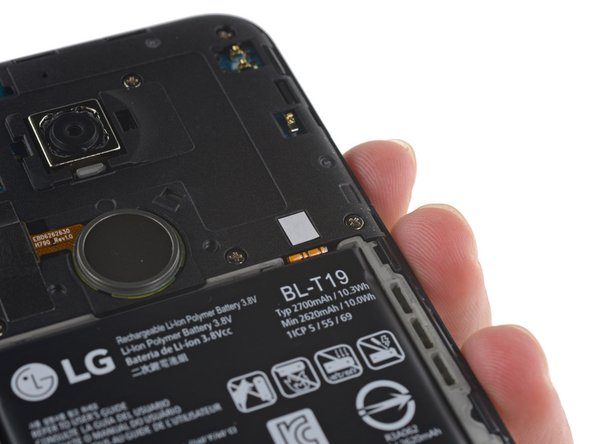
Luckily, this sticker on the inside of the back panel has all the essentials: IMEI, country of origin, and the model number: LG-H790.
-
Our spirits soared as we spied the 2700 mAh battery sitting in plain view—a removable battery is hard to come by these days.
-
But alas, it was not to be. The battery connector is squirreled away beneath the midframe, and it's totally inaccessible for now.
クリエイティブコモンズのオープンソース著作権のもと、あなたの投稿は著作権の対象となります。